Warning Sorry, you're using a web browser that is no longer supported. For the best experience please upgrade or visit the site on another browser.
Skip to content

How to Replace Your Starter: 2004-2008 Ford F-150

The starter in 2004 to 2008 Ford F-150 trucks engages the engine’s flywheel to crank the engine, creating the initial compression needed to start. Over time, high electrical resistance, worn carbon brushes, or a failing starter solenoid can weaken the starter motor and prevent it from engaging or rotating the crankshaft. When these components degrade, your truck may experience a loud clicking sound, slow cranking, or a complete failure to start when you turn the key.

Replacing a worn starter is a straightforward under-vehicle project that requires only basic hand tools and proper safety equipment. To help you complete the repair, O’Reilly Auto Parts has put together a step-by-step guide to walk you through the process.

Our DIY video shows the replacement steps on a 2006 Ford F-150 equipped with a 5.4L V8 engine. While the mounting location and electrical connections are nearly identical for all 2004 to 2008 F-150 models, always check your owners manual for specific details before getting started.

Tools & Supplies for the Job

What Are the Symptoms of a Bad Starter?

Before replacing a starter motor, it’s important to rule out a drained battery, corroded battery terminals, a blown ignition, or starter relay. The following symptoms could be a sign of a failed starter:


  • Single Click or No Click: Turning the ignition key to the “start” position produces a single sharp click, or series of clicks, from the starter, but the starter motor fails to engage or crank the engine.
  • Slow Crank (Sluggish Engine Rotation): The starter struggles and draws too much power, causing the engine to turn over very slowly, even if your vehicle’s battery is fully charged.
  • Starter Whining (Free-Wheeling): The starter motor spins quickly and makes a high-pitched whining sound, but its internal gear fails to engage the flywheel or flexplate to turn the engine.
  • Metallic Grinding Noise: Worn-down teeth on the starter gear prevent it from lining up properly or engaging fully with the outer geared ring of the flywheel or flexplate, creating a metal-on-metal grinding sound. This could also be due to, or result in, damage to the teeth on the flywheel or flexplate.

How to Replace a 2004-2008 Ford F-150 Starter: Step-by-Step

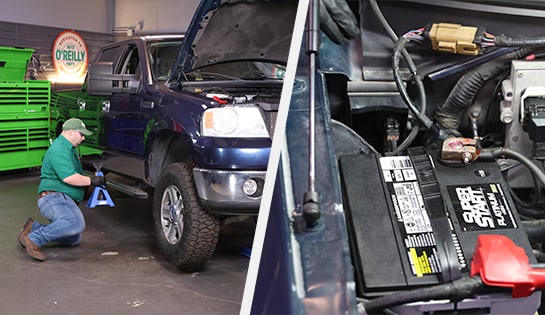
Auto parts professional preparing to replace the starter on a Ford F-150

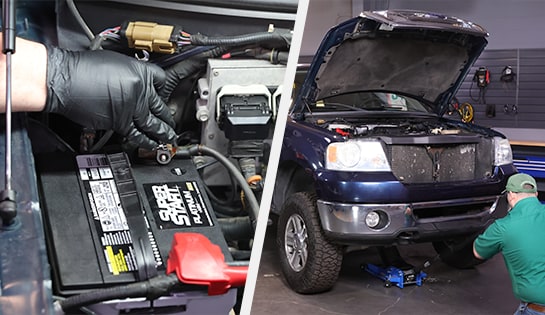
Step 1: Prep & Safety

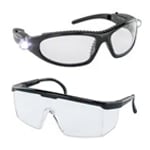
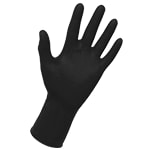
Park your truck on a level surface and open the hood. Disconnect the negative battery cable and set it aside so it doesn’t touch any metal surfaces. If you need extra ground clearance, chock the rear wheels, lift the front end with a hydraulic jack, and support it securely with jack stands. Put on your safety glasses and gloves.

Tip: If your truck has a splash guard, use a 13mm socket and ratchet to remove the mounting hardware and pull it down.

Auto parts professional removing the terminal cover on a Ford F-150

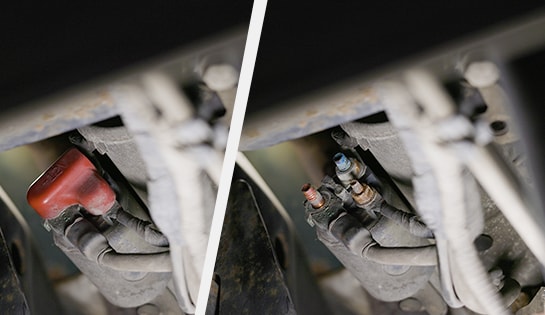
Step 2: Remove the Terminal Cover & Wires

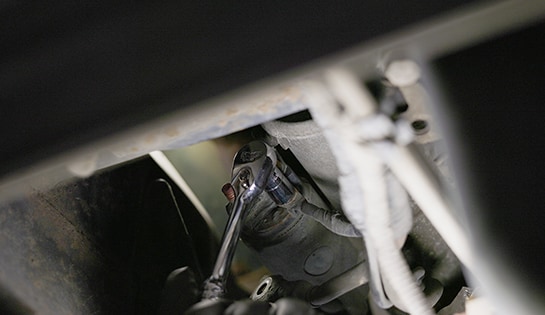
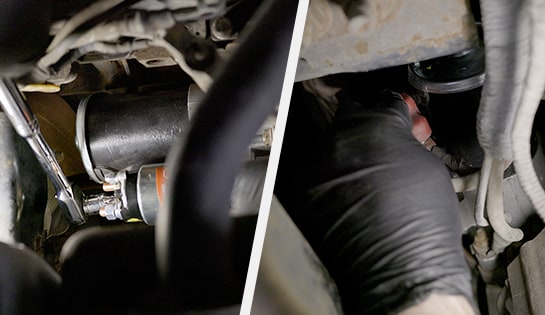
Locate the starter next to the transmission and remove the terminal cover. Use a 13mm socket and ratchet to remove the nut securing the main power supply wire and detach the wire. Then, use a 10mm socket and ratchet to remove the nut for the S-terminal wire, and a 13mm socket to remove the nut for the ground wire. Detach both wires.

Tip: The starter’s fasteners are in tight spots that may be difficult to reach or see. A flex-head ratchet can be helpful when removing and replacing one or more of these.

Auto parts professional loosening a bottom mounting stud on a Ford F-150

Step 3: Loosen the Bottom Stud

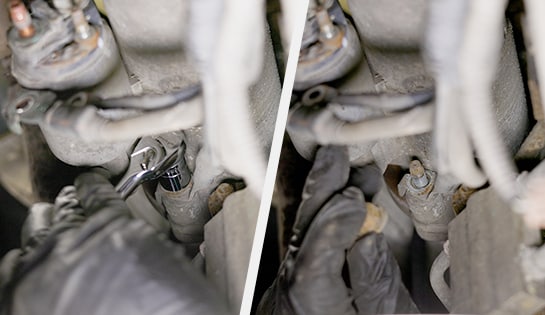
Locate the bottom mounting stud securing the starter to the transmission. Use a 13mm deep socket to loosen the stud, but leave it partially threaded in place for the time being.
Auto parts professional removing upper mounting bolts from a Ford F-150

Step 4: Remove the Upper Mounting Bolts

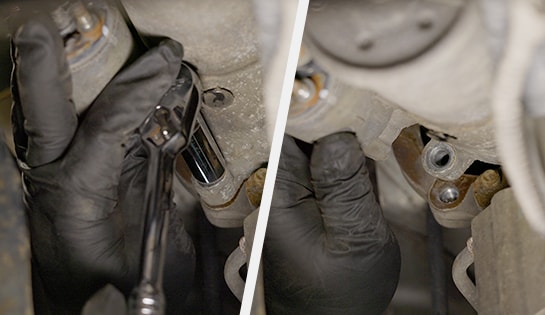
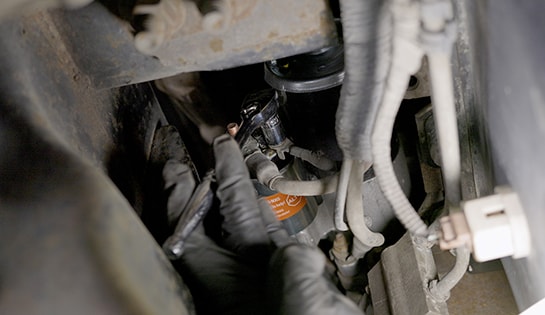
Locate the two mounting bolts toward the top of the starter by reaching your fingers into the space above the starter barrel. Use a 13mm socket with a six-inch extension or a flex-head ratchet to loosen and completely remove both bolts.

Tip: One of the mounting bolts will be difficult to see from underneath, so you’ll have to locate it with your fingers.

Auto parts professional removing an old starter from a Ford F-150

Step 5: Remove the Old Starter

Support the weight of the starter with your hand and use a 13mm deep socket to completely remove the bottom mounting stud. Detach the starter from the transmission. If necessary, gently tap it loose with a hammer, and then lower it out of the engine bay.
Auto parts professional installing a new starter on a Ford F-150

Step 6: Prep & Install the New Starter

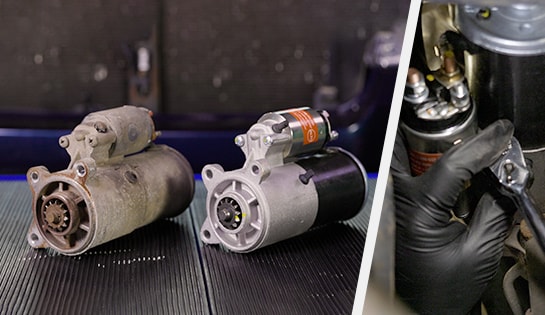
Compare your new starter with the old one to verify that the replacement part matches. Check the mounting surface on the transmission to ensure it is clean and free of corrosion. Lift the new starter into position, line up the bolt holes, and hand-thread the fasteners into place starting from the bottom bolt up to prevent cross-threading. Use a socket and ratchet to tighten them.

Tip: Threading the top bolts may be easier with a 13mm socket and extension. Be careful not to cross-thread these fasteners when starting them.

Auto parts professional using a torque wrench on the starter mounting hardware

Step 7: Torque the Mounting Hardware

Attach your torque wrench to a 13mm socket and extension. Tighten the two top mounting bolts and the bottom mounting stud to 18 foot-pounds. Use your 13mm deep socket to tighten the bottom stud.
Auto parts professional tightening starter terminal nuts

Step 8: Reconnect the Electrical Terminals

Reattach the three electrical cables to their matching studs, starting with the ground wire, followed by the main power supply wire, and then the S-terminal wire. Thread the nuts back into place, but don’t overtighten them. Tighten the main cable nut to 9 foot-pounds, the 10mm S-terminal to 53 inch-pounds, and the ground wire to 15 foot-pounds. Reinstall the terminal cover.
Auto parts professional testing removing wheel chocks from a Ford F-150

Step 9: Clean Up & Test the New Starter

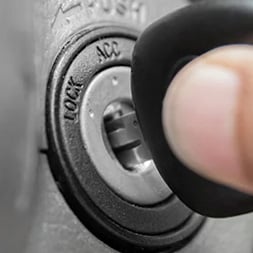
Reinstall the splash guard with your 13mm socket if it was removed. If you raised the front end of the truck, safely lower it from the jack stands and remove the wheel chocks. Then, reattach the negative battery cable. Test the new starter by starting your truck. If the engine starts normally, close the hood.


If you aren’t completely comfortable replacing the starter on your Ford F-150, stop by your local O’Reilly Auto Parts. We can recommend a professional shop or a Certified Auto Repair Service Center in your area to get the job done right.

Free Starter & Alternator Testing at O’Reilly Auto Parts

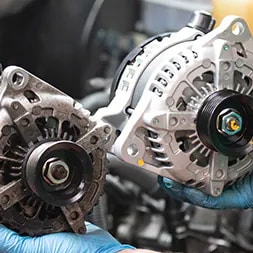
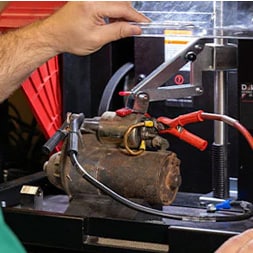
Because a weak battery, a failing alternator, or bad starter wiring can all share identical symptoms, guesswork can lead to replacing the wrong part. If you’re unsure whether your starter is the problem, stop by a nearby O’Reilly Auto Parts store for Free Starter and Alternator Testing. Our parts professionals will test your starter or alternator, on or off the truck.


If the starter passes the test, we can help you look into other potential issues, like your battery or charging circuit. If it fails, we’ll help you find the exact replacement part required to get your truck back on the road safely.

Frequently Asked Questions: Replacing a Ford F-150 Starter

What is a starter core charge, and how do I get a refund?

A core charge is a temporary deposit applied to the price of certain automotive components, including starters. This ensures that parts are recycled or remanufactured rather than discarded. After completing your installation, bring your old starter to any O’Reilly Auto Parts location along with your sales receipt. We will process the return and refund the core charge amount to your original payment method.

How long does it take to replace a Ford F-150 starter?

Replacing the starter in a Ford F-150 typically takes between one and two hours for a DIY repair. Total time depends on whether you need to lift the truck for extra working clearance, remove rusted mounting hardware, or spend extra time navigating a ratchet extension to unbolt the hidden top mounting bolt.

What should I do if my new starter won’t engage after installation?

If your new starter doesn’t engage, verify that the battery cables are connected securely and that your battery is fully charged. Clean the battery terminals if you haven’t already to ensure a secure connection. Next, ensure the starter solenoid connections (including the ground, power supply, and S-terminal wires) are clean and torqued properly.

If your vehicle still won’t crank, check for a blown ignition fuse, a faulty starter relay, or a failing neutral safety switch. It may be necessary to use a multimeter or a test light to determine if the starter is receiving adequate power when the key is engaged to simplify your diagnosis.

Product Recommendations

Product Comparison Table
Item Recommended Product Purpose
Starter
Ultima Select Starter Bolts to the transmission to engage the flywheel or flexplate, crank the engine, and start the vehicle.
Ratchet & Socket Set
Ratchet, Flex-Head Ratchet, and 10mm, 13mm, & 13mm Deep Sockets Used to loosen and remove the mounting fasteners and wiring nuts.
Ratchet Extensions
6-Inch Extension Provides the reach needed to access the hidden upper mounting bolts on your F-150 starter.
Torque Wrench
Power Torque Wrench Used to tighten all mounting hardware and terminal nuts to exact factory specifications.
Safety Gear
Nitrile Gloves & Eye Protection Protects your skin and keeps falling underbody dirt and debris out of your eyes.
Optional Equipment
Jack, Jack Stands, & Wheel Chocks Provides extra under-vehicle clearance and holds the truck securely if needed.

Additional Resources

The automotive repair work depicted in this series is performed under the direction of the manufacturer of the product featured. Prior to undertaking any of the demonstrated repairs on your vehicle, we suggest you consult with a certified mechanic or another professional who can adequately advise you of the proper repair or remedy required. O’Reilly Automotive Stores, Inc. and its affiliates (“O’Reilly”) disclaims any responsibility for injury or damage resulting from a viewer’s attempt to recreate the repairs shown in this series.