 Brake Pads
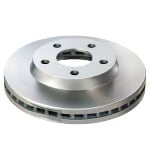 Brake Rotors
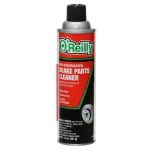 Brake Parts Cleaner
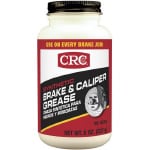 Brake & Caliper Grease
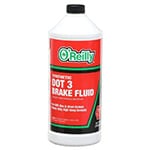 Brake Fluid
 Ratchet & Socket Set
 Breaker Bar
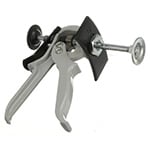 Caliper Compressor Tool
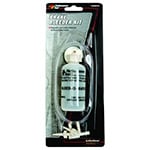 Bleeder Tool
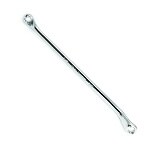 Bleeder Wrench
 Torque Wrench
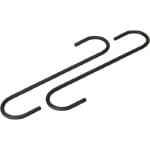 Caliper Hanger
 Flathead Screwdriver
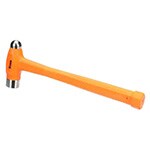 Hammer
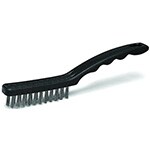 Wire Brush
 Floor Jack
 Jack Stands
 Wheel Chocks
 Shop Towels
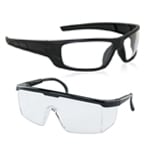 Safety Glasses
 Gloves
Park your F-150 on a level surface and put on your eye protection and gloves. If your rear wheels have hubcaps, use a flathead screwdriver or trim tool to pry them off gently. Before raising your truck, use a lug wrench or a 21mm socket and breaker bar to loosen the rear wheel lug nuts.
Rear brake pads and rotors often wear more slowly than the front brake pads and rotors since the front brakes handle more of the truck’s stopping force, but they still degrade over time. Our Professional Parts People recommend checking your rear brakes if you notice:
- Grinding Noises: A harsh, metal-on-metal grinding sound from the rear wheels indicates the brake pad friction material is completely gone and the bare backing plate is contacting the rotor.
- Squealing Noises: A high-pitched squeal often means the wear indicator built into the brake pad is contacting the rotor, an early warning sign that the pads are getting thin.
- Longer Stopping Distances: If your truck takes noticeably longer to stop, worn pads or damaged rotors may not be generating enough friction to slow the truck effectively.
- Vibration Felt in the Brake Pedal: A pulsing sensation through the brake pedal as you slow down can mean a rear rotor has developed hot spots or worn unevenly.
- Fluid Leak Near a Rear Wheel: Brake fluid on the inside of a rear wheel or near the caliper usually means a caliper seal has failed and needs to be addressed right away.
- Soft or Spongy Brake Pedal: A pedal that travels further than usual or feels spongy can point to worn pads, but it’s also associated with a failing master cylinder or a brake fluid leak, so it’s worth doing a full inspection of your brake system.
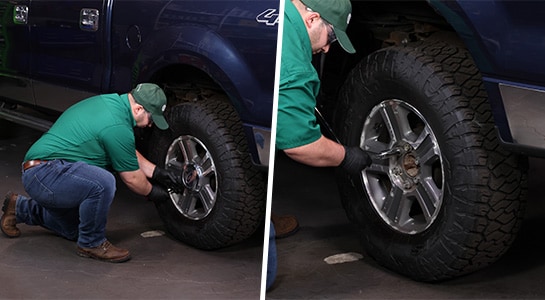
Step 1: Loosen the Lug Nuts
Step 2: Secure the Truck & Remove the Wheel
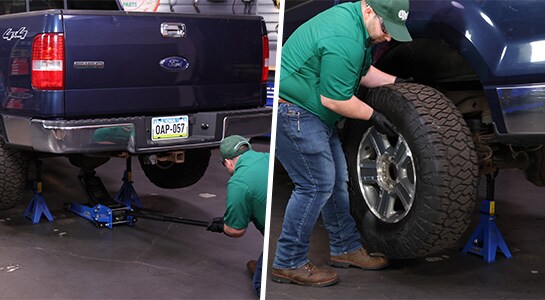
Chock the front wheels to keep the truck from rolling and use a jack and jack stands to lift and support the back end of the truck. Then, unscrew the loosened lug nuts and remove the rear wheel.
Step 3: Detach & Hang the Caliper
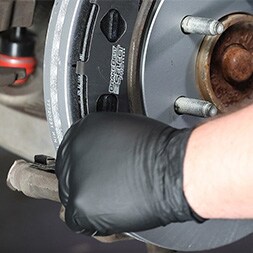
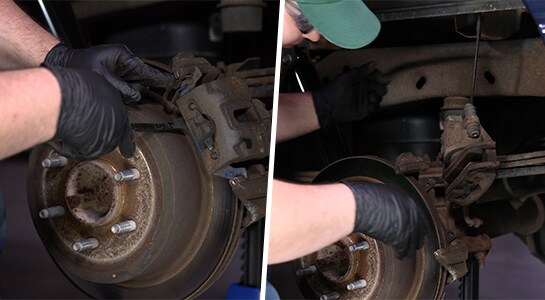
Use a 10mm socket and ratchet to loosen and remove the caliper bolts. To work the caliper off the rotor, make sure the clip on the outer pad is pushed down for clearance. Once the caliper is free, hang it somewhere out of the way, making sure there’s no pressure on the brake hose.
Step 4: Remove the Old Brake Pads
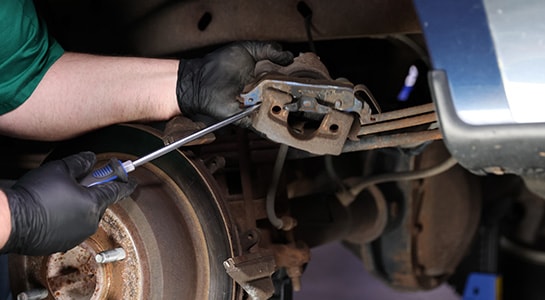
Slide the old brake pads out from the mounting bracket. If they’re stuck, use a flathead screwdriver to pry the outside pad loose and disengage it from the caliper, then pull the inside pad off the piston. Pay close attention to how they are oriented as you pull them out so that you can match the placement of your replacement pads.
Step 5: Clean & Inspect the Caliper Piston
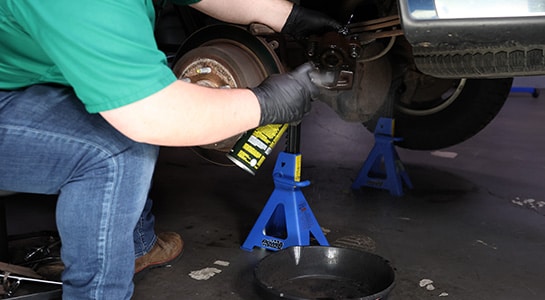
With the old pads removed, use brake cleaner on a shop towel or rag to clean the exposed portion of the caliper piston. If the rubber boot is cracked or you see brake fluid leaking, the caliper needs to be replaced.
Step 6: Compress the Caliper Piston
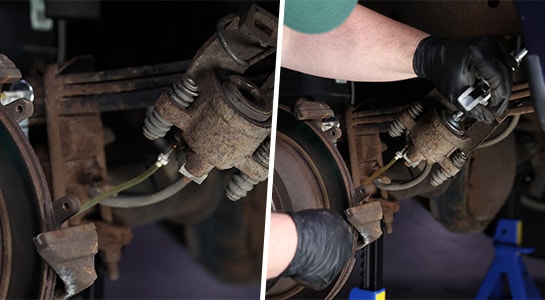
Attach your bleeder tool and wrench to the caliper, then open the bleeder valve by turning it counterclockwise. Use a caliper compressor tool to compress the piston until it’s flush with the caliper housing. Once it’s flush, tighten the bleeder valve and detach the bleeder tool.
Step 7: Inspect the Slide Pins & New Brake Pads
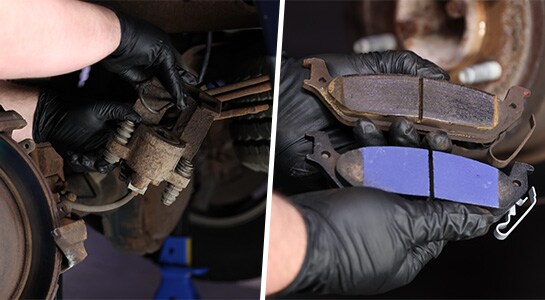
Make sure both slide pins move smoothly and freely, and check that the rubber boots protecting them aren’t cracked or damaged. Then, compare the old brake pads with your new ones to make sure you have the correct replacement parts.
Step 8: Remove the Old Rotor
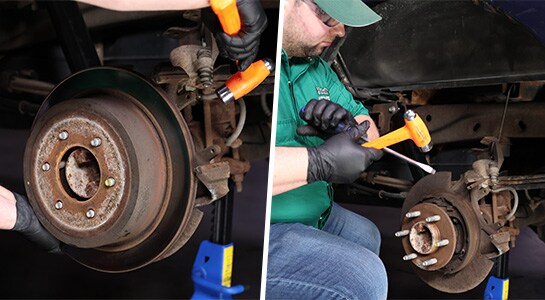
Remove the old rotor. If it’s seized to the hub, use a hammer to tap it loose. Only use a hammer if you’re replacing the rotor, since hammering can cause damage.
Step 9: Clean & Inspect the Caliper Bracket
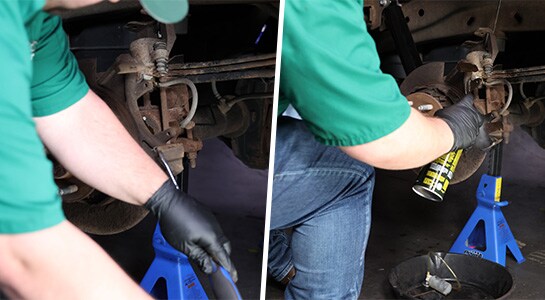
Use a flathead screwdriver and a hammer if needed to remove the old hardware from the caliper bracket. Spray the bracket down with brake cleaner, but don’t use a wire brush to clean it, since that can lead to further corrosion. If it’s extremely rusty where the pads or hardware sit, the bracket itself likely needs to be replaced.
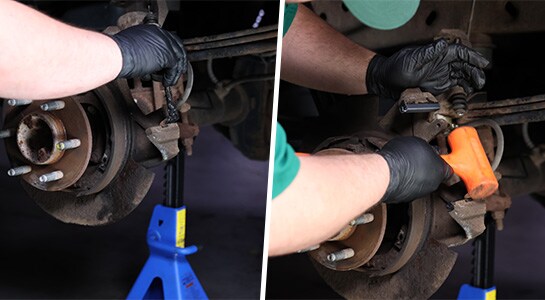
Step 10: Grease & Install New Brake Hardware
Apply brake grease directly to the spots on the caliper bracket where your new brake hardware will sit, as well as the back of the new brake pads. Install the new hardware onto the bracket, and apply some brake grease to it.
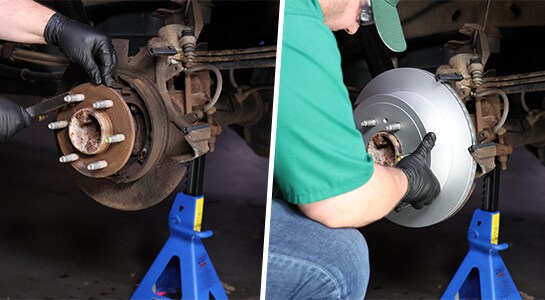
Step 11: Install the New Rotor
Before installing your new rotor, use a wire brush to clean any rust off the hub and studs and apply some silicone grease to the hub. If you’re using standard replacement rotors, be sure to thoroughly clean both friction surfaces with brake cleaner and a clean shop towel to remove any oil.
We installed BrakeBest Select Pro rotors, which feature a protective coating and don’t require cleaning. Install your new rotor, and use one of your wheel’s lug nuts to hold it in place as you continue working.
|
Pro Tip: Brake cleaner will strip away paint, so be careful when spraying it. |
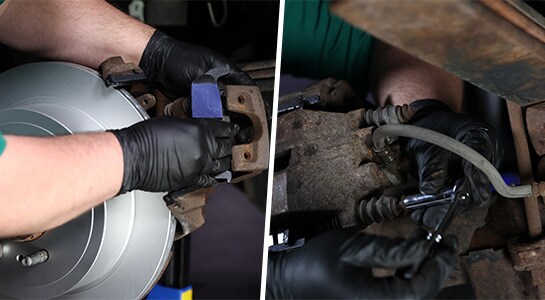
Step 12: Install the New Brake Pads & Reconnect the Caliper
Install your new brake pads in the caliper. Move the caliper into place on the rotor, making sure the brake hose isn’t twisted. Thread the two mounting bolts in by hand, starting with the top one, then use your ratchet and 10mm socket to tighten them. Once the caliper bolts are snug, torque them to 22 foot-pounds. If you used a lug nut to hold the rotor in place, remove it now, along with your caliper hanger.
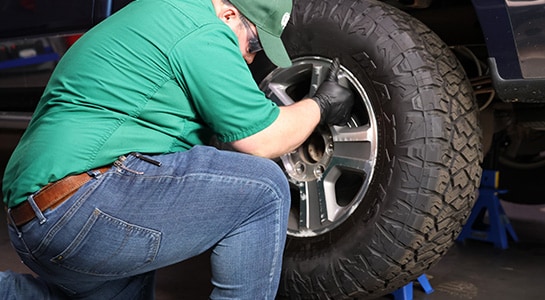
Step 13: Reinstall the Wheel & Repeat on the Other Side
Reinstall the wheel and tighten the lug nuts until the wheel is secure against the rotor. It’s always a good idea to change rear brake pads and rotors in pairs, so repeat these steps on the other side. Once both sides are done, lower the rear end and remove the wheel chocks.
Step 14: Torque the Lug Nuts
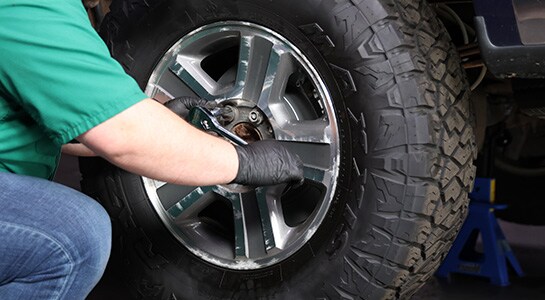
Use your 21mm socket and torque wrench to tighten the lug nuts in a star pattern to 150 foot-pounds. If you removed the hubcaps, snap them back into place.
Step 15: Pump the Brakes and Check Fluid
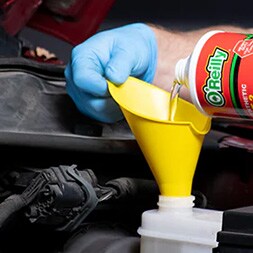
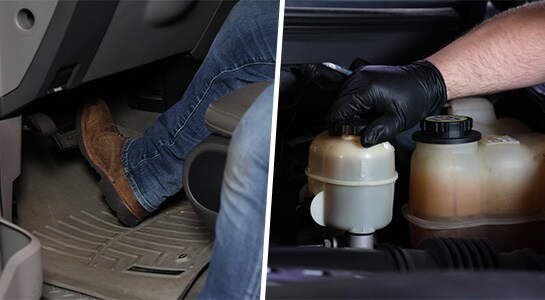
Once the job is complete, BEFORE you drive anywhere, pump your brake pedal several times until you feel the pressure return. Because some brake fluid was pushed out when you compressed your caliper pistons, open the hood to check your master cylinder reservoir and add fresh fluid as needed.
|
Pro Tip: If your brake pedal still feels spongy after pumping, you likely have air trapped in one or both of your rear brake lines. You will need to bleed the brakes to remove the air before you drive your vehicle. |
If you aren’t comfortable replacing the rear brake pads and rotors on your Ford F-150, stop by your local O’Reilly Auto Parts. We can recommend a professional shop or a Certified Auto Repair Service Center in your area to get the job done right.
To break in your new brakes, you will need to bed the brake pads to the rotor faces. Find a safe road with minimal traffic and perform the following test drive procedure:
- Perform 30 Slowdowns: Accelerate your truck up to 30 mph, then use moderate, steady brake pressure to slow the vehicle down.
- Allow for Cooling Time: Drive for roughly 30 seconds between each slowdown to give the new brake components adequate time to cool down.
- Repeat 30 Times: Repeat this process and cooling cycle 30 times consecutively.
|
Pro Tip: Avoid making any aggressive or sudden stops during the break-in process. |
It’s completely normal for your brakes to emit a distinct smell after you break them in. However, if it persists past 500 miles, or if you notice excessive brake dust on your wheel, you may have a stuck caliper. If this is the case, have your Ford F-150 inspected immediately.
How often should I replace my Ford F-150 brake pads and rotors?
On average, rear brake pads on a Ford F-150 last between 50,000 and 100,000 miles, since the rear brakes handle less of the truck’s stopping force than the fronts and wear more slowly. Rotors can last slightly longer, depending on your driving habits.
If you tow heavy loads or drive through stop-and-go traffic regularly, your rear brake pads and rotors will wear down faster. Our Professional Parts People recommend inspecting your brake pads during every routine oil change or tire rotation.
Do I need to replace my rotors when I install new brake pads?
Not necessarily, but you should never install brand-new brake pads onto worn, grooved, or damaged rotors. If your old rotors have plenty of thickness remaining and only show minor surface wear, they can often be reused.
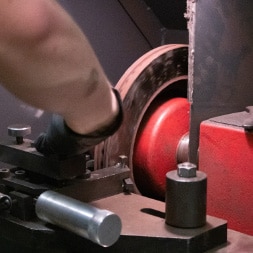
Many O’Reilly Auto Parts locations provide Brake Drum and Rotor Resurfacing services. Bring your brake drums or rotors to your local O’Reilly Auto Parts, and we’ll resurface them for a small fee. If they’re too thin, heavily damaged, or warped, our Professional Parts People will be happy to help you find the best replacement brake parts for your vehicle.
Why do new brakes squeak or make a scraping noise?
New brakes can squeak or make a scraping noise if you skip the bed-in process, which prevents the brake pads from seating smoothly against the rotors. It can also occur if you forget to apply grease to metal contact points like the back of the pads, or if a layer of surface rust forms on the metal overnight, though this is typically resolved within the first couple of stops.
| Item | Recommended Product | Purpose |
|---|---|---|
| Brake Pads |
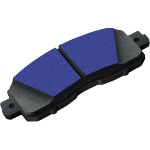
BrakeBest Select Pro Rear Semi-Metallic Brake Pads | Installed into the caliper to press against the rotor faces, creating the friction needed to stop the truck |
| Brake Rotors |
BrakeBest Select Pro Rear Brake Rotors | Mounts to the wheel hub to provide the smooth, durable metal friction surface needed for the brake pads to clamp onto |
| Brake Cleaner |
O'Reilly 70 Percent VOC Brake Parts Cleaner | Removes oil, grease, and dust from the caliper piston, bracket, and rotor surfaces |
| Brake Grease |
CRC Industries Caliper Grease | Lubricates caliper slide pins, bracket slots, and pad backing plates to prevent brake noise and ensure smooth movement |
| Brake Fluid |
O'Reilly DOT 3 Brake Fluid | Used to top off the master cylinder reservoir to the maximum fill line after compressing the caliper pistons |
| Ratchet & Socket Set |
Power Torque Ratchet & 13mm, 18mm, & 21mm Sockets | Used to loosen and remove the wheel lug nuts, caliper mounting bolts, and caliper bracket bolts |
| Breaker Bar |
Power Torque ½” Breaker Bar | Paired with a 21mm socket to loosen and remove wheel lug nuts |
| Caliper Compressor Tool |
Lisle Brake Pad Spreader | Used to compress the caliper pistons until they sit flush with the metal housing |
| Bleeder Tool |
Performance Tool Brake Bleeder Kit | Connects to the bleeder valve to capture escaping brake fluid when resetting the caliper pistons |
| Torque Wrench |
Power Torque ½” Drive Torque Wrench | Used to tighten the 10mm caliper bolts to 22 ft-lbs and the 21mm lug nuts to 150 ft-lbs |
| Caliper Hanger |
Performance Tool Brake Caliper Hanger Set | Suspends the brake calipers from the F-150 frame to prevent damaging brake hoses and other parts |
| Flathead Screwdriver |
Power Torque Flathead Screwdriver | Used to gently remove the rear wheel hubcaps and old brake pads from the bracket channels |
| Wire Brush |
Performance Tool Steel Wire Brush | Used to remove rust from the wheel hub and studs before applying brake grease |
| Lifting Equipment |
Power Torque Jack, Jack Stands, & Wheel Chocks | Secures the front wheels, raises the back end, and supports the weight of the truck while wheels are removed |
| Cleaning Cloth |
Sellars Shop Towels or Rag | Used to remove excess grease from hardware components |
| Safety Gear |
SAS Nitrile Gloves & Safety Glasses | Protects your skin from grease and cleaner and keeps brake dust out of your eyes |