
Struts gradually lose their damping ability as the internal seals and valving wear down, so the ride quality drops off in stages over tens of thousands of miles rather than failing all at once. Our Professional Parts People recommended inspecting your front struts if you notice:
- A Bouncy or Rough Ride: If your Ford F-150 keeps bouncing after a bump instead of settling quickly, the struts aren’t damping the spring’s motion the way they should.
- Nose Diving When Braking: Worn struts can’t control the truck’s weight shifting forward under braking, so the front end dips more than it used to.
- Uneven or Cupped Tire Wear: When a strut can’t keep the tire pressed evenly against the road, the tire bounces slightly as you drive, wearing the tread unevenly in a pattern called cupping.
- Clunking or Knocking Noises Over Bumps: Worn strut mounts or bushings can clunk or knock when the suspension compresses over bumps.
- Fluid Leaking from the Strut Body: Struts rely on hydraulic fluid to control movement. An oily film on the strut body usually indicates that a seal has failed and the strut has lost its damping capacity.
- Swaying or Leaning in Turns: Struts help keep body roll in check, so a Ford F-150 that leans more than normal through corners often has worn struts.
Replacing front struts requires at least one tool that isn’t common in most toolboxes: a 30mm axle nut socket. Rather than buying tools you may only need once, stop by your local O’Reilly Auto Parts and rent what you need through our Loaner Tool Program. Simply purchase the parts you need and pay a refundable deposit. When you return the rental tool in its original condition, you’ll receive a full refund.
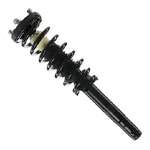 Strut Assemblies
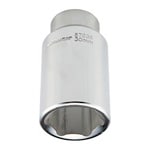 Axle Nut Socket
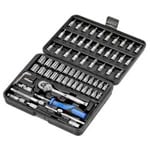 Ratchet & Socket Set
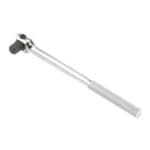 Breaker Bar
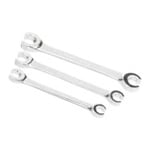 Wrench
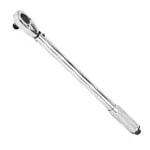 Torque Wrench
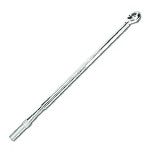 High-Torque Wrench
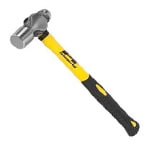 Hammer
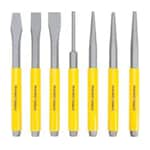 Punch
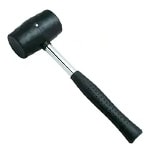 Rubber Mallet
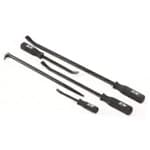 Pry Bar
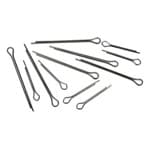 Cotter Pin
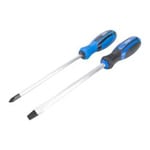 Flathead Screwdriver
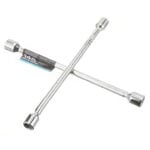 Lug Wrench
 Tie Rod Separator
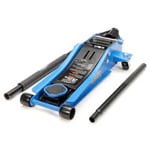 Floor Jack
 Jack Stands
 Wheel Chocks
 Glasses
 Gloves
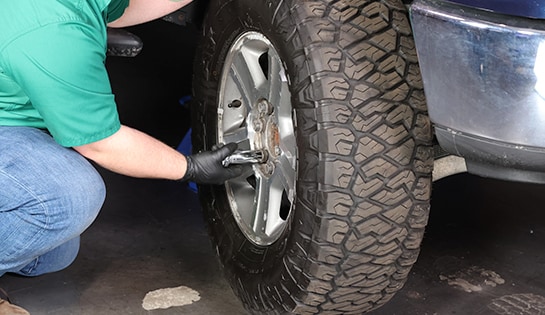
Step 1: Prep & Safety
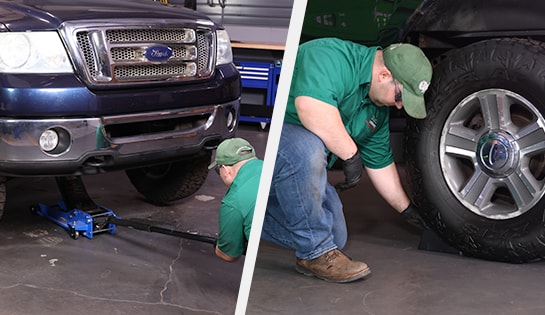
Step 2: Lift & Support the Front End
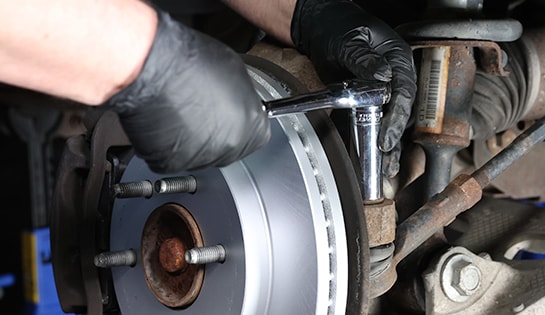
Step 3: Loosen the Tie Rod Nut
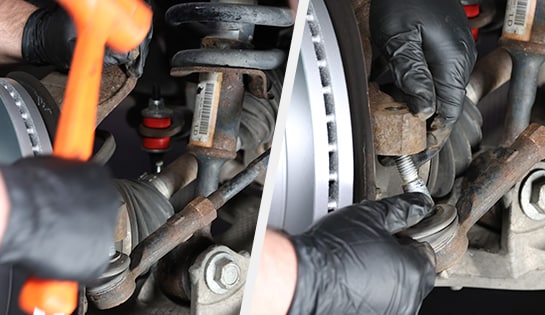
Step 4: Separate the Tie Rod End From the Knuckle
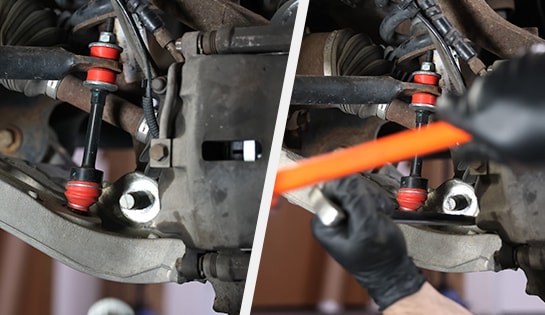
Step 5: Loosen the Top Strut Mounting Nuts
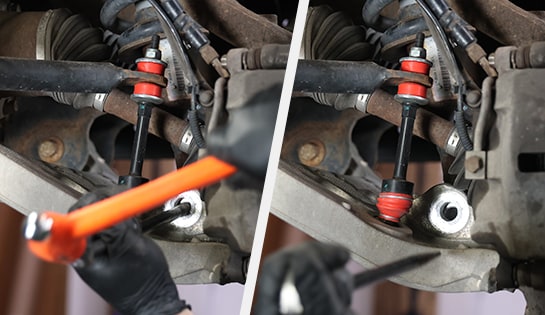
Step 6: Remove the Bottom Mounting Bolt
30mm sockets aren’t common in most toolboxes, but O’Reilly Auto Parts carries axle nut sockets in a variety of sizes in our Loaner Tool Program.
|
Pro Tip: If your truck has a lift kit installed, you may need to disconnect the upper control arm to make removal easier, but this usually isn’t necessary on a stock Ford F-150. |
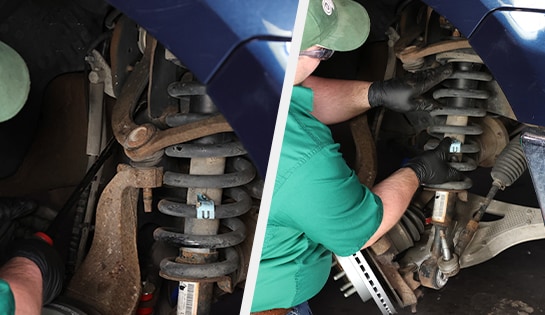
Step 7: Remove the Old Strut Assembly
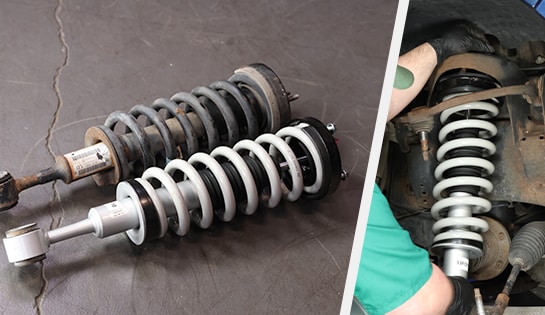
Step 8: Compare & Position the New Strut Assembly
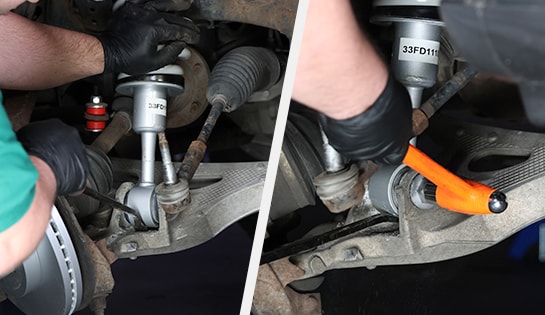
Step 9: Seat the Strut & Install the Bottom Bolt
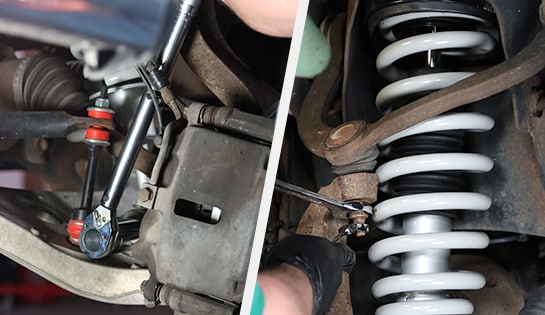
Step 10: Torque the Bottom Bolt
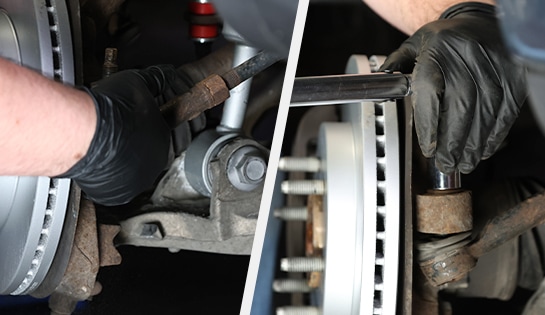
Step 11: Reconnect & Torque the Tie Rod
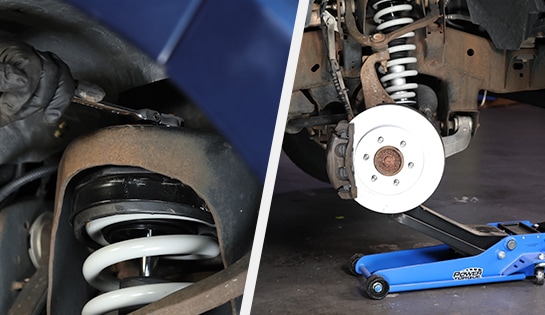
Step 12: Torque the Top Mount Nuts
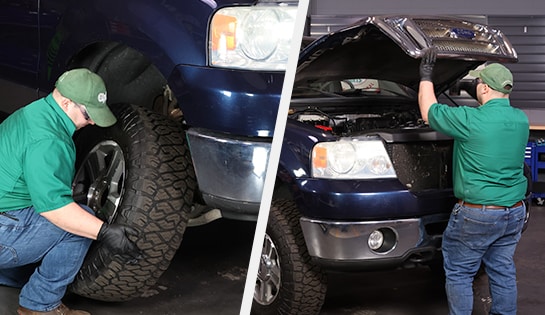
Step 13: Reinstall the Wheel & Repeat on the Other Side
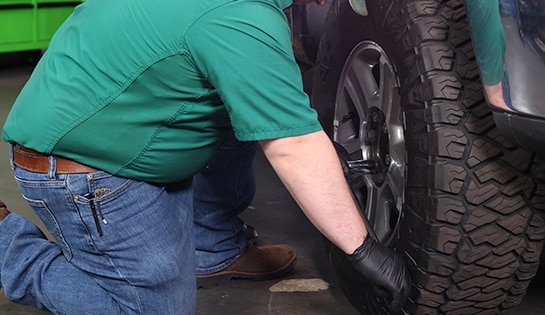
Step 14: Torque the Lug Nuts
|
Pro Tip: Keep in mind that replacing your struts can affect your wheel alignment. It’s best to avoid driving more than necessary until you can get your alignment inspected, since this helps prevent premature tire wear. |
If you aren’t comfortable replacing the front strut assemblies on your Ford F-150, stop by your local O’Reilly Auto Parts. We can recommend a professional shop or a Certified Auto Repair Service Center in your area to get the job done right.
What’s the difference between shocks and struts?
Shocks and struts control how your suspension moves, but they aren’t interchangeable. A shock is a standalone damping component that works alongside the vehicle’s separate springs and suspension geometry.
A strut combines that damping function with a mounting point for the coil spring and also supports part of the vehicle’s weight, making it a structural part of the suspension rather than just a shock absorber. On a 2004-2008 Ford F-150, the front suspension uses strut assemblies, while the rear uses shocks.
How much does it cost to replace front struts?
The cost to replace your front struts depends on your specific Ford F-150, whether you choose complete strut assemblies or replace only the strut cartridge, and whether you do the job yourself or have a professional shop handle it. Doing the job yourself typically costs less than a shop repair, since you’re only paying for the parts.
Should I replace the whole strut assembly or just the strut cartridge?
Though strut cartridge replacements may be more affordable, they also require more work and may have fewer benefits than a complete strut assembly replacement. Replacing all of the strut components, including the upper mount, coil spring, boots, and more, ensures that all of the components are restored to like-new operation. Check with your local O’Reilly Auto Parts store or OReillyAuto.com to find the best strut assemblies for your truck.
How long does it take to replace front struts on a 2004-2008 Ford F-150?
Replacing both front struts on a Ford F-150 typically takes 1.5 to 4 hours, depending on how easily the fasteners come loose and whether you have specialty tools, like a high-spec torque wrench and a 30mm socket, on hand. Keep in mind that rusted hardware or a first-time front strut replacement may add extra time.
Will I need an alignment after replacing my struts?
Replacing the strut assembly can affect your Ford F-150’s alignment, so we recommend avoiding driving until you have your alignment inspected and reset to prevent premature tire wear. O’Reilly Auto Parts doesn’t perform alignments, but our parts professionals are happy to recommend a Certified Auto Repair Service Center or other trusted shop in your area.
| Item | Recommended Product | Purpose |
|---|---|---|
| Strut Assembly |
MasterPro Strut & Coil Spring Assembly | Installed in the front suspension, where it combines the coil spring and strut cartridge into one unit that supports ride height, handling, and impact absorption |
| Axle Nut Socket |
EverTough 30mm Axle Nut Socket | Loosens and tightens the nut on the bolt at the bottom of the strut |
| Ratchet & Socket Set |
Power Torque Ratchet & 15mm, 21mm, & 30mm Sockets | Removes and reinstalls the lug nuts, tie rod nut, and top strut nuts |
| Breaker Bar |
Power Torque ½” Drive Breaker Bar | Paired with 21mm and 30mm sockets to loosen lug nuts, the tie rod nut, and the bottom strut bolt |
| Wrench |
Power Torque 15mm Wrench | Secures the top nuts on the strut assembly studs |
| Torque Wrench |
Power Torque ½” Drive Torque Wrench | Used with the 21mm socket to torque the tie rod nut and lug nuts |
| High-Spec Torque Wrench |
Performance Tool ¾” Drive Torque Wrench | Reaches the high torque spec needed for the bolt at the bottom of the strut to torque it to 351 foot-pounds |
| Hammer |
Performance Tool Hammer | Used with a punch to remove the nut from the bolt securing the assembly to the control arm |
| Punch |
Mayhew Select Center Punch | Used with a hammer to remove the nut from the bolt securing the assembly to the control arm |
| Rubber Mallet |
Performance Tool Rubber Mallet | Breaks the top strut mounting nuts free without damaging the threads |
| Pry Bar |
Performance Tool Pry Bar | Separates the strut from the control arm and helps seat the new assembly into place |
| Cotter Pin |
Dorman Cotter Pin | Secures a castle nut on the tie rod stud, if your truck uses one |
| Screwdriver |
Power Torque Flathead Screwdriver | Removes the hubcaps before loosening the lug nuts |
| Lug Wrench |
Power Torque Lug Wrench | Loosens the lug nuts on the front wheels |
| Tie Rod Separator |
Performance Tool Tie Rod Separator | Helps separate a stuck tie rod end from the knuckle; only used as a last resort |
| Lifting Equipment |
Power Torque Jack, Jack Stands, & Wheel Chocks | Secures the rear wheels, raises the front end, and supports the weight of the truck while the wheels are removed |
| Safety Gear |
SAS Nitrile Gloves & Safety Glasses | Protects your eyes and hands while working under the truck |

The automotive repair work depicted in this series is performed under the direction of the manufacturer of the product featured. Prior to undertaking any of the demonstrated repairs on your vehicle, we suggest you consult with a certified mechanic or another professional who can adequately advise you of the proper repair or remedy required. O’Reilly Automotive Stores, Inc. and its affiliates (“O’Reilly”) disclaims any responsibility for injury or damage resulting from a viewer’s attempt to recreate the repairs shown in this series.