
Most alternators lose output gradually rather than quitting all at once, so your battery gets less of a charge every time you drive. The following symptoms could be signs of a failing alternator:
- Dimming or Flickering Headlights: If your headlights and dashboard lights dim at idle and brighten when you rev the engine, the alternator isn’t producing enough voltage to keep the electrical system stable.
- Battery Warning Light: A battery light on your dashboard usually means the alternator isn’t charging the battery at the voltage your truck’s electrical system needs.
- Slow Cranking or No-Start Condition: If the alternator can’t keep the battery charged, the battery voltage drops too low to spin the starter motor with enough force, leading to slow cranking or a truck that won’t start.
- Dead Battery After a Recent Replacement: If you just installed a new battery and it’s already drained, a failing alternator is likely the reason it’s not recharging. Checking and cleaning your battery cables and terminals may also help ensure power reaches the battery.
- Whining or Grinding Noise: A failing bearing inside the alternator can produce a whining or grinding noise from the front of the engine near the serpentine belt.
- Electrical Accessory Issues: Power windows that move slowly, a radio that cuts out, or changing fan speeds can all point to a weak alternator and inconsistent voltage.
If you’re unsure whether your alternator is the problem, stop by a nearby O’Reilly Auto Parts store for free alternator and starter testing. Our parts professionals will test your alternator or starter, on or off the truck. If the alternator passes, we can help you look into other potential causes, like the battery. If it fails, we’ll help you find the exact replacement part to get your truck back on the road safely.
 Alternator
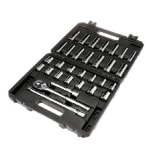 Ratchet & Socket Set
 Torque Wrench
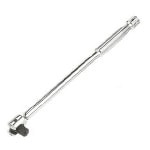 Breaker Bar
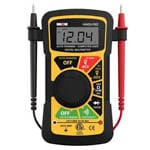 Multimeter
 Safety Glasses
 Gloves
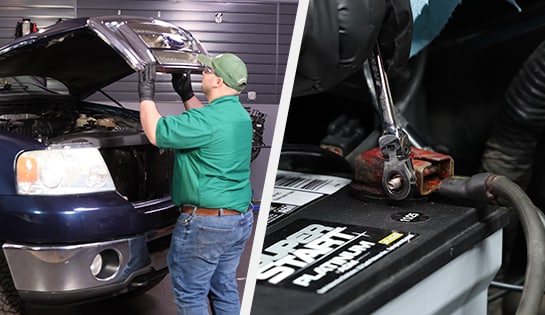
Step 1: Prep & Safety
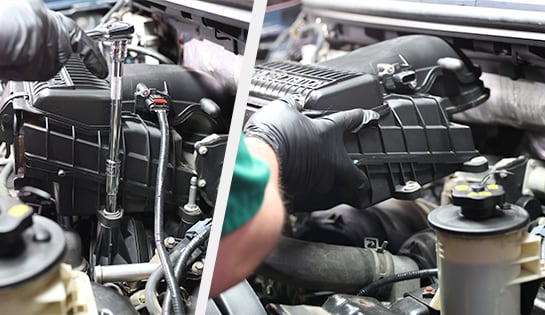
Step 2: Remove the Air Intake & Air Filter Box
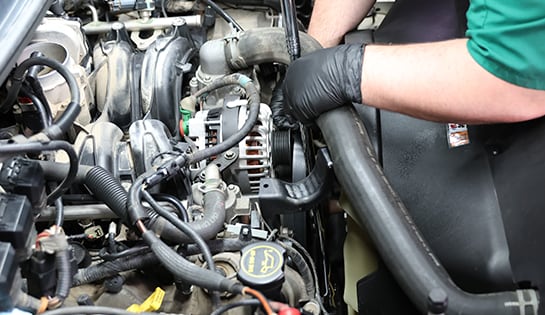
Step 3: Loosen and Remove the Serpentine Belt
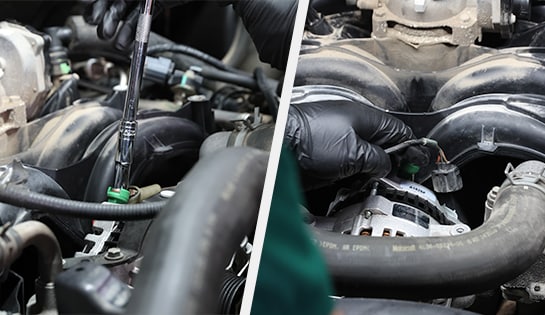
Step 4: Disconnect the Alternator Wiring
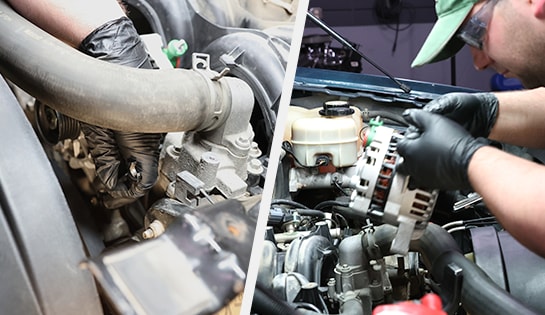
Step 5: Remove the Mounting Bracket & Old Alternator
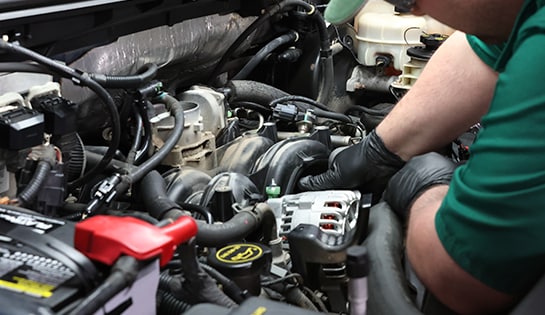
Step 6: Install the New Alternator
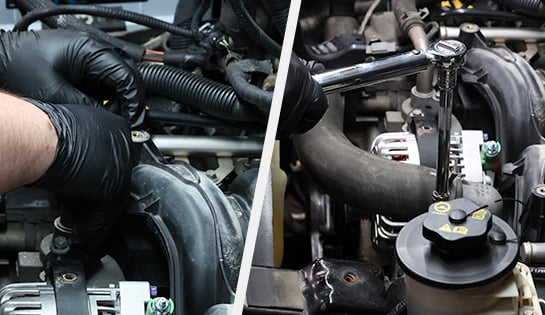
Step 7: Reinstall the Bracket & Torque the Bolts
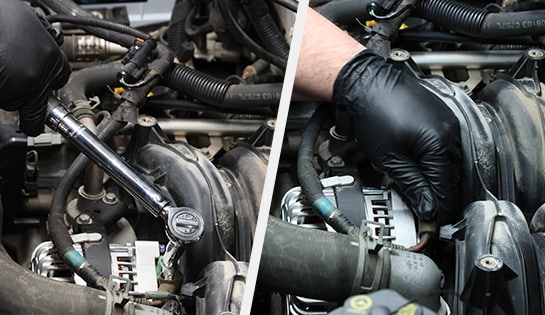
Step 8: Reinstall the Serpentine Belt & Reconnect Wiring
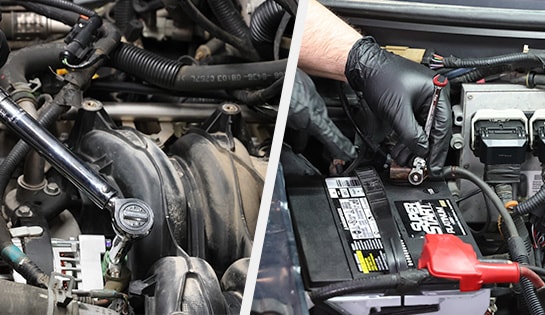
Step 9: Reinstall the Air Intake & Test the Alternator
Reinstall the air filter box, reconnect the PCV hose, and plug the wiring harnesses back in. Secure the air box with the 10mm fasteners you removed earlier, tightening them to 89 inch-pounds. Install the air intake and tighten its bolt to 80 inch-pounds, then reattach the negative battery cable.
Now, you can start your truck and test the alternator using a multimeter to make sure it’s working properly. If everything is working as it should, close the hood.
If you aren’t comfortable replacing the alternator on your Ford F-150, stop by your local O’Reilly Auto Parts. We can recommend a professional shop or a Certified Auto Repair Service Center in your area to get the job done right.
How do I know if my battery or alternator needs to be replaced?
Using a multimeter is the easiest way to determine whether your battery or alternator needs to be replaced. With the engine off, a healthy battery should read around 12.6 volts. If your alternator is working, the voltage should climb to between 13.5 and 14.5 volts. If it stays low or barely moves, the alternator isn’t charging the battery enough. If you don’t have a multimeter, your local O’Reilly Auto Parts store will test your battery and alternator for free.
How much does it cost to replace an alternator?
The cost to replace an alternator depends on a few things: your specific F-150 and engine, whether you purchase a new or remanufactured alternator, and whether you install it yourself or take it to a shop. Replacing the alternator yourself typically costs less than a shop repair because you’re only paying for the parts, not the labor. Check with your local O’Reilly Auto Parts or OReillyAuto.com for current pricing on the right alternator for your Ford F-150.
How long does it take to replace a Ford F-150 alternator?
Most people can replace a Ford F-150 alternator in about 1 to 2 hours, depending on access to tools and how tight the mounting bolts are. You don’t need a lift or any specialty tools, so most of that time is spent removing the air intake and the belt to get clear access to the alternator. Rusted or seized bolts, a cramped engine bay, or your first time routing the serpentine belt can all add extra time, so it’s worth setting aside a little extra if this is your first alternator project.
| Item | Recommended Product | Purpose |
|---|---|---|
| Alternator |
Ultima Select 110 Amp Alternator | Charges the battery and powers the electrical system while the engine runs |
| Wrench & Sockets |
10mm Socket Set with Extension | Used to remove the air box, relieve pressure on the belt tensioner, and to remove and replace the wiring terminal and mounting bolts |
| Torque Wrench |
Power Torque Wrench | Tightens the bracket, mounting bolts, and terminal nut to specification |
| Breaker Bar |
3/8” Drive Breaker Bar | Rotates the belt tensioner to remove and reinstall the serpentine belt |
| Multimeter |
Performance Tool Multimeter | Protects your skin and keeps falling underbody dirt and debris out of your eyes. |
| Safety Gear |
Nitrile Gloves & Eye Protection | Confirms the new alternator is charging properly after installation |
| Optional Equipment |
Jack, Jack Stands, & Wheel Chocks | Provides extra under-vehicle clearance and holds the truck securely if needed. |
The automotive repair work depicted in this series is performed under the direction of the manufacturer of the product featured. Prior to undertaking any of the demonstrated repairs on your vehicle, we suggest you consult with a certified mechanic or another professional who can adequately advise you of the proper repair or remedy required. O’Reilly Automotive Stores, Inc. and its affiliates (“O’Reilly”) disclaims any responsibility for injury or damage resulting from a viewer’s attempt to recreate the repairs shown in this series.