Safety Glasses
 Nitrile Gloves
 Wheel Chocks
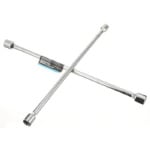 Lug Wrench
 Floor Jack
 Jack Stands
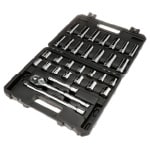 Ratchet and Socket Set
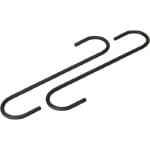 Caliper Hanger
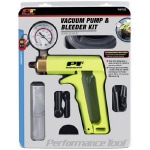 Bleeder Tool
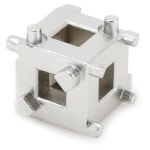 Caliper Compressor Tool
 Shop Towels
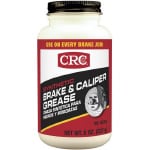 Brake Grease
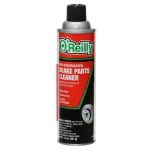 Brake Cleaner
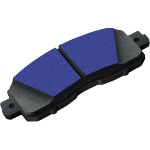 Brake Pads
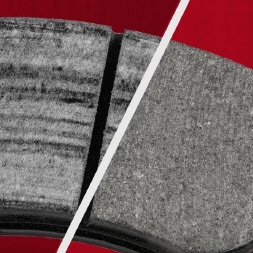
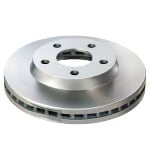 Brake Rotors
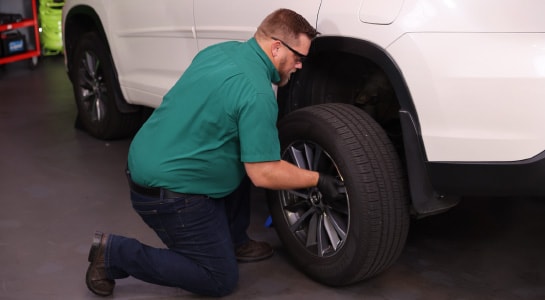
Driving with failing brake pads or brake rotors can negatively impact your Toyota Highlander’s braking distance, and could put you and others on the road in danger. Replacing worn brake pads and rotors on your 2014 to 2019 Toyota Highlander is a straightforward repair that you can complete at home with the right parts and tools. Our detailed step-by-step instructions will help you perform a DIY rear brake rotor and brake pad replacement on your Toyota Highlander.

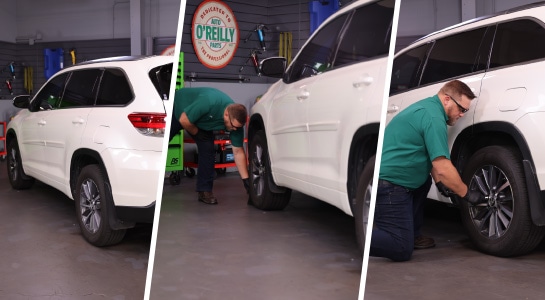
Step 1: Prepare Your Highlander
Park on a level surface. Chock the front wheels and use a lug wrench or breaker bar and 21mm socket to loosen the lug nuts on the rear wheels.
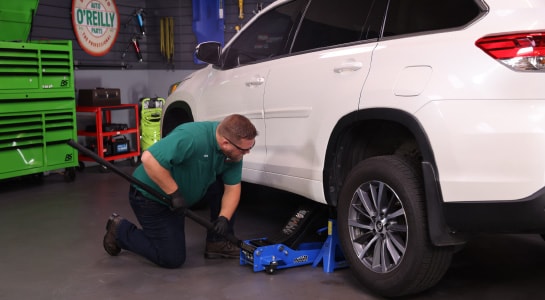
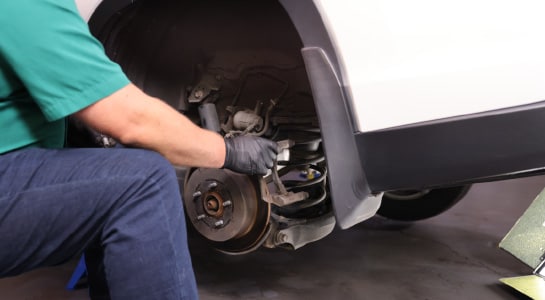
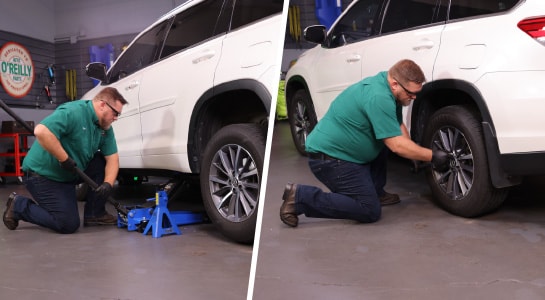
Step 2: Lift Your Vehicle
Use a jack and jack stands to lift and support the rear end of the vehicle.
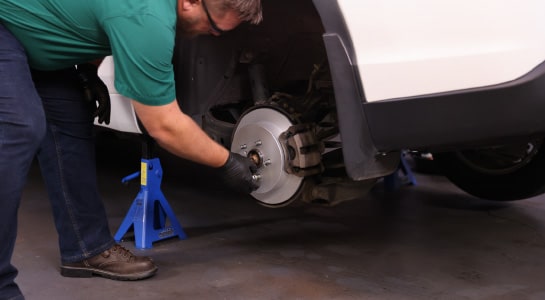
Step 3: Remove Your Highlander’s Wheels
Remove the rear wheels.
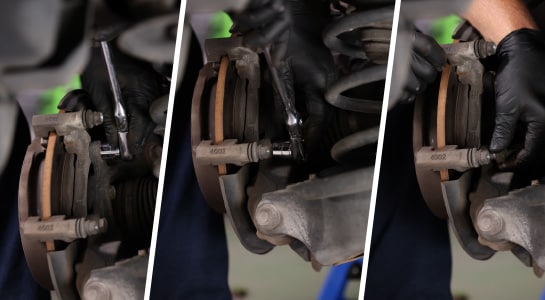
Step 4: Remove Your Caliper Bolts
Use a ratchet and 14mm socket to loosen and remove the caliper bolts.
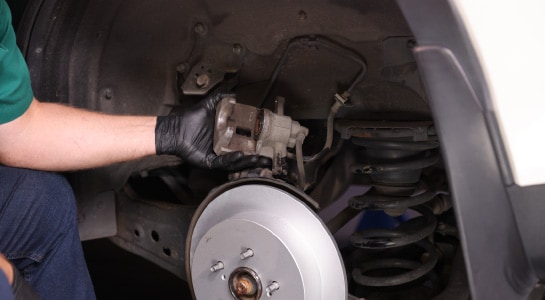
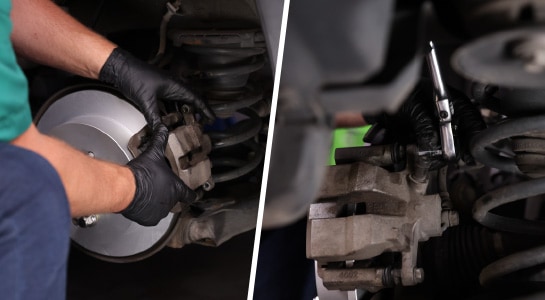
Step 5: Remove Your Caliper
Work the caliper off the rotor and hang it somewhere out of the way, making sure there’s no pressure on the brake hose.
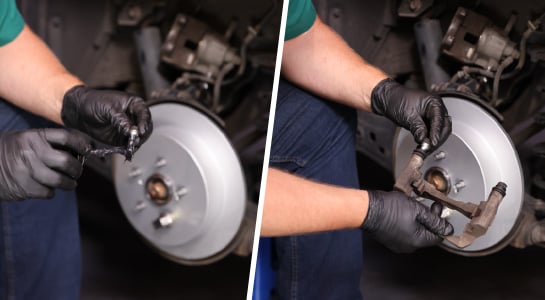
Step 6: Remove Your Old Brake Pads
Remove the old brake pads and hardware from the caliper bracket taking note of their orientation, so you can install your new pads and hardware properly. If needed, you can use a flathead screwdriver to separate the old pads and caliper bracket.
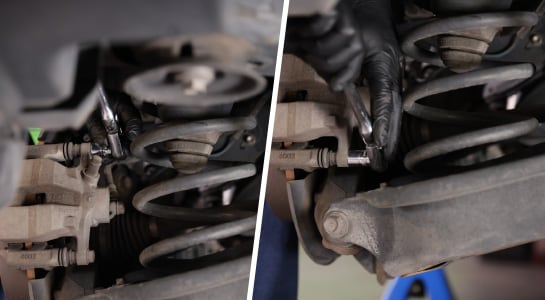
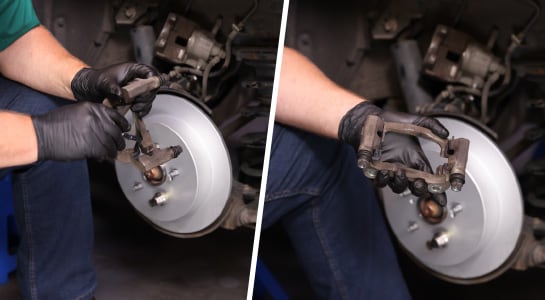
Step 7: Remove Your Caliper Bracket Bolts
Use your ratchet and 17mm socket to loosen and remove the caliper bracket bolts.
Set the bracket aside for now.
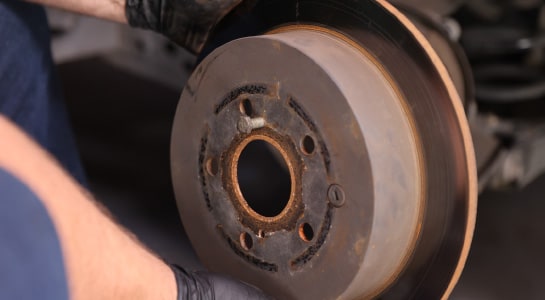
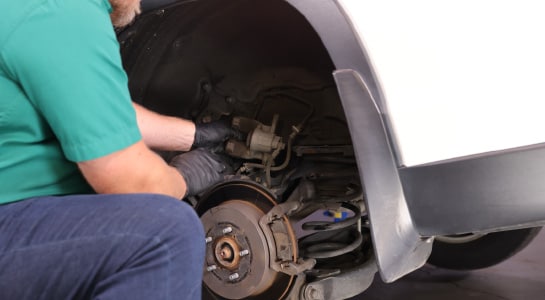
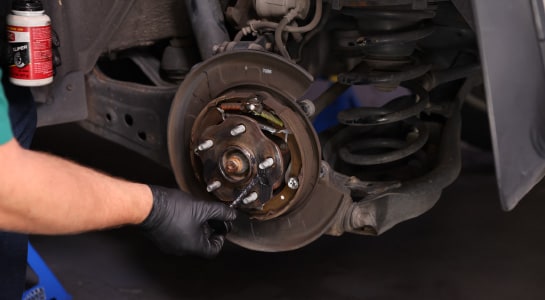
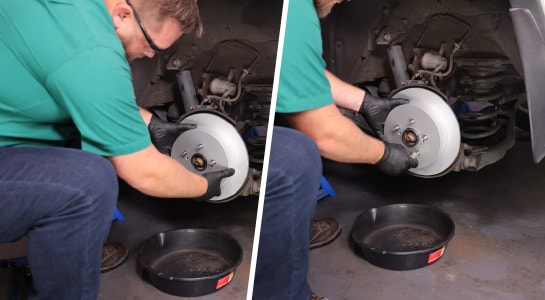
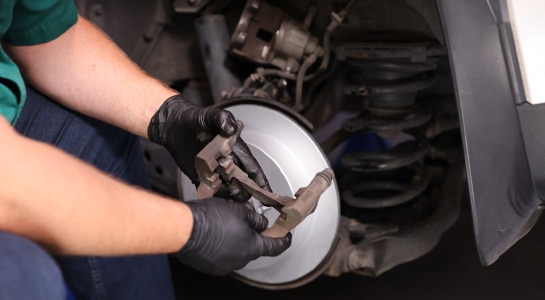
Step 8: Remove Your Old Rotor
Remove the old rotor. If the rotor doesn’t come off easily, you can use a flathead screwdriver to turn the shoe adjuster to contract the parking brake shoes. Before doing this, make sure your parking brake is not set.
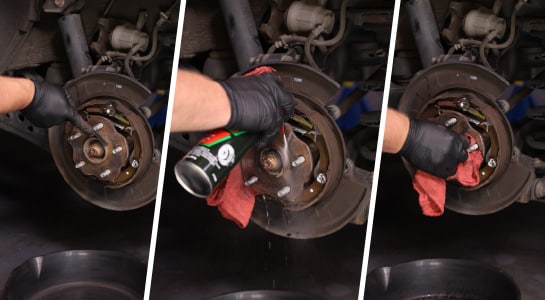
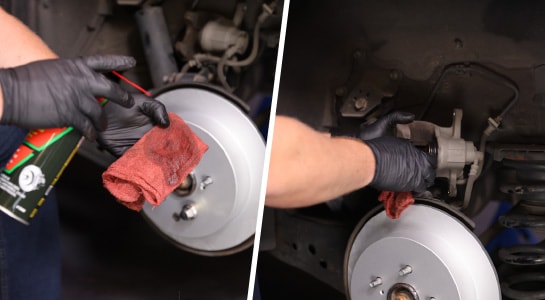
We’re going to install Import Direct rotors, which don’t require cleaning but most rotors need brake cleaner applied to a shop towel to remove oil from the friction surfaces of the new rotor. Clean any rust off the hub with a wire brush.
|
Do It Right: Brake cleaner can strip paint, so be very careful where you spray it. |
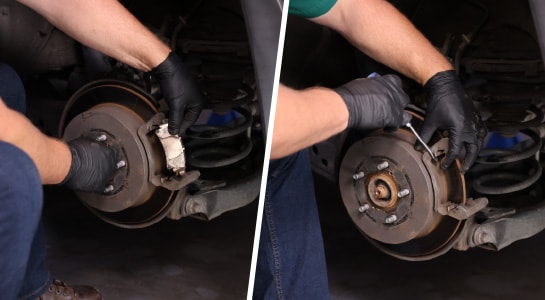
Step 9: Install Your New Rotor
Adding silicone brake grease to the hub before installing your new rotor will make it easier to remove it during your next brake service.
|
Do It Right: Pull the tie rod end up and out of the knuckle and move it to the side. Be careful not to damage the tie rod end! |
Install your new rotor, and use one of your wheel lug nuts to hold it in place as you continue to work.
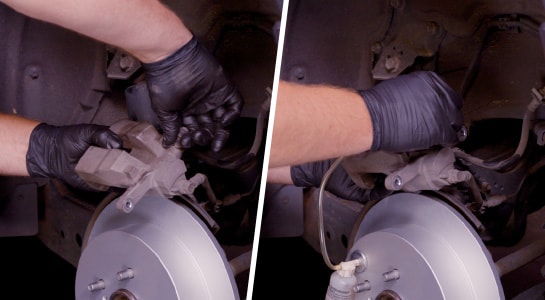
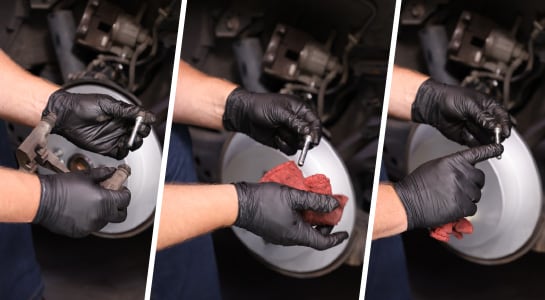
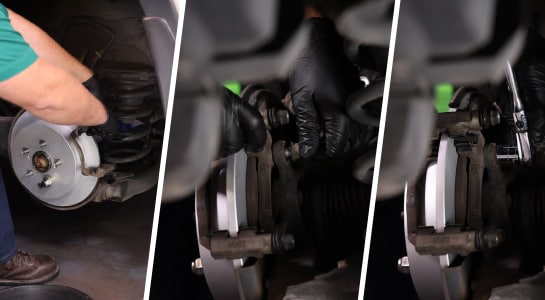
Step 10: Clean Your Caliper Piston
Clean the exposed portion of your caliper piston with brake cleaner on a towel or rag. If the rubber boot is cracked or if there’s brake fluid leaking, the caliper needs to be replaced.
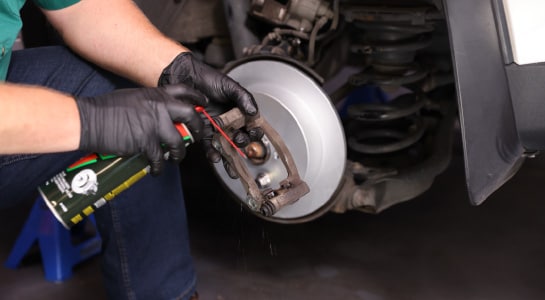
Step 11: Set Up Your Bleeder Tool
Attach your bleeder tool and open the bleeder valve by turning it counter-clockwise.

Step 12: Compress Your Brake Caliper
Using an old brake pad to protect the piston, compress the brake caliper with a brake caliper compressor tool. When you’re done, the piston should be flush with the housing.
Step 13: Disconnect Your Bleeder Tool
Tighten the bleeder valve, being careful not to let any air into the line. Detach the bleeder tool.
Step 14: Inspect Your Caliper Bracket
Give your caliper bracket a visual inspection. If the bracket is extremely rusty where the pads or hardware will sit, it needs to be replaced.
Step 15: Inspect Your Slide Pins
Remove the slide pins, and visually inspect them. If they’re corroded or pitted, they also need to be replaced.
Step 16: Apply Brake Cleaner to Your Caliper Bracket
Spray the bracket down with brake cleaner, but don’t use a wire brush to clean it. This can lead to further corrosion.
Step 17: Reinstall Your Slide Pins
Wipe down the slide pins and apply some fresh silicone grease. Reinstall the pins, and make sure they glide smoothly.
You’ll also apply silicone grease to the notches on the bracket where your new brake hardware will sit as well as the back of your new brake pads.
Step 18: Install Your New Brake Hardware
Install the new brake hardware. With the slide pins and hardware installed, reinstall the bracket. Lift it into place and thread the 17mm bracket bolts by hand, starting with the top one. Use your ratchet and socket to tighten the bolts, then use your torque wrench to tighten those bolts to 70 foot-pounds.
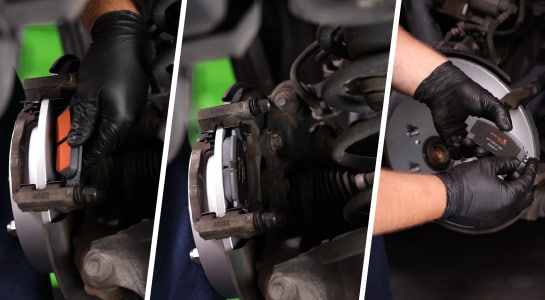
Step 19: Install Your New Brake Pads
Install your new brake pads. For our repair, we used Import Direct brake pads.
Step 20: Reinstall Your Brake Caliper
Move the caliper into place over the pads, making sure the brake hose isn’t twisted. Thread the two mounting bolts by hand, starting with the top one. Use your ratchet and 14mm socket to tighten them. Once they’re snug, torque these bolts to 20 foot-pounds.
If you used a lug nut to keep the rotor in place, you can remove it now as well as your caliper hanger.

Step 21: Reinstall Your Wheel and Tighten the Lug Nuts
Reinstall the wheel and tighten the lug nuts until the wheel is secure against the rotor.
|
Do It Right: It’s always a good idea to change brake pads and rotors in pairs, so repeat these steps on the other side. |
Step 22: Lower Your Vehicle
Lower the rear end and remove the wheel chocks. Use your 21mm socket and torque wrench to tighten the nuts in a star pattern to 76 foot-pounds.
Step 23: Check Your Brake Fluid
BEFORE driving anywhere, be sure to pump your brake pedal several times until you feel the pressure return. Some brake fluid was pushed out when you compressed your caliper pistons, so check your master cylinder and add fluid as needed.
|
Do It Right: If your brake pedal feels spongy, you may have air in one or both of your front brake lines. Check out our video on how to bleed your brake lines. |
Step 24: Test Your New Brakes
Drive your vehicle to help break in the new components, slowing it thirty times from thirty miles per hour with moderate brake pressure. Allow the brakes to cool for about thirty seconds in between each slowdown.
Try to avoid aggressive stops during this break-in process. Your brakes will probably smell after you’ve done this, and that’s okay. If the odor persists past five hundred miles or so, or if you have excessive dust on a wheel, you may have a stuck caliper.