
 Safety Glasses
 Nitrile Gloves
 Syntec High Mileage
 MicroGard Select Oil Filter
 Shop Towels
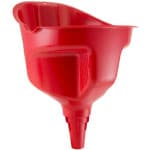 Funnel
 Drain Pan
 Flathead Screwdriver
 Ratchet and Sockets
 Torque Wrench
 Filter Wrench
 Oil Drain Plug Gasket
Regularly changing the oil and replacing the oil filter in your Toyota Highlander helps ensure you have clean, filtered oil to lubricate and cool the vehicle’s engine components and keep your engine performing its best. Dirty or contaminated oil, low oil levels, and clogged oil filters can all contribute to premature engine damage, overheating, or wear. These step-by-step instructions and video detail how to change the oil in a 2017 Toyota Highlander, and will be similar for most 2014, 2015, 2016, 2018, and 2019 Highlander models.
Before changing your oil, be sure to consult your owners manual for maintenance instructions specific to your vehicle. Your owners manual should tell you how often you need to change your oil and oil filter, as well as the type and weight of oil recommended for your Highlander. It’s important that oil level and condition is checked regularly to prevent engine damage or failure. If you are experiencing reduced engine performance, engine noise, oil discoloration, or low oil levels, more frequent oil changes on your Highlander may be necessary to prevent further engine damage. Maintain your engine health and keep your vehicle on the road with regular oil changes using these step-by-step instructions.

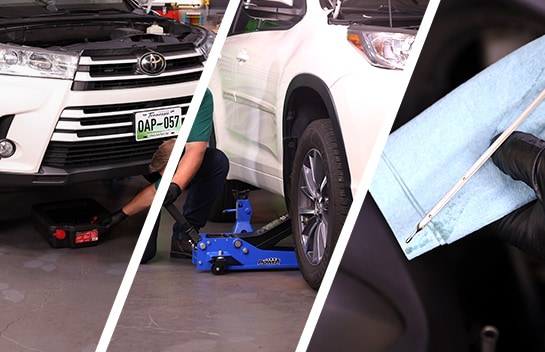
Step 1: Prepare Your Vehicle

|
Do It Right: If needed, chock the rear wheels and lift and support the front end of the vehicle. |

Step 2: Remove Your Splash Shield

Step 3: Drain Your Old Oil


Step 4: Remove Your Old Oil Filter
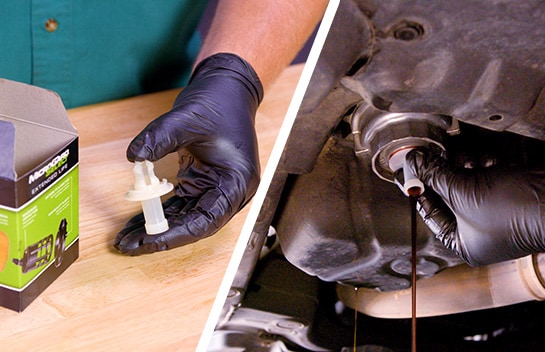
Step 5: Connect Your Oil Drain Tube

Step 6: Remove Your Old Old Filter and Drain Tube

Step 7: Wipe Away Excess Oil

Step 8: Install Your New Filter


Step 9: Secure the Drain Plug Bolts

Step 10: Add Fresh Oil
|
Do It Right: This Toyota Highlander takes 5.8 quarts of 0W-20. Our vehicle has over 75,000 miles, so we’ll be using SYNTEC Full Synthetic High-Mileage. |

Step 11: Check Your Oil Levels
Step 12: Lower Your Vehicle


These step-by-step instructions and video detail how to change the oil and replace the oil filter in a 2017 Toyota Highlander, and will be similar for 2014 through 2019 models. Completing oil changes and replacing the oil filter as specified in your owners manual helps ensure you have clean oil to lubricate critical engine components. Going too long between oil changes may result in poor engine performance, engine noise, or oil degradation, and can lead to costly engine damage. To learn more about the oil in your Toyota Highlander, take a look at our other resources, including which oil is right for your vehicle and how to change your motor oil and filter.
The automotive repair work depicted in this series is performed under the direction of the manufacturer of the product featured. Prior to undertaking any of the demonstrated repairs on your vehicle, we suggest you consult with a certified mechanic or another professional who can adequately advise you of the proper repair or remedy required. O’Reilly Automotive Stores, Inc. and its affiliates (“O’Reilly”) disclaims any responsibility for injury or damage resulting from a viewer’s attempt to recreate the repairs shown in this series.