 Transmission Filter
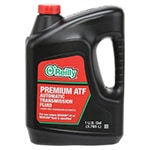 Transmission Fluid
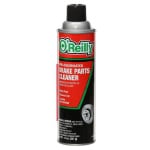 Brake Parts Cleaner
 Drain Pan
 Ratchet & Socket Set
 Breaker Bar
 Torque Wrench
 Floor Jack
 Jack Stands
 Wheel Chocks
 Shop Towels
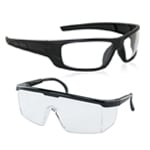 Safety Glasses
 Gloves
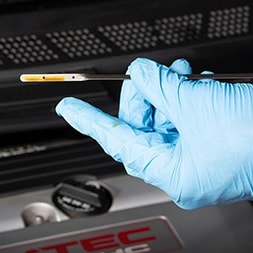
Run the engine for five to ten minutes to warm up the fluid, then park on a level surface, turn off the engine, and open the hood. Put on your eye protection and gloves.
Transmission fluid breaks down gradually with heat and use, but a clogged filter can speed up the process. Our Professional Parts People recommend checking your transmission fluid and filter if you notice:
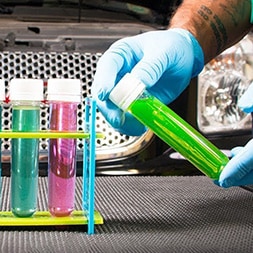
- Dark, Burnt-Smelling Fluid: Transmission fluid is typically a translucent red. Fluid that’s turned dark brown or black, or that smells burnt, has broken down and lost much of its ability to lubricate and cool the transmission.
- Slipping or Delayed Gear Engagement: If your engine revs before the vehicle starts moving, or if shifting feels delayed, dirty or low transmission fluid may not be building enough hydraulic pressure to engage the gears properly.
- Rough or Harsh Shifting: Shifts that used to feel smooth but now feel abrupt or jarring can point to transmission fluid that’s no longer providing consistent lubrication and pressure, either due to degraded condition or low fluid levels.
- Whining or Grinding Noise: Unusual noises when shifting or driving can indicate contaminated transmission fluid is no longer protecting internal components as it should.
- Fluid Leaking Underneath the Vehicle: A reddish puddle under your vehicle usually means a seal or gasket has failed and needs to be addressed. If you’ve already lost a significant amount of fluid, or if you’re replacing the transmission pan gasket, this may be a good time to also complete a transmission filter and fluid change.
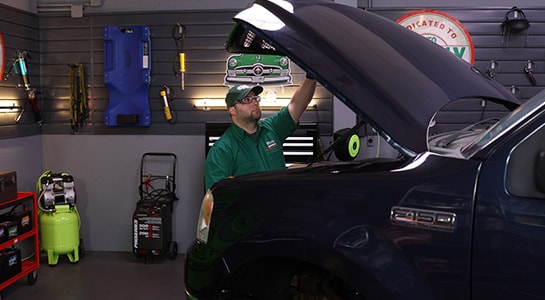
Step 1: Prep the Engine
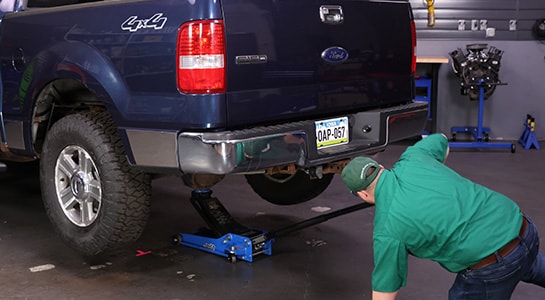
Step 2: Raise the Vehicle
If you need more clearance, chock the rear wheels and use a jack and jack stands to lift and support the front end. If you have enough clearance, you can also lift the rear of the vehicle, which helps the transmission fluid drain with less mess.
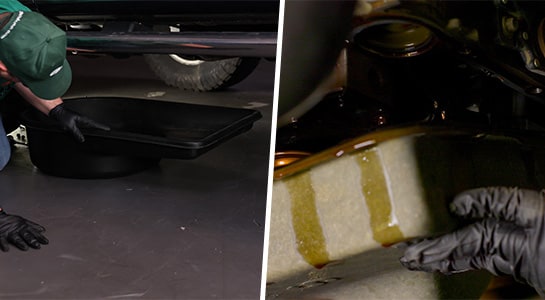
Step 3: Drain the Transmission Fluid
Place a large drain pan underneath the transmission. If your vehicle has a drain plug, use a socket and ratchet to remove it and let the fluid drain. If your vehicle doesn’t have a drain plug, use a ratchet and socket to loosen the transmission pan bolts. Then, remove the bolts on one side and carefully tilt it so the fluid can drain gradually to minimize spills.
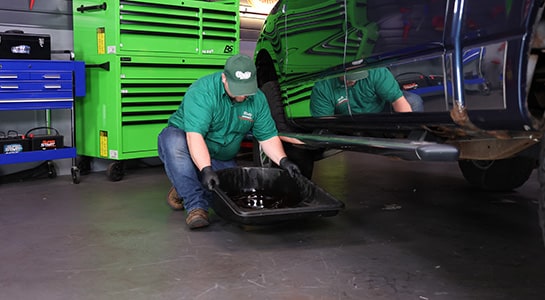
Step 4: Remove the Drain Pan
Once the fluid has drained, remove any remaining pan bolts and lower the pan. Keep in mind that if the fluid was drained from the side of the pan, some of it may still be present at the bottom, so it should be removed carefully to prevent spills. If your vehicle has a drain plug, you can reinstall it now and torque it to manufacturer specifications.
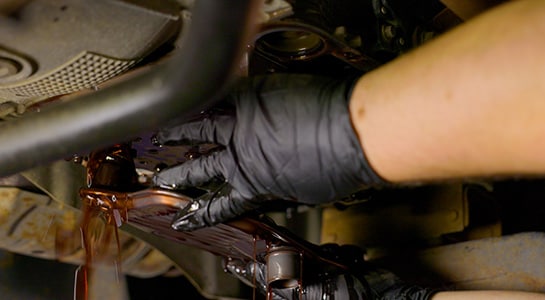
Step 5: Remove the Old Transmission Filter
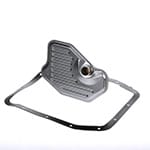
Use a ratchet and socket to remove the bolts securing the old transmission filter, then pull the filter straight down to remove it. Make sure the old O-ring or gasket comes off the transmission valve body along with the filter.
|
Pro Tip: Some filters aren’t bolted in; if yours is press-fit, pulling down on it should dislodge it. |
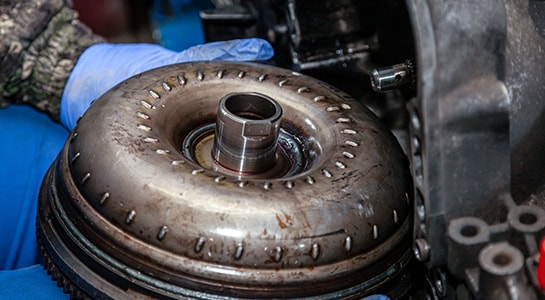
Step 6: Drain the Torque Converter (Optional)
Most of the transmission fluid should be removed by this point, but if the fluid was especially contaminated or burnt, drain the torque converter as well. In some cases, it can hold over half of the total fluid in your transmission.
To drain the torque converter, you may need to remove an inspection plate. You may need to turn the engine over with a socket and breaker bar on the crankshaft nut to access the drain plug. Once the transmission fluid has drained from the converter, reinstall the drain plug and torque it to factory specifications. Reinstall the inspection plate if you removed it.
|
Pro Tip: Not all vehicles have a torque converter drain plug. If yours doesn’t, you will need to remove the converter entirely to drain it, which involves separating the engine and transmission and is best left to a professional shop. |
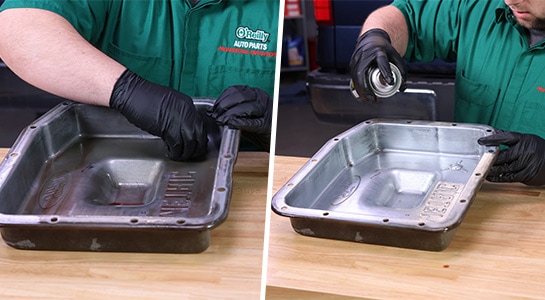
Step 7: Clean the Transmission Pan & Magnet
Remove the magnet from inside the transmission pan, if equipped, and wipe off any metal shavings. Then, clean the pan and the gasket mounting surfaces on both the pan and the transmission case with brake cleaner and a shop towel or rag.
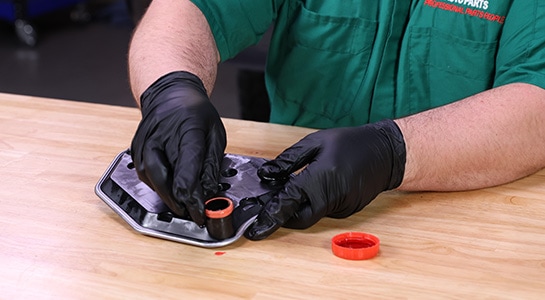
Step 8: Install the New Transmission Filter
Lubricate the O-ring on the new filter with fresh transmission fluid and push it into place, or install the gasket that came with the new filter. If your filter is secured with bolts, use a torque wrench to tighten them to the manufacturer’s specifications.
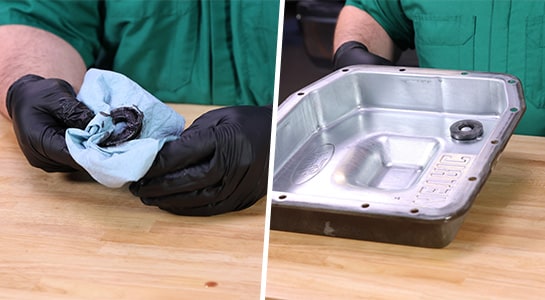
Step 9: Reinstall the Magnet & Pan Gasket
Reinstall the magnet and place the new gasket on the transmission pan. If your vehicle has a reusable gasket, clean it thoroughly before reinstalling it. In some cases, it’s a good idea to start a few of the bolts through the transmission pan and gasket to hold the gasket in position for installation.
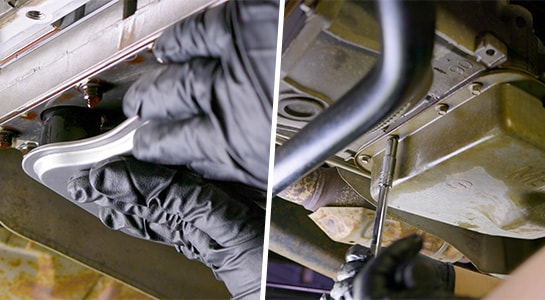
Step 10: Reinstall the Transmission Pan
Lift the transmission pan into place and install the bolts. Use your torque wrench to tighten them in a star pattern to manufacturer specifications. On our 2006 Ford F-150, that spec was 10 foot-pounds, but always confirm the correct torque for your vehicle.
|
Pro Tip: Don’t overtighten the transmission pan mounting bolts, as this can cause the pan to warp and no longer maintain an adequate seal. If you suspect the pan bolts were overtightened previously, it may be necessary to attempt to straighten the pan and flatten any dimpled bolt holes before installation. |
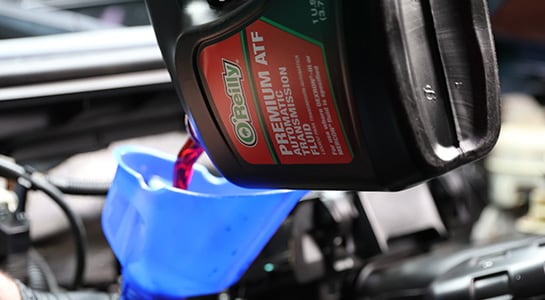
Step 11: Lower the Vehicle & Refill the Transmission
Refill the transmission with the type and amount of fluid specified by your vehicle’s manufacturer, starting with about five quarts. This is typically done with a funnel through the dipstick tube. Sealed transmissions, or those without a dipstick, may have a specific hole to fill the transmission and a special way to measure the fluid level that can be found in your service manual.
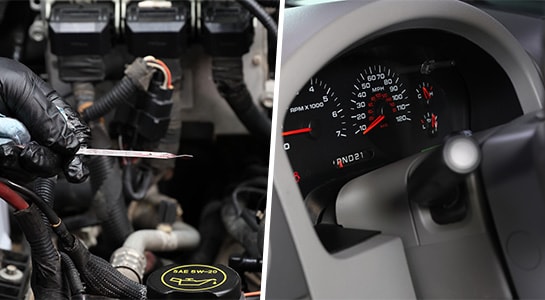
Step 12: Cycle Through the Gears & Adjust the Fluid
Start the engine and, with your foot on the brake, cycle through all the gears, staying in each one for 20 to 30 seconds. Put the vehicle in park and check the fluid level with the dipstick. Add fluid as needed until it reaches the “hot” mark, being careful not to overfill.
|
Pro Tip: This may take a few cycles through the gears, since fluid continues to be pulled into the torque converter and transmission as you shift. |
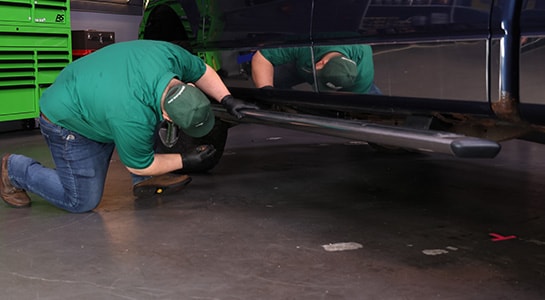
Step 13: Check for Fluid Leaks
Check underneath your vehicle to make sure there aren’t any fluid leaks, then turn off the engine and close the hood.
If you aren’t comfortable replacing the rear brake pads and rotors on your Ford F-150, stop by your local O’Reilly Auto Parts. We can recommend a professional shop or a Certified Auto Repair Service Center in your area to get the job done right.
How often should I change my transmission fluid and filter?
Most manufacturers recommend changing your transmission fluid and filter every 30,000 to 60,000 miles, or every 20,000 to 30,000 miles if you regularly tow, carry heavy loads, or drive in frequent stop-and-go traffic. Even if your owners manual advertises “lifetime” transmission fluid, mechanics generally suggest replacing it every 60,000 to 100,000 miles to prevent internal wear and repairs.
How many quarts of transmission fluid do I need?
A standard drain and refill requires 3 to 6 quarts of transmission fluid for most applications, while dropping the pan to replace the filter typically takes 4 to 7 quarts. If you’re performing a full system flush to replace all the fluid in the system and torque converter, you will need 10 to 16 quarts or more. Always check your vehicle’s owners manual to confirm the required fluid type and exact capacity before starting your service.
What should I do with my used transmission fluid and filter?
Never pour used transmission fluid down a household drain or storm sewer, and avoid throwing used filters in the trash until they are thoroughly cleaned. Instead, bring your old fluid to your nearest O’Reilly Auto Parts store. We offer free fluid recycling to help you dispose of automotive waste safely and responsibly.
| Item | Recommended Product | Purpose |
|---|---|---|
| Transmission Filter | Power Torque Transmission Filter | Installed inside the transmission pan, where it filters dirt and metal particles out of the fluid before it recirculates |
| Transmission Fluid | O’Reilly Transmission Fluid | Lubricates and cools the transmission’s internal components and provides the hydraulic pressure needed to shift gears |
| Brake Parts Cleaner | O’Reilly Brake Parts Cleaner | Cleans the transmission pan and gasket mounting surfaces before the new gasket and filter are installed |
| Drain Pan | GreatNeck Drain Pan | Catches old transmission fluid as it drains |
| Ratchet & Socket Set | Power Torque Ratchet & Socket | Removes and reinstalls the drain plug or pan bolts, filter bolts, and inspection plate |
| Torque Wrench | Power Drive ½” Drive Torque Wrench | Tightens the drain plug, filter bolts, and pan bolts to manufacturer specifications |
| Shop Towels | Sellars Shop Towels | Cleans transmission pan, magnet, and gasket surfaces |
| Lifting Equipment |
Power Torque Jack, Jack Stands, & Wheel Chocks | Secures the rear wheels and supports the front of the vehicle |
| Safety Gear |
SAS Nitrile Gloves & Safety Glasses | Protects your hands and eyes while working under the vehicle |