 Brake Shoes
 Drum Brake Hardware Kit
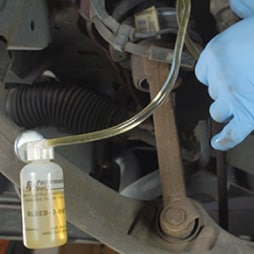
 Brake Cleaner
 Brake Grease
 Eye Protection
 Nitrile Gloves
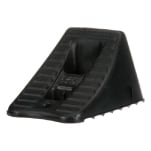 Wheel Chocks
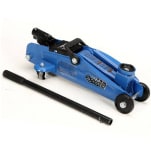 Floor Jack
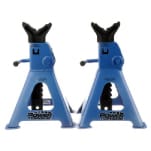 Jack Stands
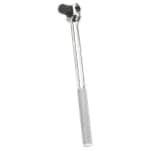 Breaker Bar
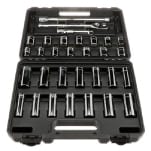 Ratchet & Sockets
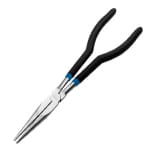 Needle-Nose Pliers
 Screwdriver
 Shop Towels
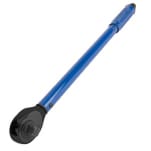 Torque Wrench
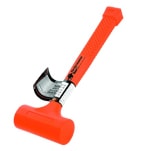 Hammer
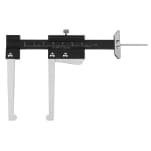 Calipers
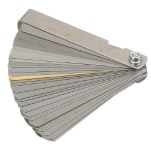 Feeler Gauge
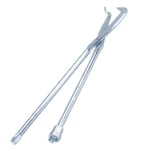 Brake Spring Tool
This procedure will apply to most 2011, 2012, 2013, 2014 and 2015 Chevy Cruze models, but be sure to know the specifics for your Cruze before getting started. If you’re not completely comfortable changing the rear brake drums and shoes on your Cruze yourself, we’d be happy to recommend a professional technician in your area.
Step 1: Prepare Your Cruze
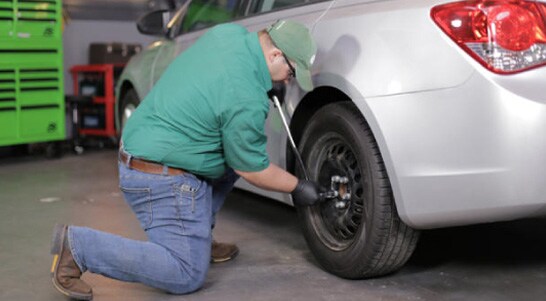
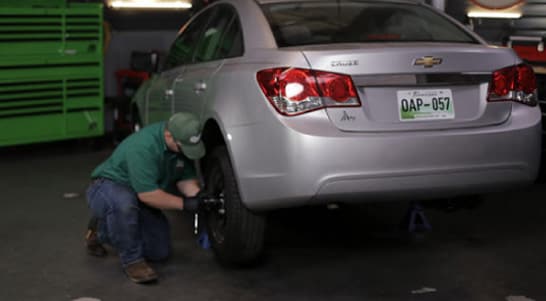
Park on a level surface, and leave your parking brake off. If the parking brake is engaged, your brake drums will likely be stuck or difficult to remove. Remove the wheel cover, if equipped, then use a lug wrench or 19mm socket and breaker bar to loosen the lug nuts on the rear wheels.
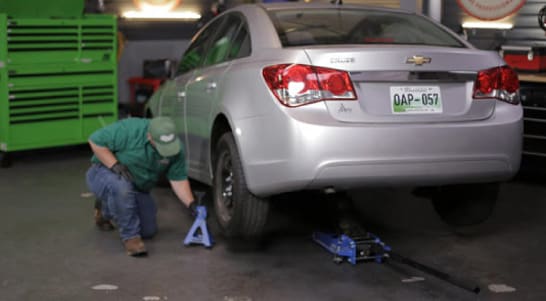
Step 2: Lift and Support the Rear End
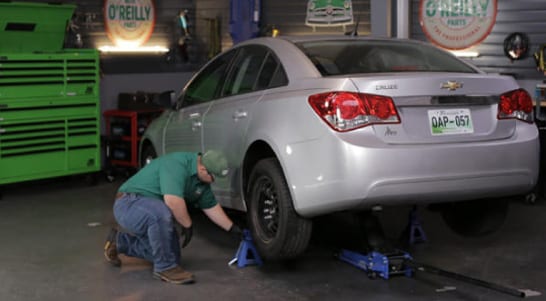
Chock the front wheels, then use a jack and jack stands to lift and support the rear end of the car. Remove the rear wheels.
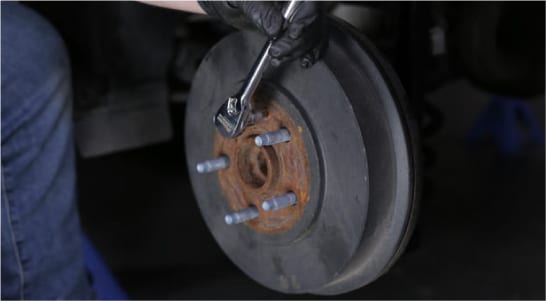
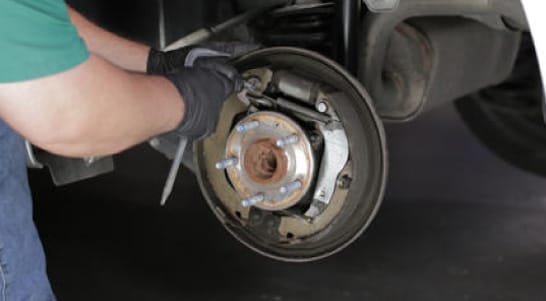
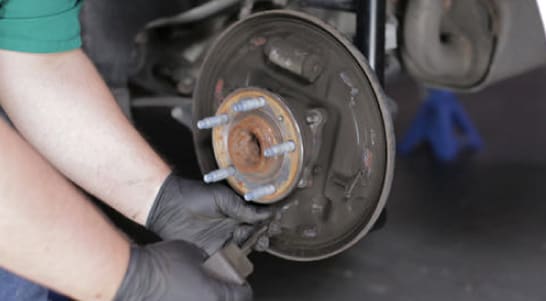
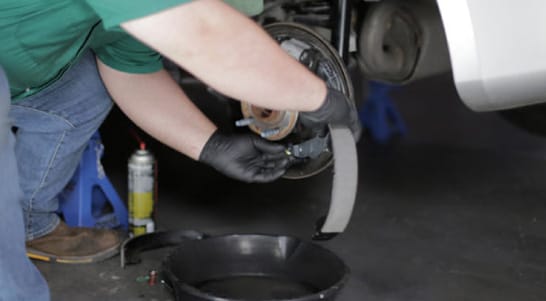
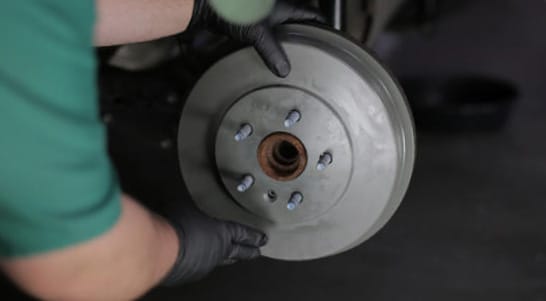
Step 3: Remove the Brake Drum
On the side where you’ll be working first, remove the brake drum. There is likely a screw in place on the brake drum that secures it to the axle, which will need to be removed. You may also need to tap the drum with a hammer to release it from the shoes if it is rusted to the axle or lug studs.
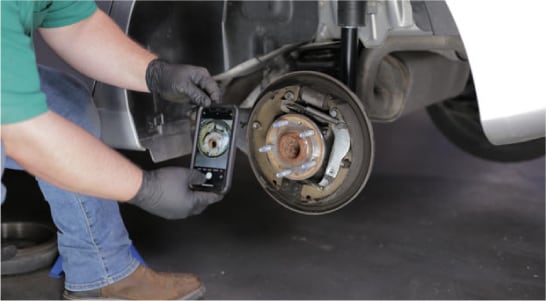
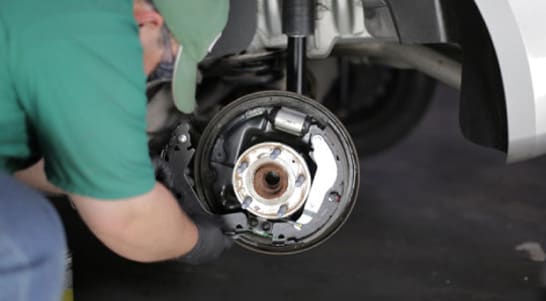
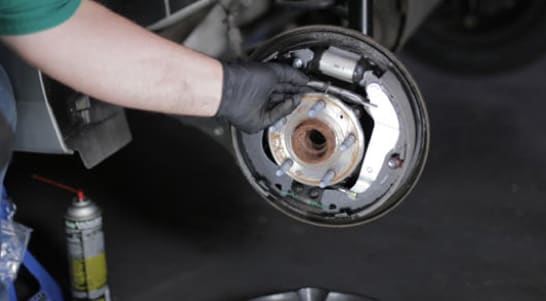
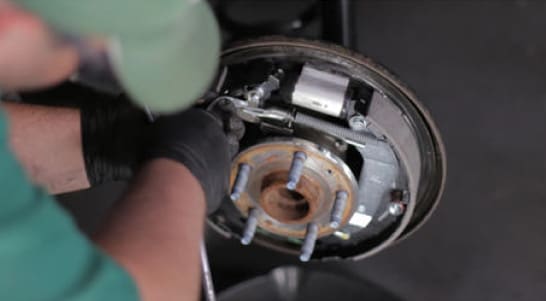
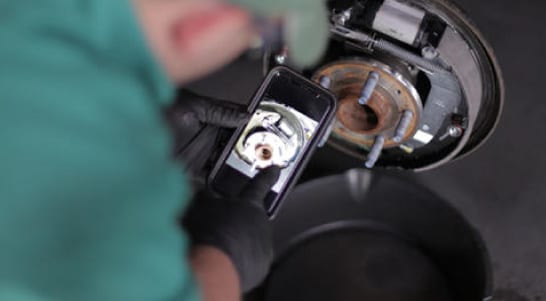
Step 4: Photograph the Assembly
With the drum removed, it’s a good idea to snap a photo of the assembly, so that you’ll have a reference when it’s time to put it all back together.
Step 5: Detach the Adjuster Spring
Use a hook, pliers, or a screwdriver to disengage the hook end of the adjuster spring toward the top of the assembly from the adjuster actuator lever.
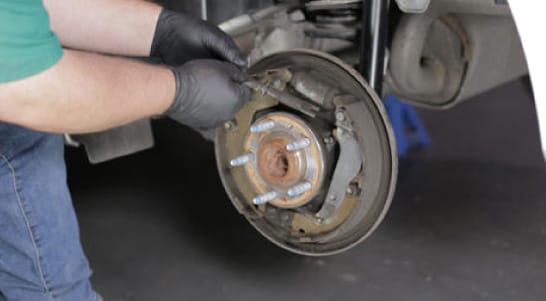
Step 6: Remove the Adjuster Assembly
Release the adjuster actuator lever from the adjuster assembly, then remove the adjuster assembly.
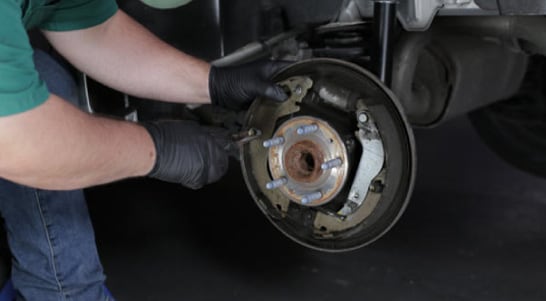
Step 7: Remove the Brake Retainer Springs
Remove the brake retainer springs by using your pliers or drum brake spring tool and twisting the caps to the release position.
Step 8: Remove the Front Brake Shoe
Remove the lower spring and the front brake shoe.
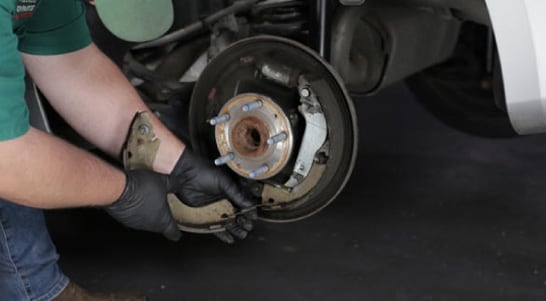
Step 9: Remove the Rear Brake Shoe
Now remove the parking brake cable from the parking brake lever to disengage and remove the rear brake shoe.
|
Do It Right: With the old shoes and hardware removed, check your wheel cylinder for leaks and replace it if needed, and clean the backing plate using brake cleaner and a rag. |
Step 10: Install the Parking Brake Cable
Start reassembly by attaching the parking brake cable to the parking brake lever.
Step 11: Install the New Brake Shoes
Insert the new lower brake spring into the appropriate hole of the forward brake shoe, then install the brake shoes to the backing plate.

Step 12: Install Hardware
Insert the new retaining pins through the rear of the brake backing plate, then use your brake spring tool or pliers to compress the retaining springs and caps and turn them to the locked position.
Step 13: Install the Adjuster Assembly
At this point, make sure the adjuster is turned in as far as possible. Now install the adjuster assembly to the adjuster actuator lever.
Step 14: Install the Adjuster Spring
Now install the adjuster spring. Make sure that the loop end of the spring is fully seated on the actuator lever tab.
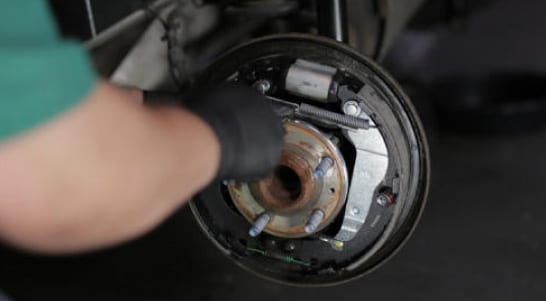
Step 15: Compare the Assembly with Your Photo
Check your newly installed parts with the picture you took before disassembly to ensure everything looks like it’s back in the right place, and ensure that the new shoes are contacting the appropriate guides and the wheel cylinder.
|
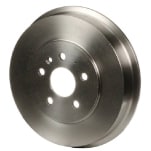
Do It Right: It’s usually best to replace the brake drum when completing a brake shoe service, but you can also resurface and reuse the brake drum if it’s not excessively worn. Most O’Reilly Auto Parts locations offer brake drum and rotor resurfacing for a fee; you can learn more about this service at your local store. |
Step 16: Adjust the Brake Shoes
Use calipers to measure the inside of the brake drum at its widest point. Lock the calipers at this measurement using the set screw, if equipped. This measurement will be used to set the spread and width of the brake shoes using the adjuster. Hold the caliper in the locked position over the widest point of the brake shoes, and turn the adjuster to spread the shoes out to get them closer to the measured width.
Step 17: Test Fit the Brake Drum
Adjust the star wheel and test fit the brake drum until you feel a slight drag. If you are unable to install the drum over the shoes at all, back the adjuster off to compress the shoes and start over, adjusting it out slightly until the drum can be installed and mild drag is achieved.
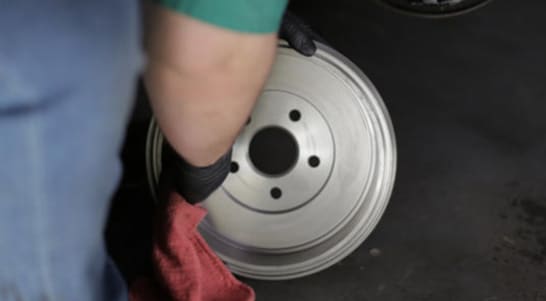
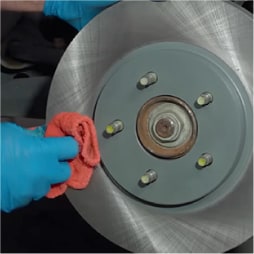
Step 18: Clean and Install the Brake Drum
Before installing a new brake drum, use brake cleaner and a shop towel or rag to clean the friction surface of any cutting oils. Once the brake drum is reinstalled, you can also install the brake drum retaining screw you removed earlier.
|
Do It Right: It’s usually best to replace the brake drum when completing a brake shoe service, but you can also resurface and reuse the brake drum if itIt’s usually a good idea to complete a brake service on both sides at the same time, so repeat these steps on the other side. |
Step 19: Reinstall Your Wheels
Reinstall the wheels on each side and tighten the lug nuts until they’re snug.
Step 20: Lower the Rear End
Lower the rear end and remove the wheel chocks.wheels on each side and tighten the lug nuts until they’re snug.

Step 21: Torque Your Lug Nuts
Use a torque wrench and 19mm socket to torque the lug nuts in a star pattern to 100 foot-pounds. Reinstall the wheel cover, if applicable.