
 Motor Oil
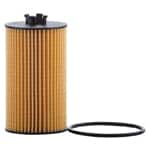 Oil Filter
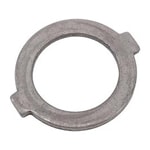 Crush Washer
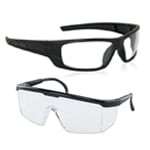 Eye Protection
 Nitrile Gloves
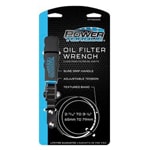 Filter Wrench
 Shop Towels
 Ratchet & Sockets
 Funnel
 Torque Wrench
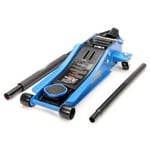 Floor Jack
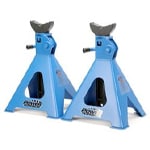 Jack Stands
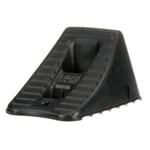 Wheel Chocks
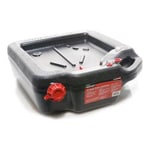 Drain Pan
 Screwdriver
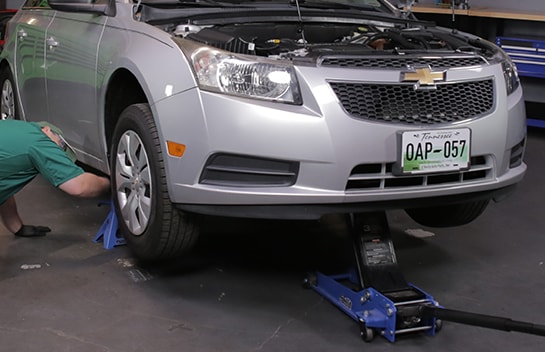
Step 1: Lift and Support the Front End
Park on a level surface and open the hood. Chock the rear wheels, then use a jack and jack stands to lift and support the front end.
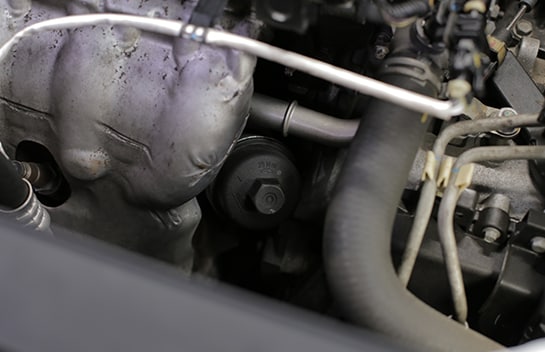
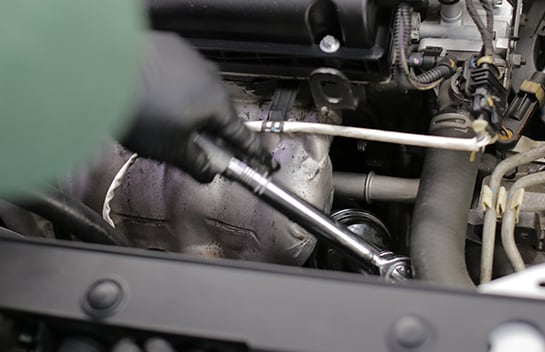
Step 2: Loosen the Filter Cartridge Cap
Use a ratchet and 24mm socket to loosen the cap on the oil filter cartridge, which is down in the engine bay behind the battery.
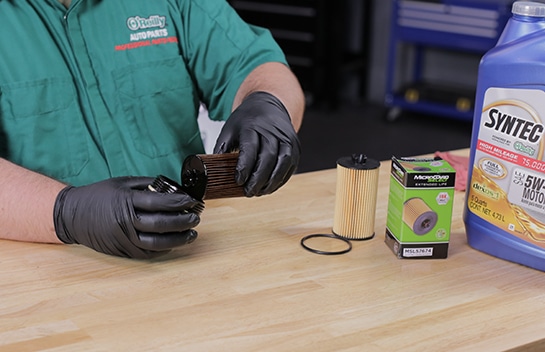
Step 3: Remove the Oil Filter
Remove the cap the rest of the way by hand, then remove the old filter from the cap.
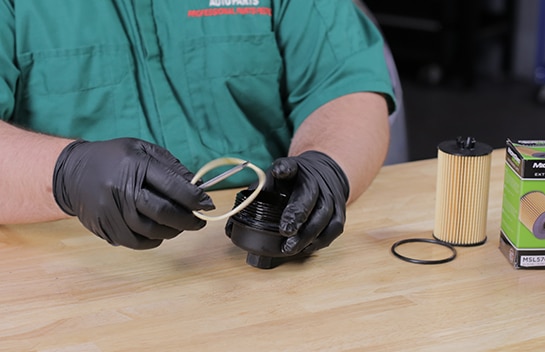
Step 4: Replace the O-Ring
Take off the old O-ring and install the new one, making sure it’s in the groove closest to the lip of the cap.
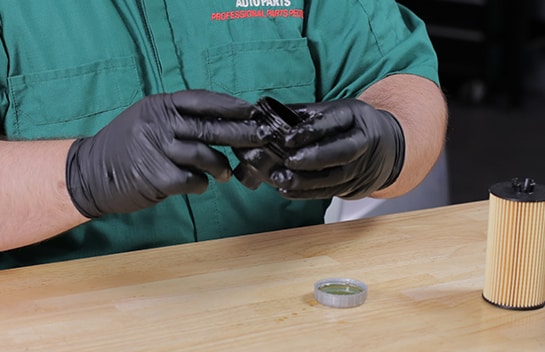
Step 5: Lubricate the O-Ring
Use a little fresh oil to lubricate the new O-ring.
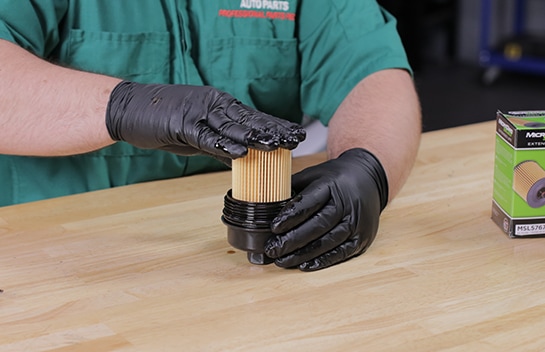
Step 6: Install the New Filter
Install your new oil filter in the cap and thread it back into place.
Step 7: Tighten the Cap
Use a torque wrench to tighten the cap to 18 foot-pounds.
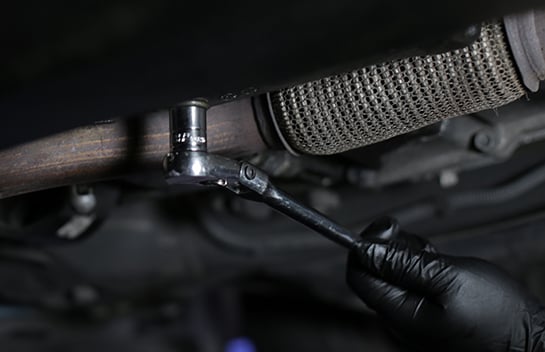
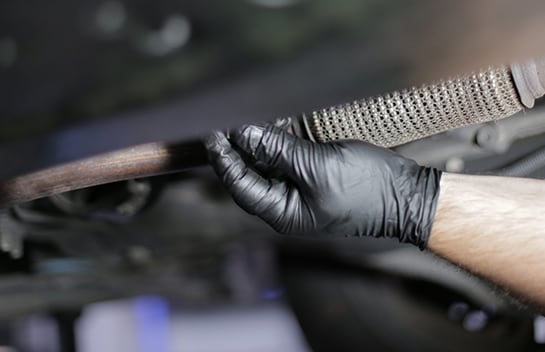
Step 8: Loosen the Drain Plug
Now under the car, slide a catch basin underneath your oil drain plug and use a 16mm socket and ratchet to loosen the plug.
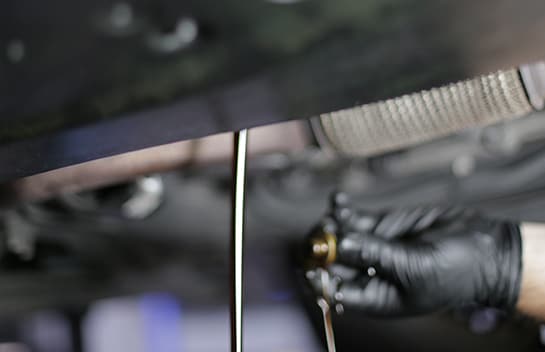
Step 9: Remove the Drain Plug
Remove the plug the rest of the way by hand and let the oil drain completely. Removing the oil fill cap in the engine bay can help the oil drain a little more quickly.
|
Do It Right: Remove the old crush washer from your drain plug using a small flathead screwdriver or pick, and replace it with a new one. |
Step 10: Reinstall the Drain Plug
Thread the drain plug back into place. Torque the drain plug to 124 inch-pounds.
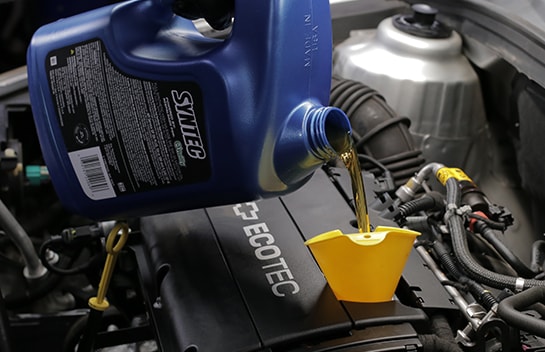
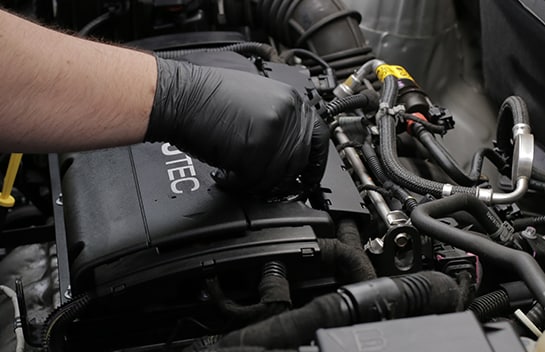
Step 11: Add Fresh Motor Oil
Back in the engine bay, if you haven’t already, remove the oil fill cap. Add four and three-quarters quarts of 5W-30. Since our Cruze has over 75,000 miles, we’re using Syntec Full Synthetic High Mileage motor oil.
Step 12: Check Under the Car for Leaks
Put the fill cap back in place and run the engine till it’s warm. Check under the car for any leaks. If everything looks good, it’s safe to shut the engine off and slide the catch basin out from under the car.

Step 13: Lower the Front End
Lower the front end and remove the wheel chocks.

Step 14: Double-Check the Oil Level
Double-check using the dipstick to make sure the oil level is within the appropriate range. Once you’ve checked the oil level, you can shut the hood.

The automotive repair work depicted in this series is performed under the direction of the manufacturer of the product featured. Prior to undertaking any of the demonstrated repairs on your vehicle, we suggest you consult with a certified mechanic or another professional who can adequately advise you of the proper repair or remedy required. O’Reilly Automotive Stores, Inc. and its affiliates (“O’Reilly”) disclaims any responsibility for injury or damage resulting from a viewer’s attempt to recreate the repairs shown in this series.