
 Eye Protection
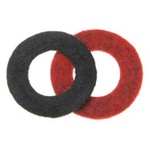
 Nitrile Gloves
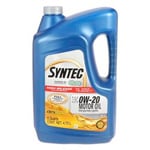 0W-20 Oil
 Oil Filter
 Jack, Jack Stands & Wheel Chocks
 Shop Towels or Rags
 Sockets
 Ratchet & Torque Wrench
 Drain Pan
 Crush Washer
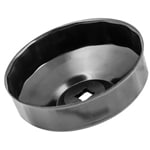 Filter Wrench Attachment
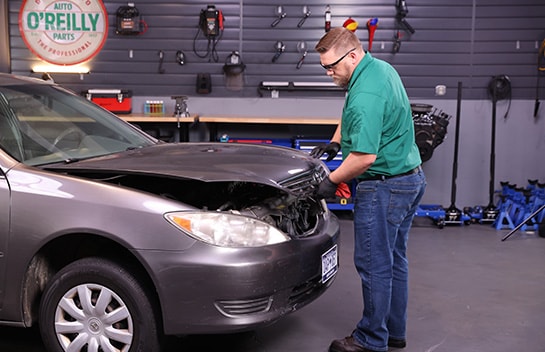
We will be changing the oil in a 2006 Toyota Camry, and procedures will be similar for most 2006-2011 Toyota Camry models, but be sure to know the specifics for your vehicle before getting started. If you’re not completely comfortable doing this job yourself, we’d be happy to recommend a professional technician in your area.
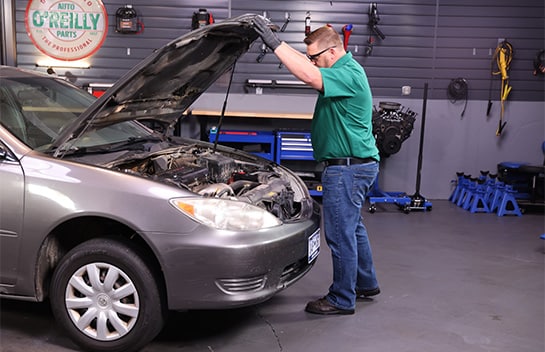
Step 1: Prepare Your Car

Step 2: Lift and Support the Front End
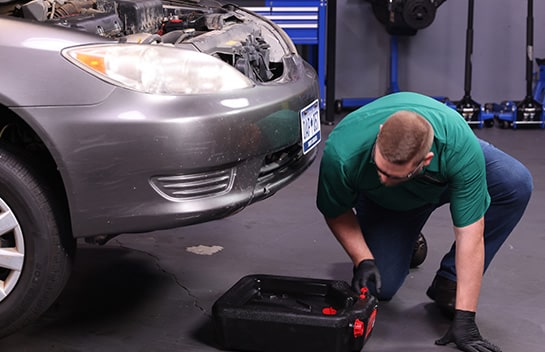
Step 3: Put a Drain Pan in Place
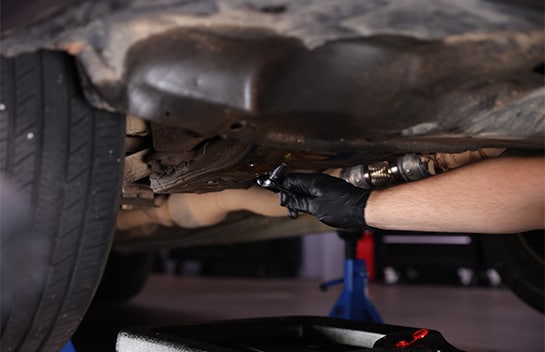
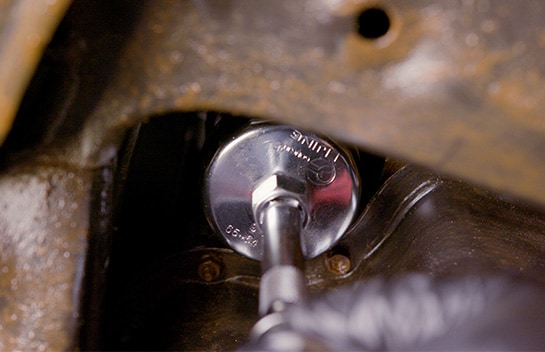
Step 4: Remove the Drain Plug

Step 5: Remove the Oil Fill Cap
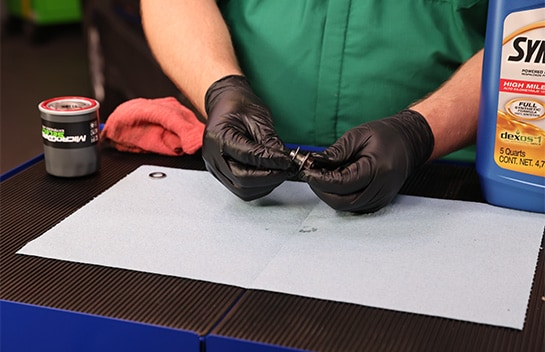
Step 6: Replace the Crush Washer
Step 7: Reinstall the Drain Plug
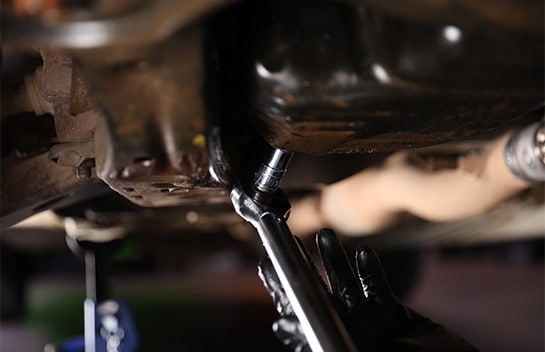
Step 8: Remove the Old Oil Filter
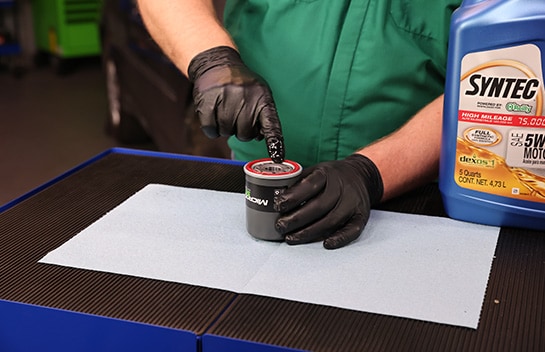
Step 9: Install the New Filter

Step 10: Pour In Fresh Oil
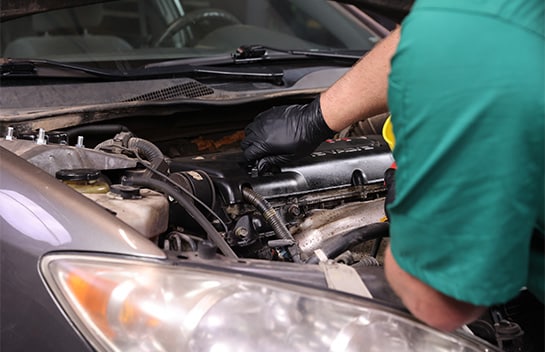
Step 11: Replace the Fill Cap & Start the Engine

Step 12: Check for Leaks
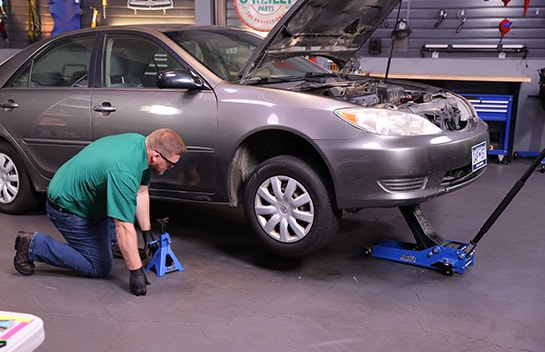
Step 13: Shut Off the Engine & Lower the Front End
Step 14: Close the Hood & Reset Your Oil Light
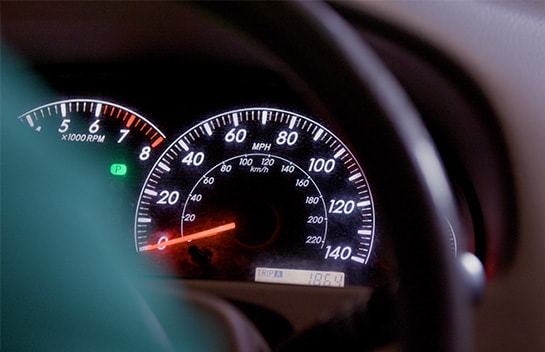
Step 15: Oil Light Reset Procedures
Oil Reset for Non-Hybrids:
With your ignition turned to ON, switch the display to Trip Meter A. Then set the engine start/stop switch or ignition switch to OFF while the odometer is showing Trip A. While pressing the trip meter reset button on the stem, set the engine start/stop switch or ignition switch to ON.
If you do not have a Multi-Information Display, continue to press and hold the button until the trip meter displays all zeroes. If you do have a Multi-Information Display, continue to press and hold the button until you see a confirmation message on the display.
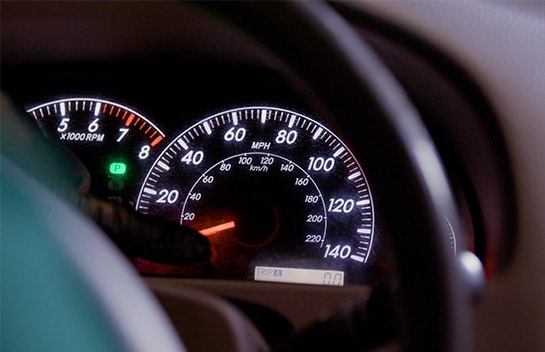
Oil Reset for Hybrids:
With your ignition turned to ON, switch the display to Trip Meter A. Turn off the hybrid system with the odometer showing Trip A. While holding down the trip meter reset knob, turn the Power switch to ON mode. You should see this message: MAINT REQD RESET MODE.
Hold down the knob for at least five seconds. When this message disappears and the master caution indicator light turns off, the reset is complete. You should see this message: MAINT REQD RESET MODE COMPLETE.


The automotive repair work depicted in this series is performed under the direction of the manufacturer of the product featured. Prior to undertaking any of the demonstrated repairs on your vehicle, we suggest you consult with a certified mechanic or another professional who can adequately advise you of the proper repair or remedy required. O’Reilly Automotive Stores, Inc. and its affiliates (“O’Reilly”) disclaims any responsibility for injury or damage resulting from a viewer’s attempt to recreate the repairs shown in this series.