Warning Sorry, you're using a web browser that is no longer supported. For the best experience please upgrade or visit the site on another browser.
Skip to content

How to Replace a Turn Signal Switch

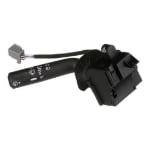
Your turn signal switch sits inside the steering column, behind the lever you use to signal turns and change lanes. On many vehicles, it’s part of a larger assembly (called the combination switch or multi-function switch) that also controls your high beams and, depending on the vehicle, your windshield wipers or headlights. When the switch starts to fail, your turn signals may stop working, work only in one direction, not lock into place, or fail to stop blinking after you complete a turn.

Our DIY video shows the steps to replace the turn signal switch on a 2006 Ford F-150, but the process is similar on most vehicles. Many vehicles only require the steering column to be disassembled to access the switch, and you won’t need to remove the steering wheel for access.

Depending on the application, the steps for your vehicle may also involve removing the airbag module using a couple of specialty tools, like a steering wheel puller or a lock plate compressor tool, so always check your service manual before getting started to avoid injury, damage, or costly repairs.

Tools & Supplies

Step-by-Step Instructions

Frequently Asked Questions

Product Recommendations

Additional Resources

Signs You Need a New Turn Signal Switch

Turn signal switches wear out over time from daily use. Our Professional Parts People recommend replacing your turn signal switch if you notice:

  • Turn Signals That Don’t Work in One or Both Directions: If your turn signals don’t light up when you move the lever, and you’ve already ruled out a burned-out bulb or a bad flasher, relay, or fuse, the switch may have failed.
  • Hazard Lights Work, But Turn Signals Don’t: On many vehicles, the hazard lights use a separate circuit. If your hazards flash normally but your turn signals don’t, the problem is likely the switch. Before replacing it, make sure the fuse is intact and check power to any related relays.
  • Turn Signals That Won’t Turn Off: If your turn signal keeps blinking after you’ve completed a turn, the canceling mechanism inside the switch may be worn or broken.
  • Turn Signals Only Work When Held: If your blinkers only flash while you physically hold or apply pressure to the lever, the internal latching mechanism has failed.
  • Continuous Clicking or Solid Lights: A malfunctioning switch can cause a constant clicking noise from your dashboard or leave your signal lights on without flashing, even when the lever is centered.
  • Intermittent High Beams, Wipers, or Headlights: If your vehicle uses a multi-function switch, issues with other functions on the same lever can also indicate a bad turn signal switch. In these cases, the entire unit typically needs to be replaced.
Tools & Supplies for the Job

How to Replace a Turn Signal Switch: Step-by-Step

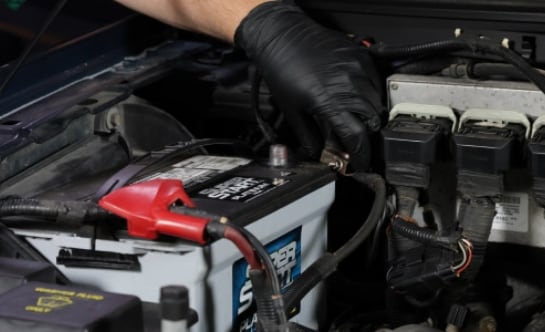
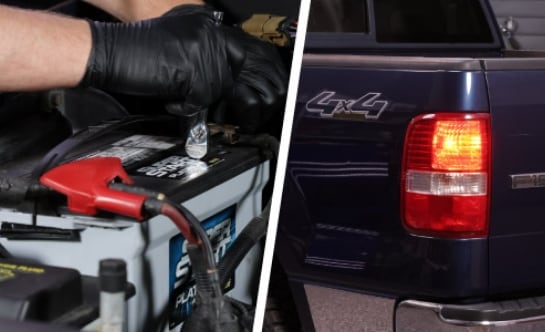
Auto parts professional disconnecting the negative battery cable on a Ford F-150

Step 1: Disconnect the Battery

With the engine turned off, open the hood, put on your eye protection and gloves, and disconnect the negative battery cable. Wait at least fifteen minutes before removing the horn pad and airbag module to prevent airbag deployment.

Pro Tip: Check your service manual for the wait time and any extra steps your vehicle needs to safely turn off the airbag, like removing an airbag fuse. Skipping a step could cause the airbag to deploy, leading to injury or additional repairs.

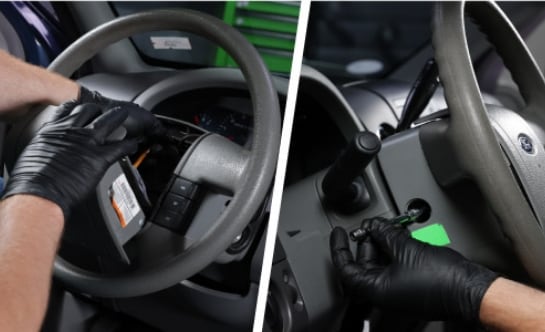
Auto parts professional removing the airbag module from a Ford F-150 steering wheel 

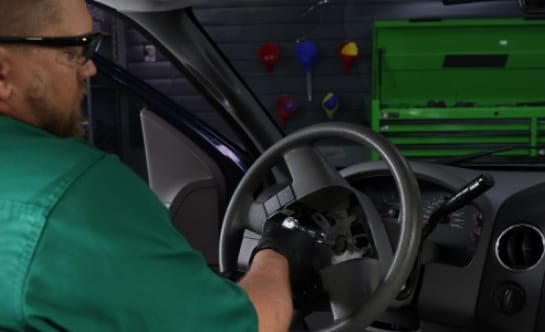
Step 2: Remove the Airbag Module

Turn the steering wheel to locate the access holes on the back side of the wheel, then use the appropriate tool to disengage the fasteners and release the airbag module. Once the module is released, carefully lift it to disconnect the wiring harness, then remove the module.

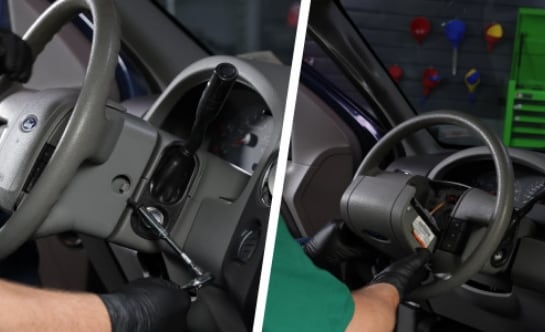
Auto parts professional loosening the steering wheel retaining nut on a Ford F-150 

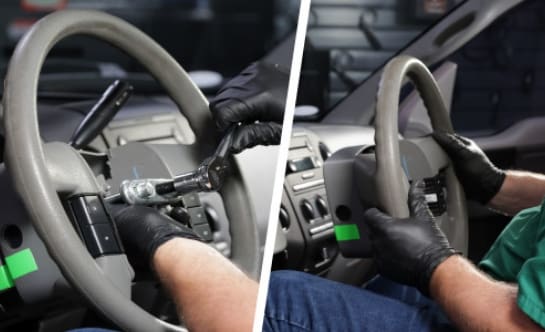
Step 3: Loosen the Steering Wheel Retaining Nut

Use the appropriate socket and ratchet or breaker bar to loosen the steering wheel retaining nut, but don’t remove the nut completely. If the steering wheel continues to spin, rotate it until the lock engages to keep it in place while you loosen the nut.

Auto parts professional marking and removing the steering wheel on a Ford F-150

Step 4: Mark & Remove the Steering Wheel

Use masking tape to mark the steering column and the steering wheel so you can align them properly when you reinstall the wheel. With the nut loosened, work the steering wheel toward the end of the column. Once the wheel is loose, remove the nut and the steering wheel.

Pro Tip: Leaving the retaining nut in place keeps the steering wheel from coming off suddenly or unexpectedly. On some applications, a steering wheel puller may be required to remove the steering wheel from the column shaft.

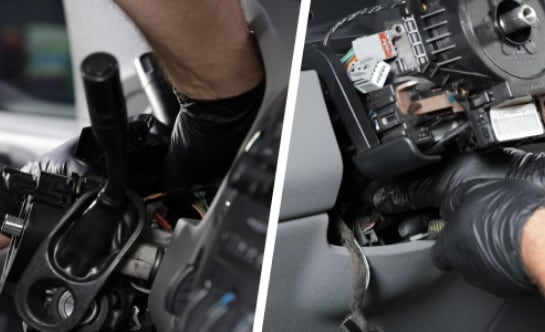
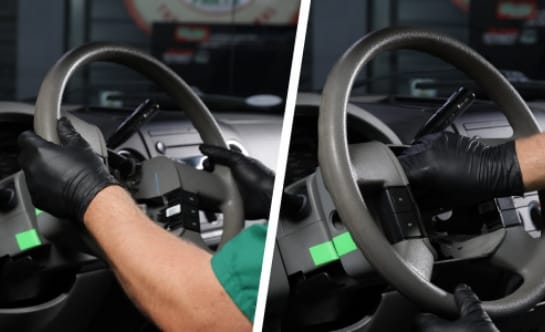
Auto parts professional removing the turn signal switch from a Ford F-150 steering column

Step 5: Remove the Old Turn Signal Switch

Depending on your vehicle, you may need to remove other steering column components, including trim pieces, to access the switch. Locate the fasteners securing the turn signal switch to the steering column and use the appropriate tool to remove them. Unplug any wiring harness connectors for the old switch, paying attention to how the wires are routed.

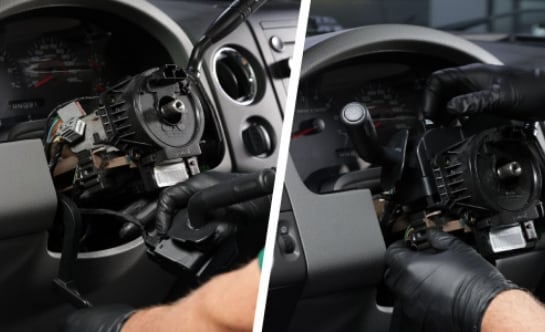
Auto parts professional installing a new turn signal switch on a Ford F-150

Step 6: Install the New Turn Signal Switch

Plug in the connectors and mount the new switch to the steering column, making sure the turn signal cancellation cam is properly aligned. Then, secure the switch with its fasteners.

Auto parts professional reinstalling the steering wheel on a Ford F-150 

Step 7: Reinstall the Steering Wheel

Reinstall the steering wheel, making sure the marks you made earlier line up. Reinstall the retaining nut and tighten it to manufacturer specifications.

Auto parts professional reinstalling the airbag module on a Ford F-150 steering wheel

Step 8: Reinstall the Airbag Module

Reinstall the horn pad and airbag module, reconnect the wiring harness, and secure the module with its fasteners.

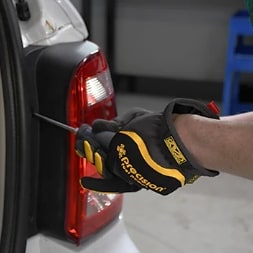
Auto parts professional testing the turn signals on a Ford F-150

Step 9: Reconnect the Battery & Test the Switch

Reconnect your negative battery cable and close the hood. Before driving, test all functions of the new turn signal switch to make sure everything works as it should.

Pro Tip: Leaving the retaining nut in place keeps the steering wheel from coming off suddenly or unexpectedly. On some applications, a steering wheel puller may be required to remove the steering wheel from the column shaft.

If you aren’t comfortable replacing the alternator on your Chevy Silverado, stop by your local O’Reilly Auto Parts. We can recommend a professional shop or a Certified Auto Repair Service Center in your area to get the job done right.

Frequently Asked Questions: Turn Signal Switch Replacement

Do I need to remove the steering wheel to replace a turn signal switch?

On many vehicles, including the 2006 Ford F-150 featured in our video, you need to remove the airbag module and steering wheel before replacing the turn signal switch. However, on some models, you can access the switch by removing only the steering column covers. Always consult your service manual for the correct procedure before starting this job to ensure it can be completed safely and with minimal disassembly.

Can I use a universal turn signal switch?

A universal turn signal switch clamps onto the steering column of vehicles that didn’t come with factory turn signals or need a standalone setup, like classic cars, street rods, heavy-duty trucks, UTVs, and golf carts. For most cars and trucks, you’ll want a direct-fit replacement switch made for your year, make, and model, since it’s designed to work with your vehicle’s wiring, steering column, and any other functions on the same lever, like your high beams or wipers.

Why are my turn signals blinking fast?

Fast-blinking turn signals, also called hyperflashing, usually mean a turn signal bulb has burned out rather than indicating a problem with the switch. This can also happen after upgrading to LED bulbs, since they draw less power than the flasher expects and mimic the signal received from a burned-out bulb. Check your bulbs first, and if you’ve recently installed LEDs, learn how to fix a hyperflashing LED turn signal.

Product Recommendations

Product Comparison Table
Item Recommended Product Purpose
Turn Signal Switch
Standard Ignition Turn Signal Switch Controls your turn signals and, on many vehicles, your high beams, headlights, cruise control, and/or windshield wipers
Ratchet & Socket Set
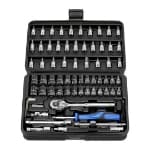
Power Torque Ratchet & Socket Set Disconnects the battery cable and removes the steering wheel retaining nut and switch fasteners
Breaker Bar
Power Torque Breaker Bar Loosens the steering wheel retaining nut
Masking Tape
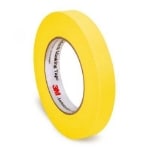
3M Masking Tape Marks the steering wheel and column for proper alignment during reinstallation
Flathead Screwdriver
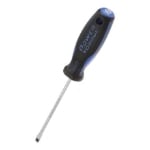
Power Torque Flathead Screwdriver Removes steering column covers and trim without damaging them
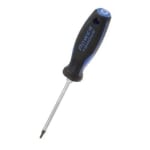
Torx Driver
Power Torque Star Screwdriver Removes airbag module fasteners and switch fasteners on vehicles that use Torx (star) hardware
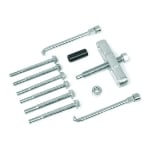
Steering Wheel Puller
Performance Tool Steering Wheel Puller Removes the steering wheel from the column if it's stuck in place
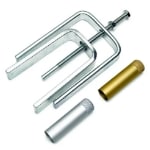
Lock Plate Compressor Tool
Performance Tool Steering Wheel Lock Plate Pushes down the spring-loaded plate found on some older steering columns so you can remove it and reach the switch
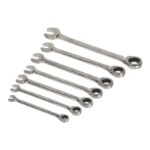
Ratchet Wrench
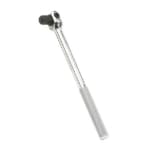
Power Torque Ratchet Wrench Reaches fasteners in tight spaces around the steering column
Safety Gear
SAS Nitrile Gloves & Safety Glasses Protects your hands and eyes while you work

Additional Resources

The automotive repair work depicted in this series is performed under the direction of the manufacturer of the product featured. Prior to undertaking any of the demonstrated repairs on your vehicle, we suggest you consult with a certified mechanic or another professional who can adequately advise you of the proper repair or remedy required. O’Reilly Automotive Stores, Inc. and its affiliates (“O’Reilly”) disclaims any responsibility for injury or damage resulting from a viewer’s attempt to recreate the repairs shown in this series.