
 Safety Glasses
 Nitrile Gloves
 Tail Lights

Step 1: Locate the Old Bulb
Open your trunk and locate the panel on the back side of your tail light assembly. Remove the panel by simply pulling out and disengaging the tabs.

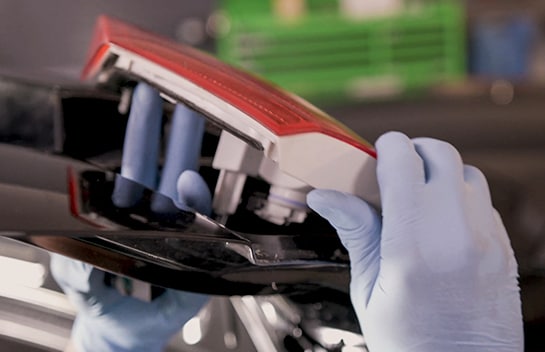
Step 2: Remove the Tail Light Assembly
Remove the plastic wingnuts holding the tail light assembly by turning them counterclockwise. Pull directly out on the assembly toward the side of the vehicle to release it.

Step 3: Disengage the Old Bulbs from the Assembly
Turn each bulb counterclockwise and pull gently to remove them from the assembly. Lower the bulbs carefully and set the assembly aside.
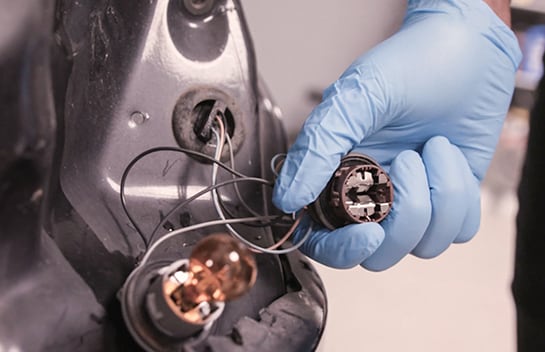
Step 4: Remove the Old Bulb
Gently pull out the bulb that needs replacement to remove it from its socket.
|
Do It Right: We always recommend replacing bulbs in pairs, so repeat these steps on the other side. |

Step 5: Install the New Bulb
Slide your new bulb into place in its socket.

Step 6: Replace the Tail Light Assembly
Lift the assembly back into place and turn the bulbs clockwise into the housing to secure them. Align the tab on the assembly and press it back into place. Fasten it from the inside by replacing the two plastic wingnuts, turning them clockwise. Snap the panel back in.
Step 7: Replace the Bulb On Your Trunk
To replace the bulb behind the lens on your trunk, turn the plastic wingnut counterclockwise to remove it and push out the lens from the side to disengage it. Turn the bulb counterclockwise, carefully pulling the bulb out of the back. Set the lens aside.

Step 8: Disengage the Bulb
Gently pull the bulb to disengage it.

Step 9: Install Replacement Bulb
Push the replacement bulb into place in the socket. Turn the bulb clockwise to secure it in the back of the lens.

Step 10: Replace Lens
Press the lens back into place and replace the wingnut by turning it clockwise.


