Safety Glasses
 Safety Gloves
 Import Direct Brake Pads
 Import Direct Brake Rotors
 Wire Brush
 Breaker Bar
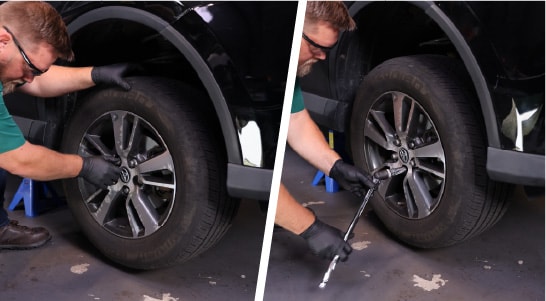
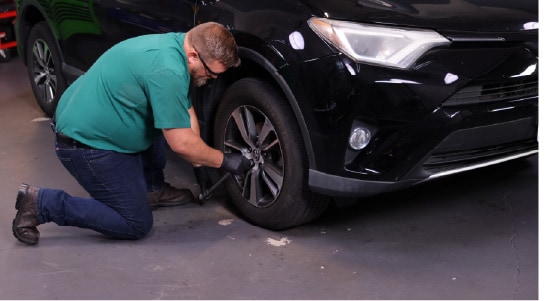
 Lug Wrench
 Wheel Chocks
 Floor Jack
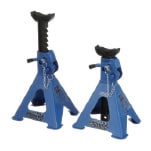 Jack Stands
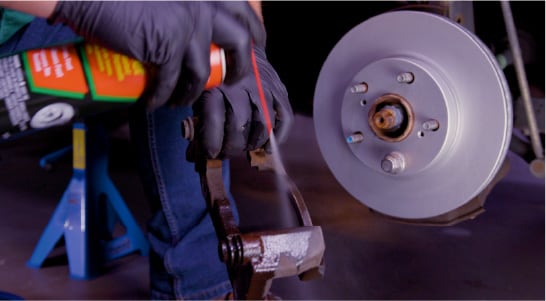
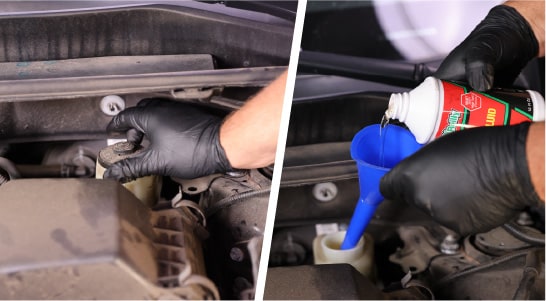
 Brake Cleaner
 Shop Towels
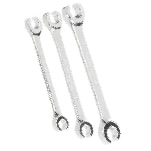
 Ratchet and Sockets
 Caliper Hanger
 Bleeder Tool
 Brake Line Wrench
 Caliper Compression Tool
 Silicone Brake Grease
 Flathead Screwdriver
 Brake Fluid
 M8-1.25 Bolt
 Hammer
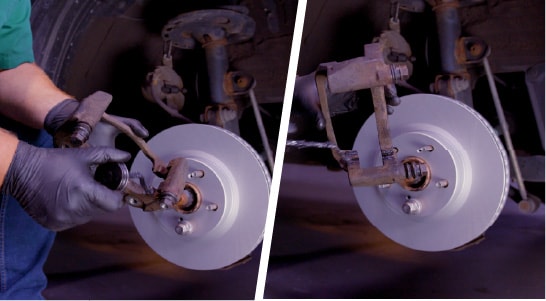
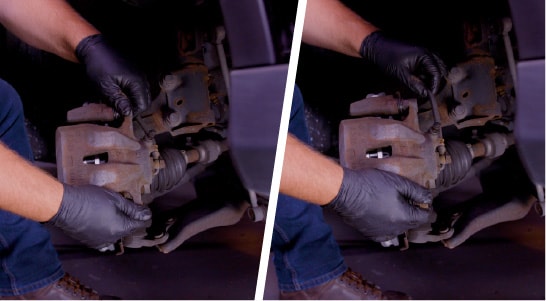
Replacing worn brake pads and rotors is a routine automotive maintenance task that can be completed at home with the right tools and supplies. When completing your DIY brake pad and rotor replacement, it’s recommended that both the brake pads and rotors be replaced at the same time, since the brake pads and rotors have experienced the same amount of wear at the same rate. These detailed steps show how to change the front brake pads and rotors on a 2016 Toyota RAV4 XLE, but will be similar on 2013, 2014, 2015, 2017, and 2018 models.
This page will demonstrate how to change the front brake pads and rotors on a 2017 Toyota RAV4. Procedures will be similar for most RAV4 models from 2013 to 2018, but be sure to know the specifics for your vehicle before getting started.