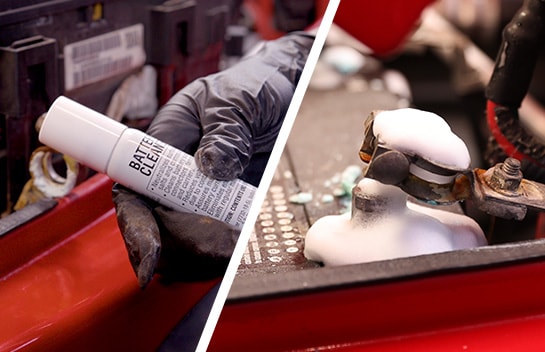
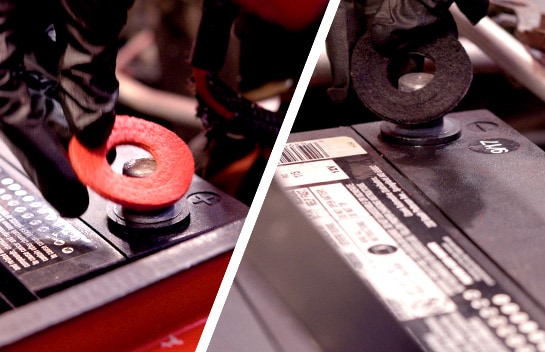
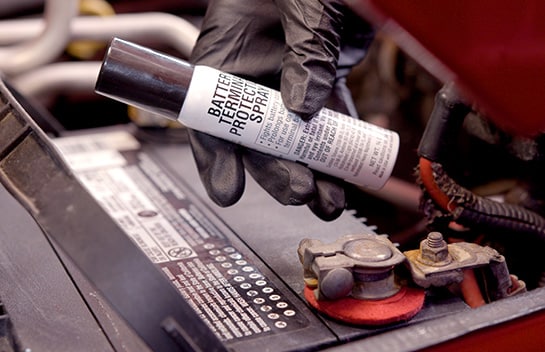
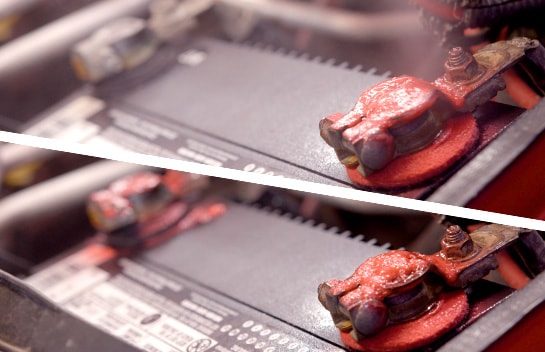
Super Start Battery Terminal Protection Kit
 Safety Glasses
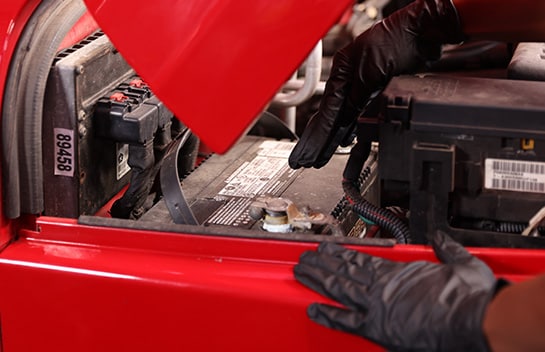
 Nitrile Gloves
 Shop Towels
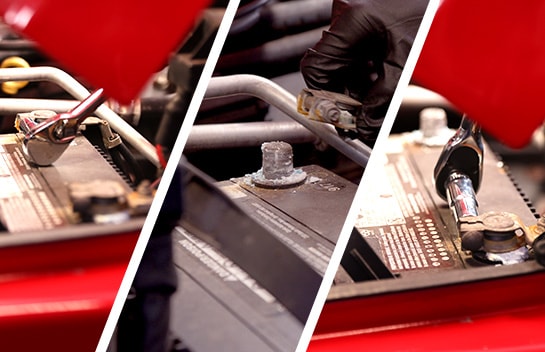
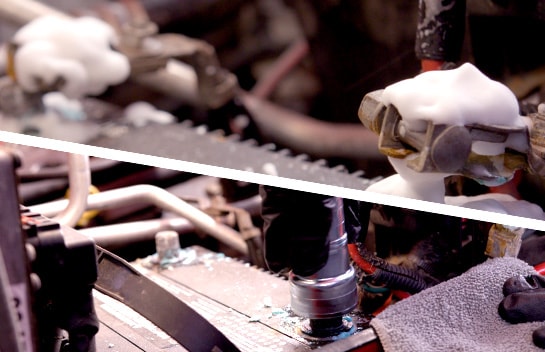
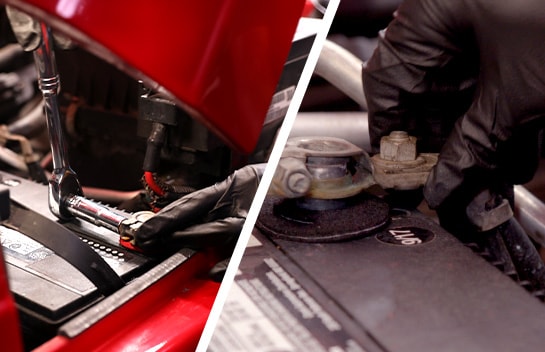
 Ratchet & Socket

Get 20% off $125 with promo code GREEN20. Online, ship to home only. 04/23/26 – 04/27/26. *Maximum discount $50.
20% off $125+: Valid on regularly priced in-stock items for Ship to Home orders that when purchased together total $125 or more (before tax, shipping and discount) on the website only. Excludes AIRAID, B&M, Bully Dog, DeVilbiss, Edelbrock, Flowmaster, Holley, Hurst, Ingersoll-Rand, K&N, MSD, SCT, and Spectre items.
To Redeem Offer: Add qualifying items totaling $125 or more to your shopping cart and select “Ship” as your delivery method. Enter promo code GREEN20 in the cart. The total in your shopping cart will be adjusted after promo code is applied. Excluded brands contribute toward minimum purchase amount to qualify for offer but are not eligible for discount. (Maximum $50.00 Discount.) Valid Thursday, April 23rd to Monday, April 27th, 2026 (11:59pm Hawaii Time Zone). Coupon code is not redeemable for cash, is nontransferable and cannot be replaced if lost or stolen. Not valid on same-day delivery orders. Void if copied, transferred or where prohibited by law. Customer pays sales tax and shipping fees.
Offer subject to adjustment due to returns, cancellations and exchanges. Additional taxes and duties may apply. Not valid with any other promotional gift with purchase. Offer may be modified or discontinued at any time without notice.
Offer Terms: Offer does not apply to gift card orders. Offer does not apply to Lead-Acid batteries. Cannot be used in combination with any other certificates, offers, or discounts or for payment on account. Not valid on previous purchases or store purchases. Shipping & handling and taxes do not qualify towards the minimum purchase. Valid for retail customers only. OReillyAuto.com only ships orders within the U.S.
Excluded Brands: Offer does not apply to AIRAID, B&M, Bully Dog, DeVilbiss, Edelbrock, Flowmaster, Holley, Hurst, Ingersoll-Rand, K&N, MSD, SCT, and Spectre items.