
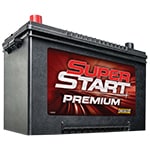
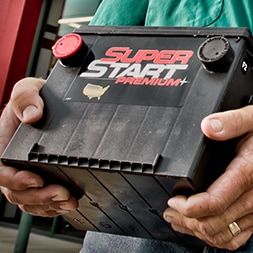
 Battery
 Nitrile Gloves
 Eye Protection
Learn how to replace your 2006-2011 Toyota Camry’s car battery with these step-by-step instructions from O'Reilly Auto Parts. Replacing the battery in your Camry at the first sign of failure can help prevent the inconvenience of being stranded with a dead battery. If your battery is weak, or if you're not sure you need a new car battery, visit your local O'Reilly Auto Parts. We can test or charge your battery for free, as well as recommend the best replacement battery for your Camry.
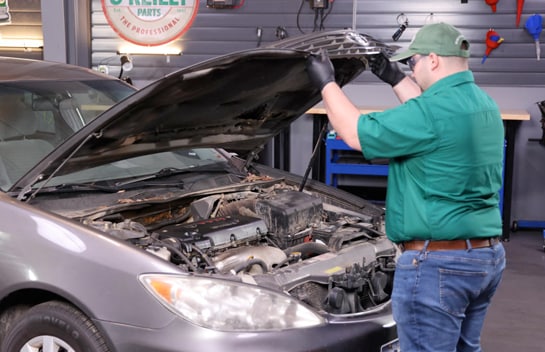
Step 1: Prepare Your Car
Park on a level surface, and open the hood.
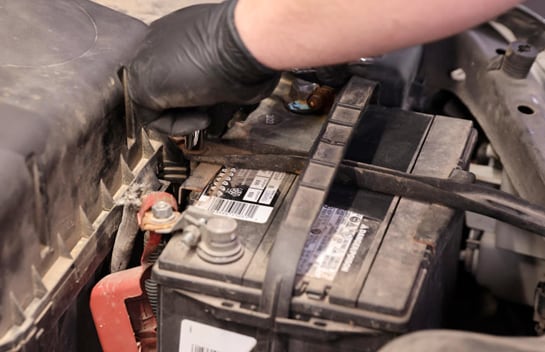
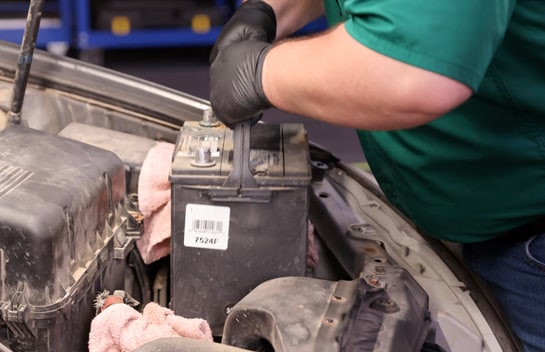
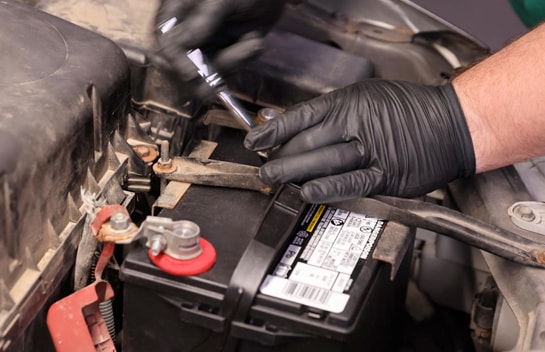
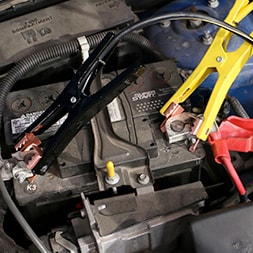
Step 2: Loosen Fasteners & Battery Cables
Use a ratchet and deep 10mm socket or wrench to loosen and remove the fasteners securing the battery hold-down. Move or set the hold-down aside. Use a 10mm socket or wrench to loosen and set aside the battery cables. Start by detaching the negative cable, then detach the positive cable.
Step 3: Remove the Old Battery
With the hold-down removed and cables detached, you should be able to lift out the old battery.
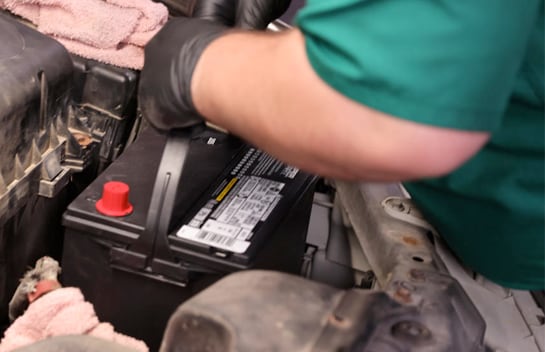
Step 4: Install Your New Battery
Set your new battery in the battery tray.
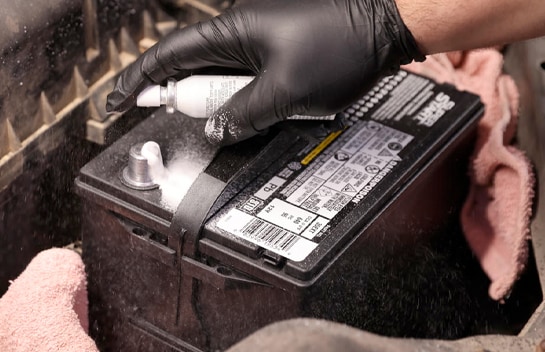
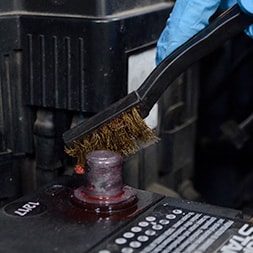
Step 5: Clean the Terminals & Install Terminal Protectors
Use battery terminal cleaner to remove any protective coating from the battery posts, then place new battery terminal protectors on the posts to help prevent corrosion.
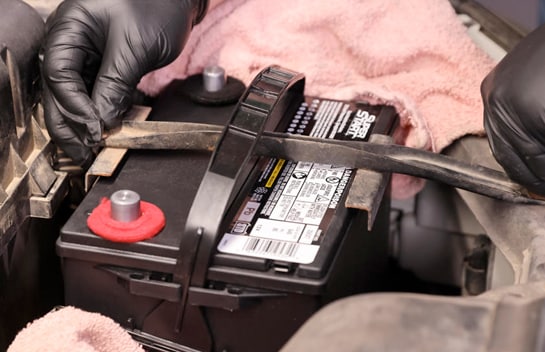
Step 6: Reinstall the Hold-down
Reposition the battery hold-down, and use your 10mm deep socket or wrench to secure the fasteners, making sure the hook at the bottom of the rod at the back is secured properly.
Step 7: Reinstall Your Battery Cables
Reattach your positive battery cable first, then reattach the negative cable. Tighten them with your 10mm socket or wrench. Double-check the cables to make sure they’re secure.
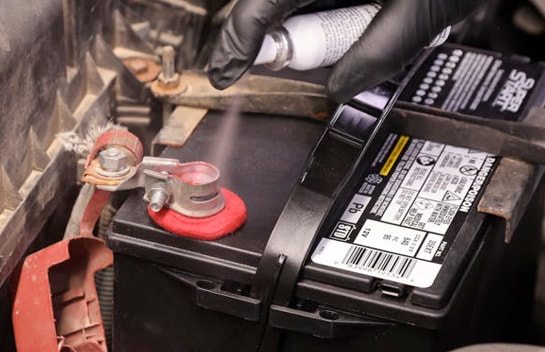
Step 8: Apply Terminal Protector Spray
Shake your terminal protector spray well, then hold it 10 to 12 inches from the surfaces and spray down the battery tray, hold-down, terminal cables and battery posts. You can wipe off any terminal protectant overspray from the battery case or engine compartment with a shop towel or rag. Once this is done, close the hood.
The automotive repair work depicted in this series is performed under the direction of the manufacturer of the product featured. Prior to undertaking any of the demonstrated repairs on your vehicle, we suggest you consult with a certified mechanic or another professional who can adequately advise you of the proper repair or remedy required. O’Reilly Automotive Stores, Inc. and its affiliates (“O’Reilly”) disclaims any responsibility for injury or damage resulting from a viewer’s attempt to recreate the repairs shown in this series.