
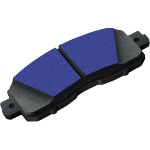
 Brake Pads
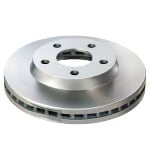 Brake Rotors
 Nitrile Gloves
 Eye Protection
 Wheel Chocks
 Floor Jack
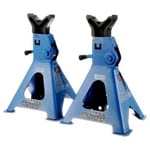 Jack Stands
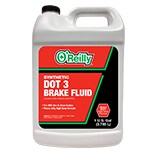 Brake Fluid
 Brake Cleaner
 Silicone Grease
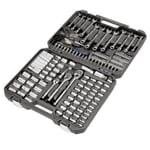 Ratchet & Sockets
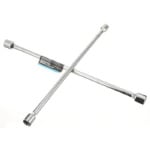 Lug Wrench
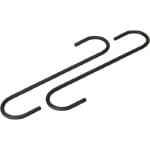 Caliper Hanger
 Wire Brush
 Shop Towels
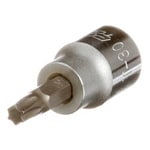 T-30 Torx Bit
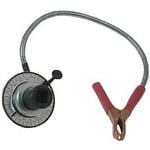
 Bleeder Tool
 Bleeder Valve Wrench
 Caliper Compressor Tool
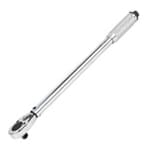 Torque Wrench
 Angle Meter
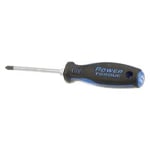 Flathead Screwdriver
 Hammer
Failing brake pads and rotors can put you and other drivers in danger by affecting your Cruze’s ability to stop, but fortunately, this is a repair you can do yourself. The following procedure applies to most 2011, 2012, 2013, 2014 and 2015 Chevy Cruze models, but be sure to know the specifics for your Cruze before getting started. If you’re not completely comfortable doing this repair yourself, we’d be happy to recommend a professional technician in your area.
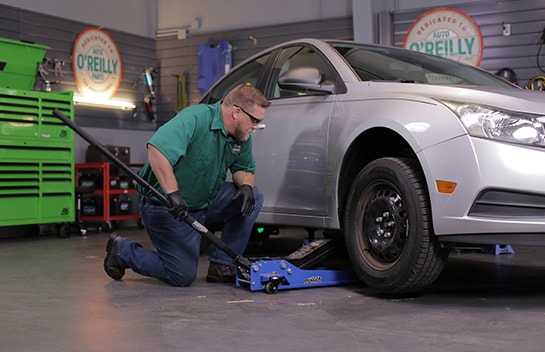
Step 1: Prepare Your Cruze
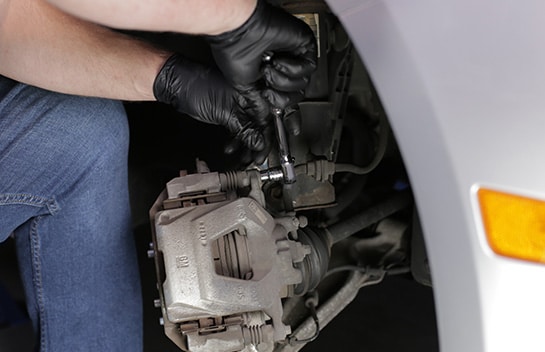
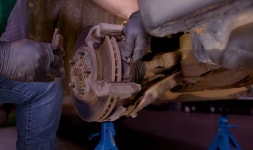
Step 2: Remove the Caliper Bolts
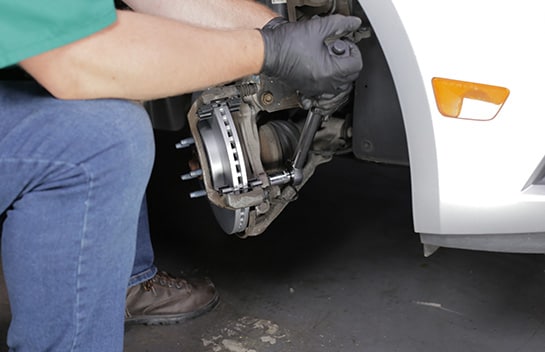
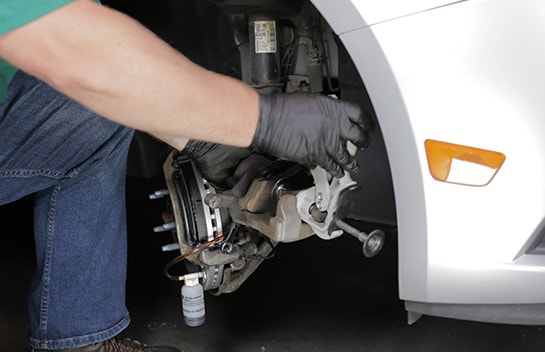
Step 3: Remove the Caliper
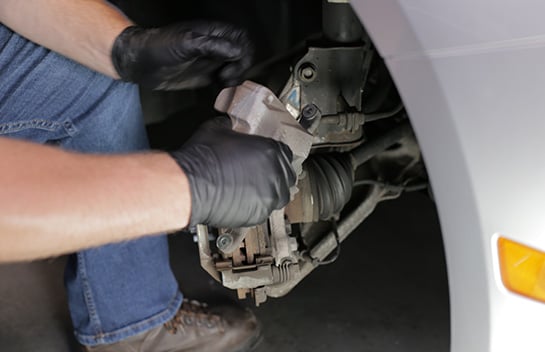
Step 4: Remove the Old Brake Pads

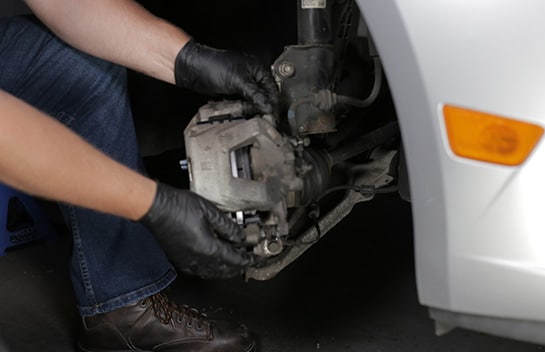
Step 5: Remove the Caliper Bracket
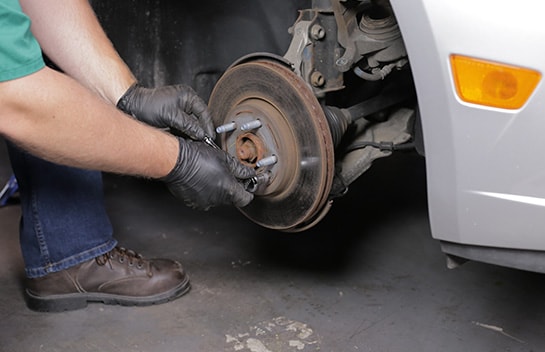
Step 6: Remove the Rotor
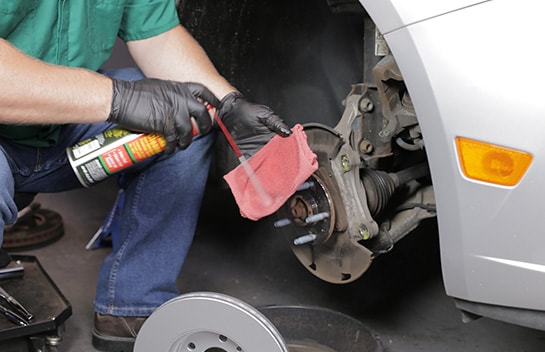
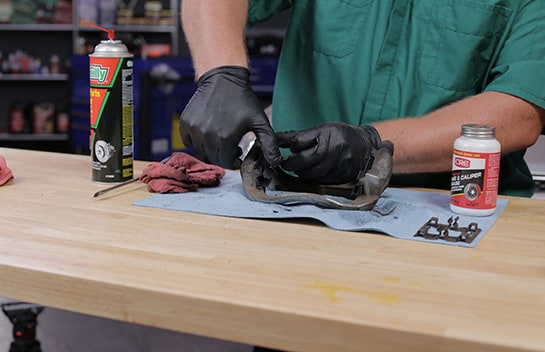
Step 7: Clean Your New Rotor
|
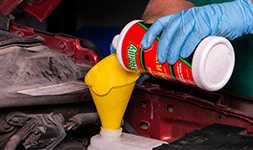
Do It Right: Any time you use brake cleaner, remember that it will strip paint, so be very careful where you spray it. |
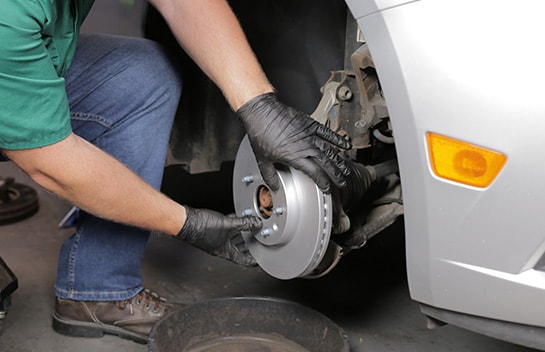
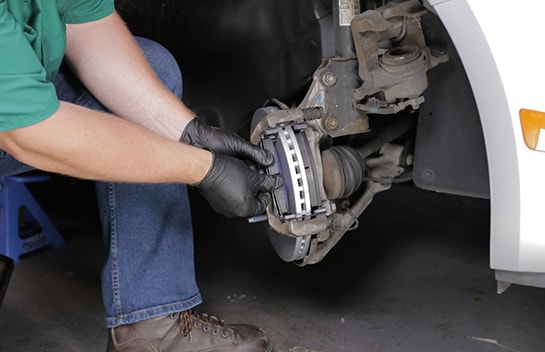
Step 8: Install the Rotor
|
Do It Right: If you’re reusing your old rotors, it’s a good idea to have them resurfaced. Most O’Reilly Auto Parts locations offer brake rotor and drum resurfacing for a fee, and will measure your rotor thickness before resurfacing to ensure they can be safely reused. If the rotor can’t be resurfaced, our parts professionals can also help you find the best replacement rotors to get the job done right. |
Step 9: Remove Old Hardware from the Bracket
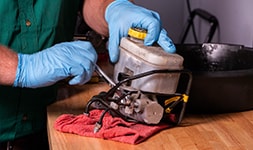
Step 10: Inspect and Clean the Slide Pins
Step 11: Install New Brake Hardware
Step 12: Reinstall the Caliper Bracket
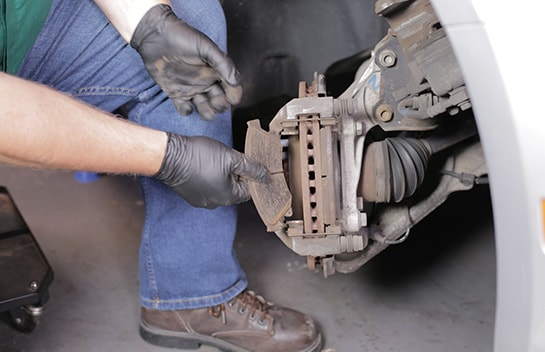
Step 13: Install the New Brake Pads
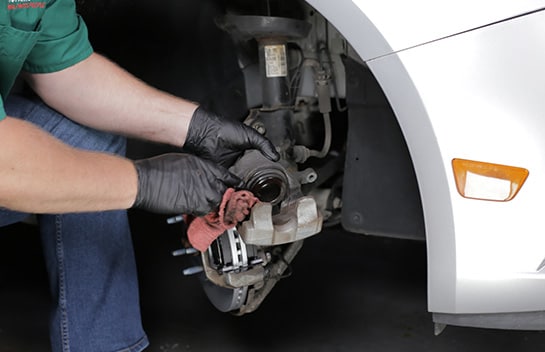
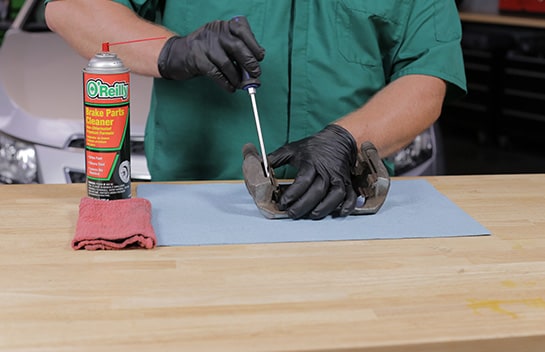
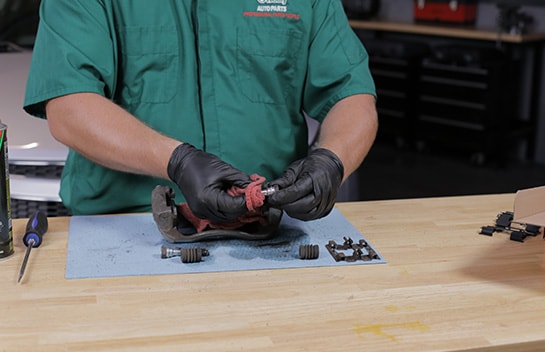
Step 14: Clean the Caliper Piston
|
Do It Right: If the rubber boot is cracked or if there’s brake fluid leaking, the caliper needs to be replaced. |
Step 15: Compress the Caliper Piston
Step 16: Install the Caliper
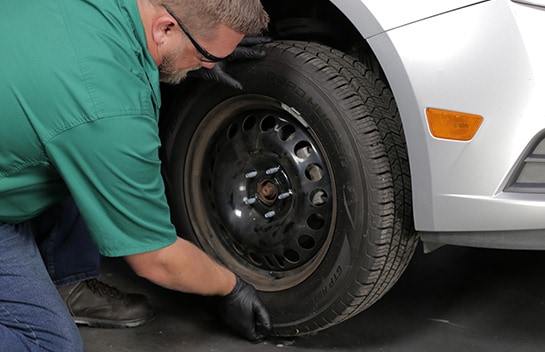
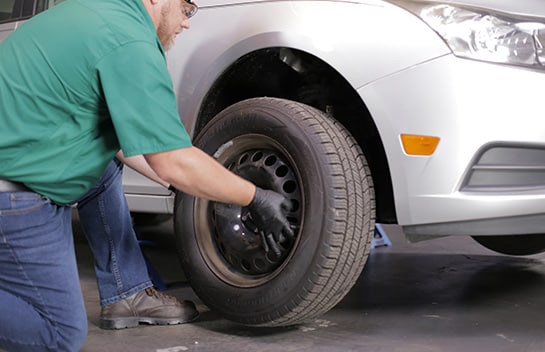
Step 17: Reinstall the Wheel
|
Do It Right: It’s always a good idea to change brake pads and rotors in pairs, so repeat these steps on the other side. |
Step 18: Lower the Front End
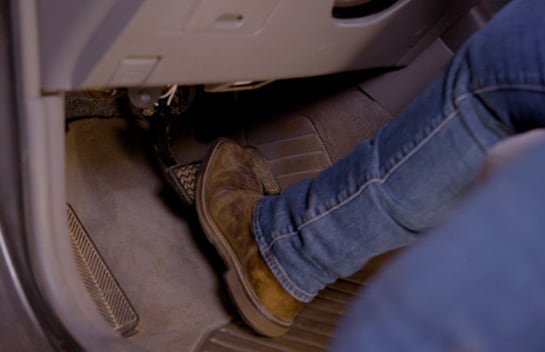
Pump Your Brake Pedal
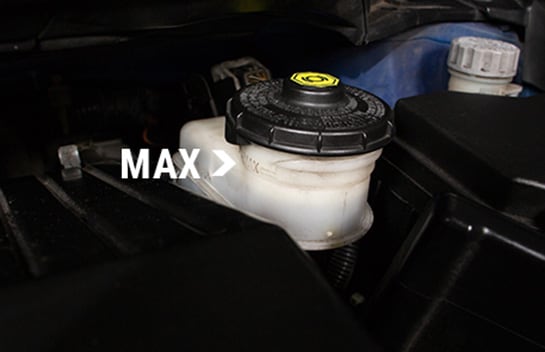
Check Your Brake Fluid
Bleed Your Brakes If Needed
If your brake pedal feels spongy, it’s likely that you have air in one or both of your front brake lines, and you’ll need to bleed your brakes.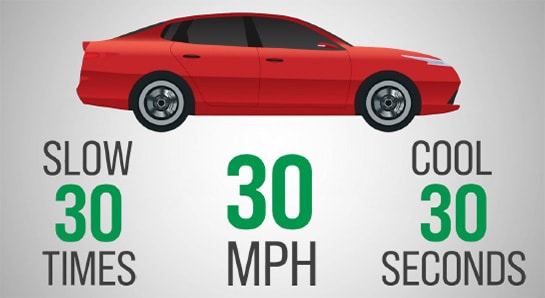
Go For a Drive
Your brakes will probably smell after you’ve done this, and that’s okay. If the odor persists past five hundred miles or so, or if you have excessive dust on a wheel, you may have a stuck caliper.
The automotive repair work depicted in this series is performed under the direction of the manufacturer of the product featured. Prior to undertaking any of the demonstrated repairs on your vehicle, we suggest you consult with a certified mechanic or another professional who can adequately advise you of the proper repair or remedy required. O’Reilly Automotive Stores, Inc. and its affiliates (“O’Reilly”) disclaims any responsibility for injury or damage resulting from a viewer’s attempt to recreate the repairs shown in this series.