
 Eye Protection
 Nitrile Gloves
 Wiper Blades
These step-by-step instructions can help you replace your Toyota Camry’s windshield wiper blades. Before removing and replacing your wiper blades, make sure to check your owners manual for details specific to your vehicle. Since wiper blades that are in use tend to wear at about the same rate, it’s always recommended you change them in pairs.

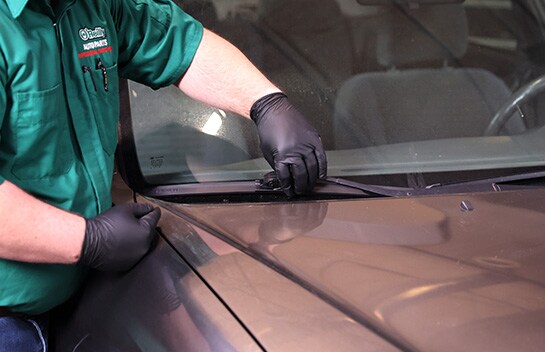
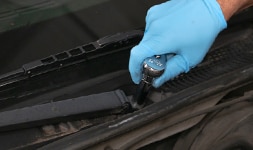
Step 1: Lift the Wiper Arm
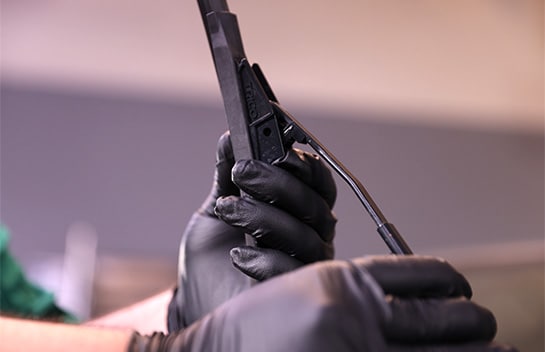
Step 2: Detach the Old Blade
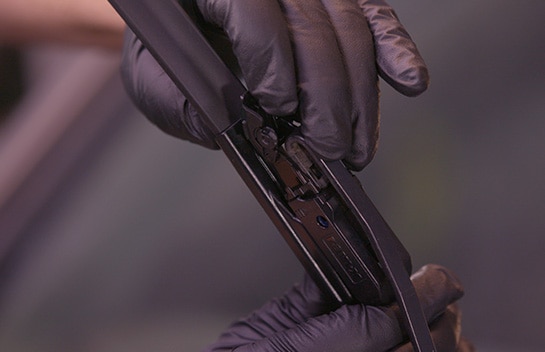
Step 3: Install the New Blade
Step 4: Carefully Lower the Blade

Step 5: Repeat on the Other Side


The automotive repair work depicted in this series is performed under the direction of the manufacturer of the product featured. Prior to undertaking any of the demonstrated repairs on your vehicle, we suggest you consult with a certified mechanic or another professional who can adequately advise you of the proper repair or remedy required. O’Reilly Automotive Stores, Inc. and its affiliates (“O’Reilly”) disclaims any responsibility for injury or damage resulting from a viewer’s attempt to recreate the repairs shown in this series.