
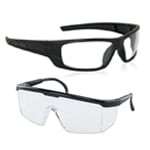
 Safety Glasses
 Nitrile Gloves
 Cabin Air Filter
Step 1: Remove the Old Cabin Air Filter
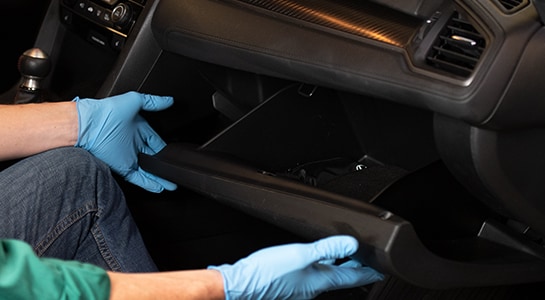
Open your glove box and take out any items inside.
Once it’s empty, press in on either side to release the tabs holding it up and lower it completely.

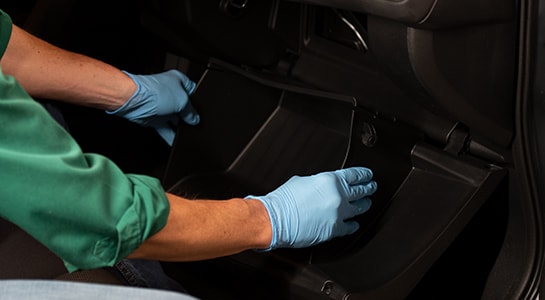
Locate the cabin air filter cover and release the clips on either side so that it can be removed.

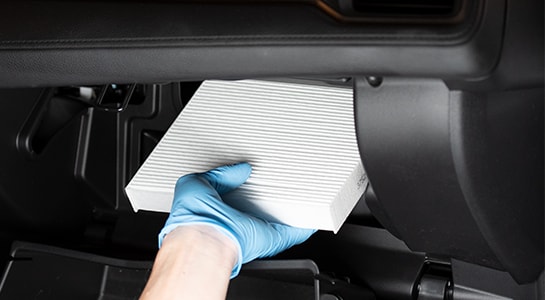
Slide the old filter out making sure to take note of the direction of the airflow.
Step 2: Install the New Cabin Air Filter
Install the new filter with the same airflow orientation.

Reattach the cover by pressing on each side till the clips snap into place.

Raise the glove box and press in on either side so the tabs can secure it in its original position. Don’t forget to replace any of the items you took out. Close the glove box.


The automotive repair work depicted in this series is performed under the direction of the manufacturer of the product featured. Prior to undertaking any of the demonstrated repairs on your vehicle, we suggest you consult with a certified mechanic or another professional who can adequately advise you of the proper repair or remedy required. O’Reilly Automotive Stores, Inc. and its affiliates (“O’Reilly”) disclaims any responsibility for injury or damage resulting from a viewer’s attempt to recreate the repairs shown in this series.