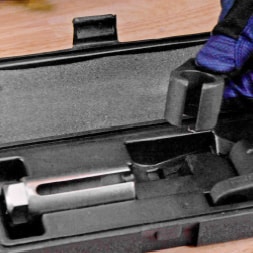
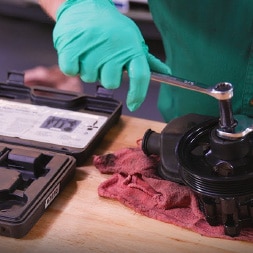
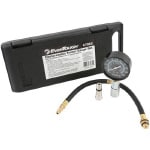
 Compression Tester
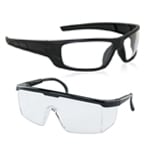 Eye Protection
 Nitrile Gloves
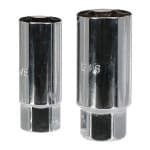 Spark Plug Socket
 Ratchet & Sockets
 Wrenches
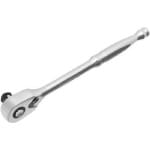 3/8” Drive Ratchet
The compression tester is one of over eighty tools we have available in our Loaner Tool Program, and this procedure will apply to most vehicles. Our Loaner Tool program can help you save money on your repairs by allowing you to pay a deposit equal to the cost of the tool, then receive a refund of your full deposit when you return the tool to the store.
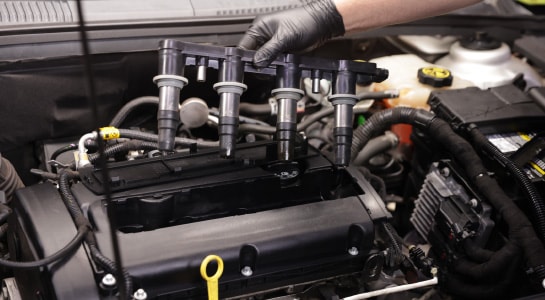
Step 1: Prepare Your Vehicle
Park on a level surface and open the hood. Run your vehicle’s engine until it reaches operating temperature, then shut it off. Remove your ignition coils or spark plug wires from the spark plugs.
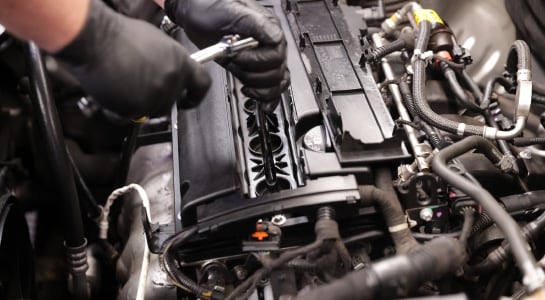
Step 2: Loosen Your Spark Plugs
Loosen your spark plugs about one turn using the appropriate spark plug socket and a ratchet.
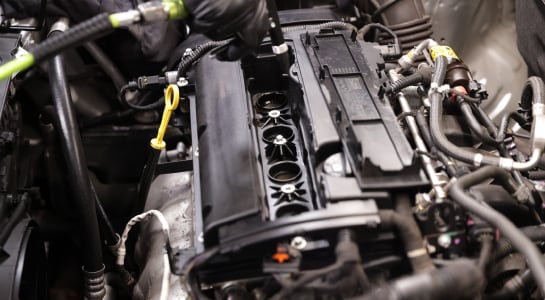
Step 3: Blow Out Any Dirt or Debris
If needed, use an air hose to blow the dirt out of the spark plug walls to prevent it from falling into the combustion chamber.
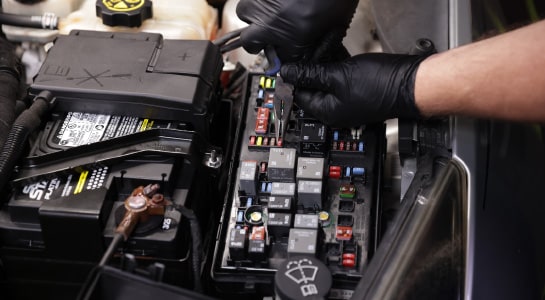
Step 4: Prepare to Use the Compression Tester
Remove all the spark plugs and set the throttle wide open. Pull the fuse or relay to disable the fuel pump, and determine the correct adapter from the compression tester kit.
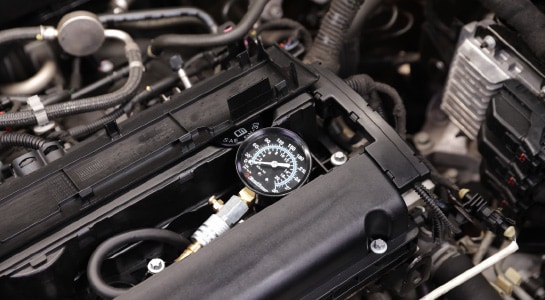
Step 5: Get Compression Readings from Each Cylinder
Finger-tighten or hold the compression tester to a spark plug hole, then crank the engine until the highest reading is obtained, which usually takes 3 to 4 revolutions. Make note of that reading, then move the tester to each of the other cylinders until you’ve tested them all and made note of the readings.
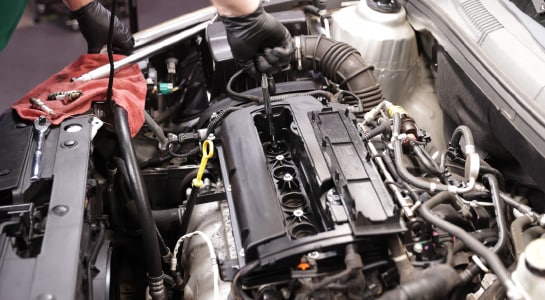
Step 6: Reinstall Your Components
Reinstall your spark plugs, ignition coils, and fuel pump relay or fuse. Close the hood.