
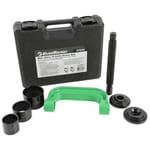
 Ball Joint/U-Joint Press
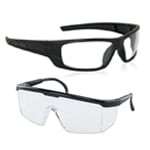 Eye Protection
 Nitrile Gloves
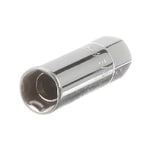 7/8” or 22mm Socket
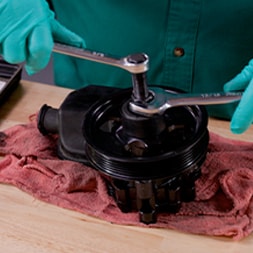
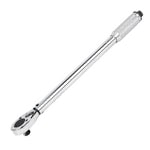 Ratchet
 Lubricant
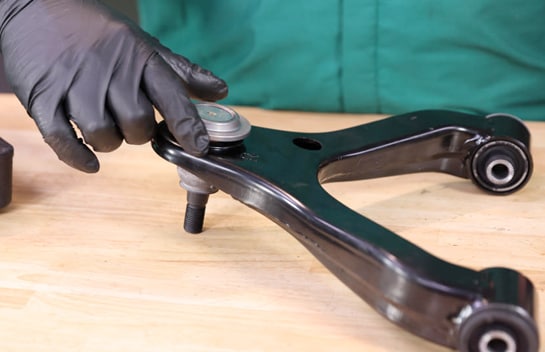
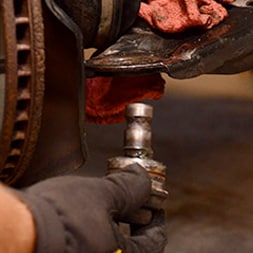
Step 1: Inspect the Ball Joint
Once you’ve removed the necessary components to access the ball joint, check it to see if it has a small spot-weld to the control arm. If it does, the weld must be ground off.
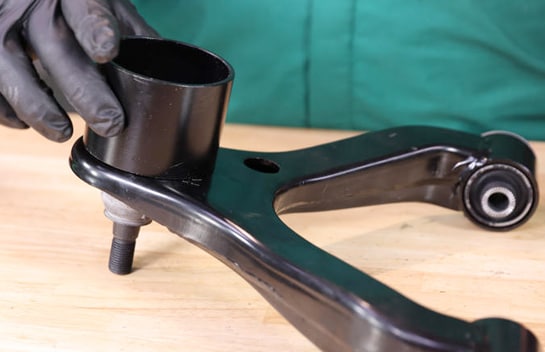
Step 2: Select the Appropriate Receiving Tube
Select a receiving tube with a diameter larger than the diameter of the ball joint housing, but small enough to fit snugly over the control arm or knuckle.
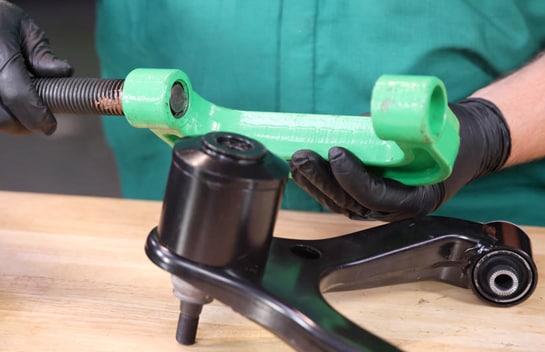
Step 3: Assemble the Press
Fit the removing adapter to the receiving tube. Make sure the pressure screw is well-lubricated, and assemble the press.
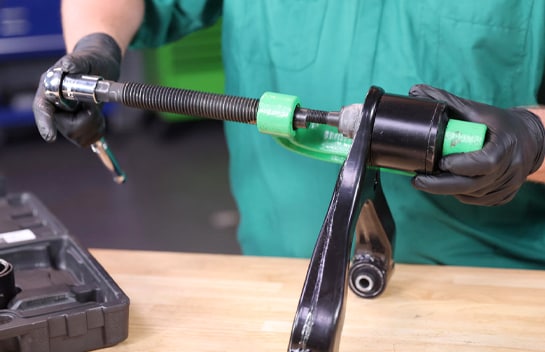
Step 4: Separate the Ball Joint
Align the press, and use a 7/8” or 22mm socket and ratchet to turn the pressure screw in until the ball joint comes out of the control arm.
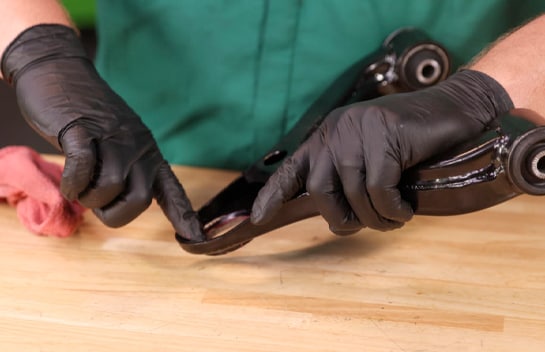
Step 5: Clean and Lubricate the Opening
Before installing the new ball joint, clean and lubricate the opening so the new ball joint will seat properly in the control arm or knuckle.
|
Do It Right: If your new ball joint has a grease fitting, make sure it is turned in a direction that will make it accessible once the ball joint is installed. |
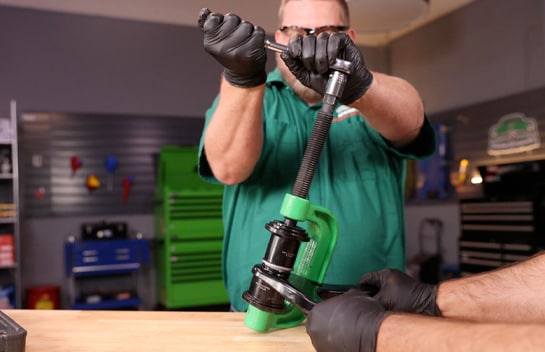
Step 6: Press In the New Ball Joint
Hand-start the new ball joint in the control arm using the receiving tube and installer. Position the ball joint press assembly so that the screw presses the ball joint into the control arm in the proper alignment. Use your 7/8” or 22mm socket and ratchet to press it into place.
|
Do It Right: Make sure you’re pressing the ball joint into the control arm or knuckle at a perfectly straight angle, and before disassembling the ball joint press, be sure you’ve driven it in completely. |
The automotive repair work depicted in this series is performed under the direction of the manufacturer of the product featured. Prior to undertaking any of the demonstrated repairs on your vehicle, we suggest you consult with a certified mechanic or another professional who can adequately advise you of the proper repair or remedy required. O’Reilly Automotive Stores, Inc. and its affiliates (“O’Reilly”) disclaims any responsibility for injury or damage resulting from a viewer’s attempt to recreate the repairs shown in this series.