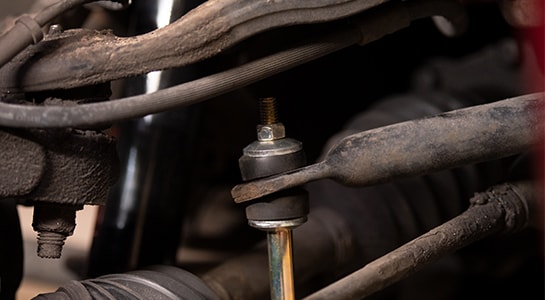
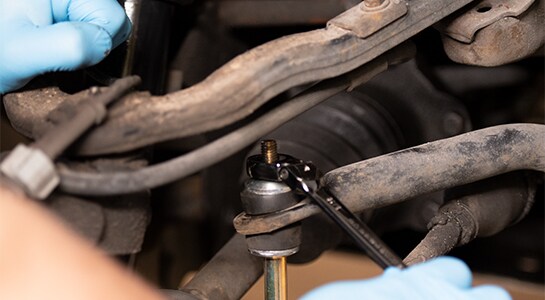
These step-by-step instructions and video detail a sway bar link replacement on your 1999, 2000, 2001, 2002, 2003, 2004, 2005, 2006, and 2007 GMC Sierra 1500. The replacement procedures will be similar for select Chevrolet Silverado 1500, 2500, and 2500 models from 1999, 2000, 2001, 2002, 2003, 2004, and 2005, as well as Chevy Avalanche models between 2002 and 2006, Chevy Tahoes between 2000 and 2006, and Yukon and GMC Sierra 2500 and 3500 models from 2000, 2001, 2002, 2003, 2004, 2005, 2006, 2007, 2008, 2009, 2010, 2011, 2012, and 2013. Replacing worn sway bar links helps you maintain a safe, working suspension system, and can help you avoid an accident. If you hear knocking when turning at low speeds, or notice body roll when cornering, it is important to replace the sway bar linkage as soon as possible.

 Safety Glasses
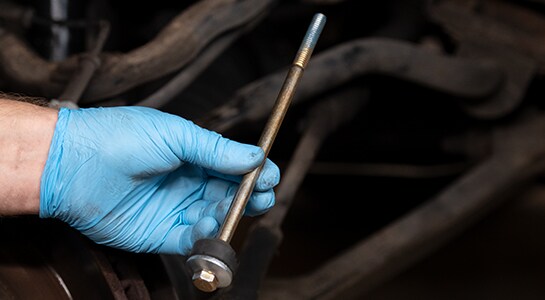
 Nitrile Gloves
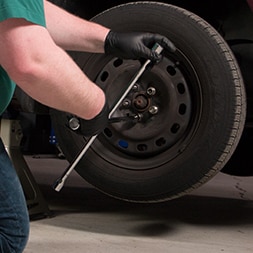
 Socket
 Ratchet
 Thread Locker
 Sway Bar