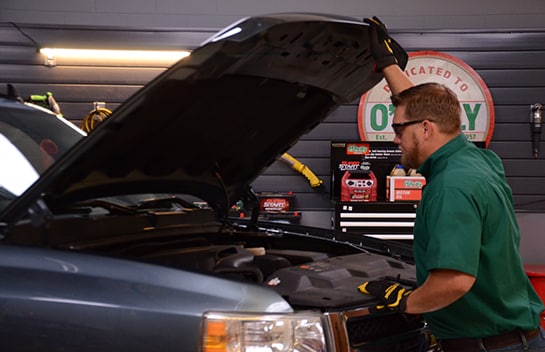
Step 1: Open the Hood
Park on a level surface and open the hood for access to the strut mounting nuts.
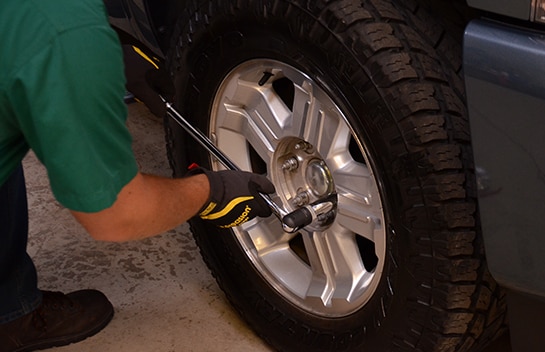
Step 2: Loosen the Lug Nuts
Loosen the lug nuts on your front wheels. Use a 22mm lug wrench, or a 22mm socket wrench and a breaker bar to loosen each wheel’s lug nut.
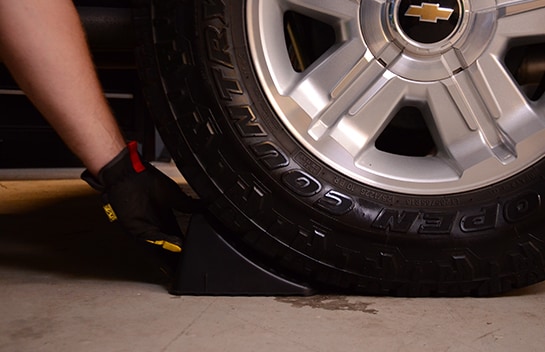
Step 3: Chock the Rear Wheels
Before lifting the truck, chock the rear wheels to keep it stable.
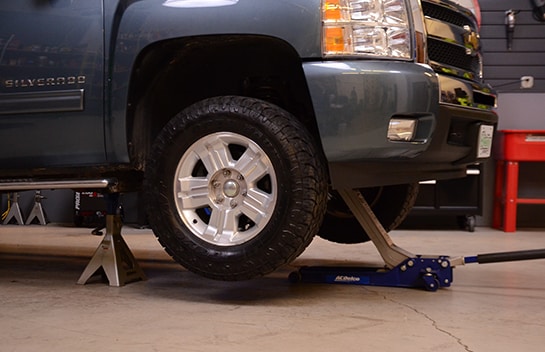
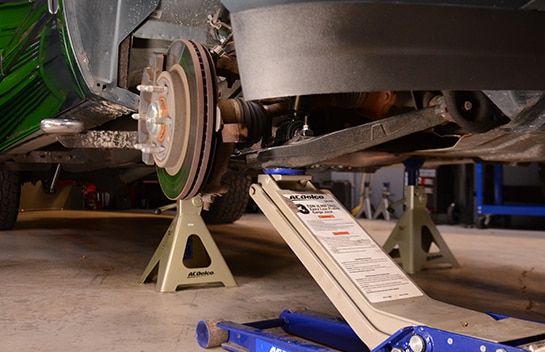
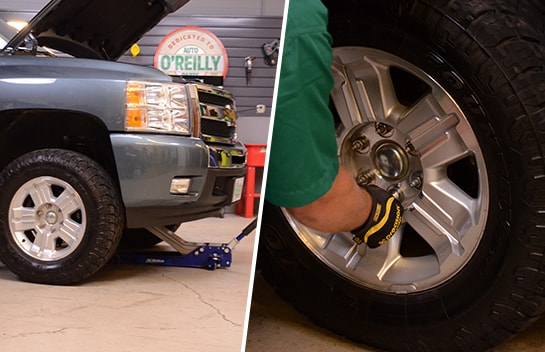
Step 4: Lift and Support the Truck
Lift and support the front end of the truck and place the jack stands under.
|
Do It Right: If you are unsure how to safely lift your truck, check out this video: How to Safely Jack Up Your Vehicle |
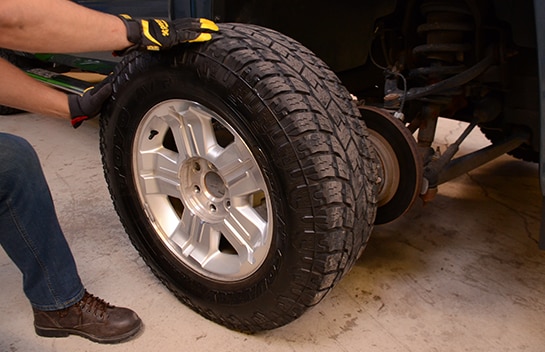
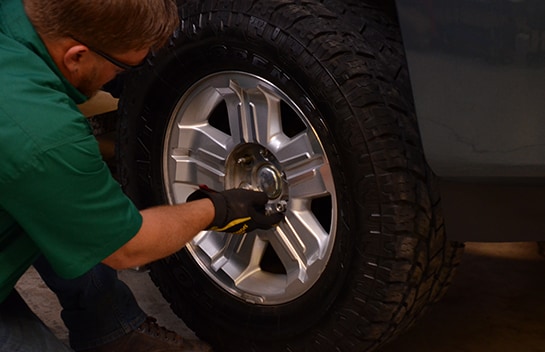
Step 5: Remove the Wheels
Finish removing the lug nuts and remove the wheels.
|
Do It Right: We’re removing the wheel well cover to make the job easier to see, but you can access the bolts by moving the cover to the side. |
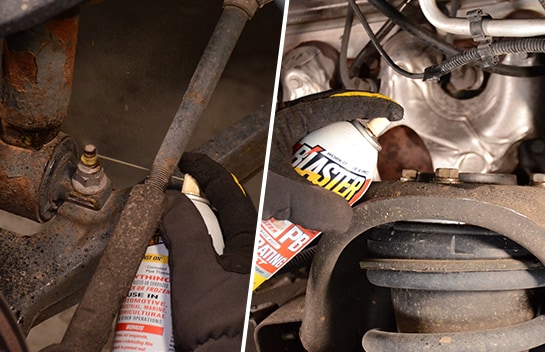
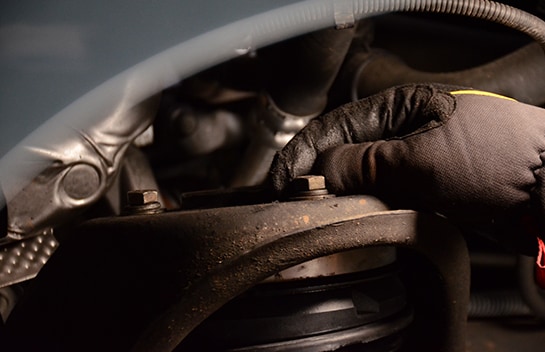
Step 6: Apply Rust Penetrant to the Bolts
Apply rust penetrant to nuts and bolts to make removal easier. Spray penetrant on the tie rod bolt, the two strut bolts near the lower control arm, as well as the three strut tower nuts, which are accessible from above.
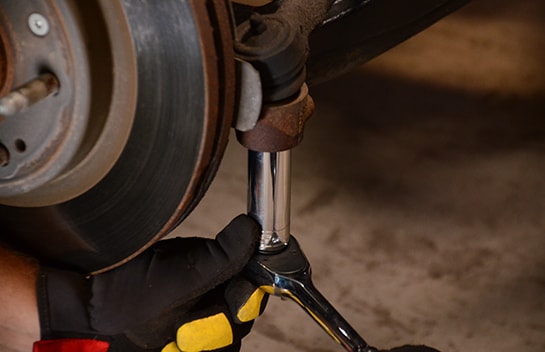
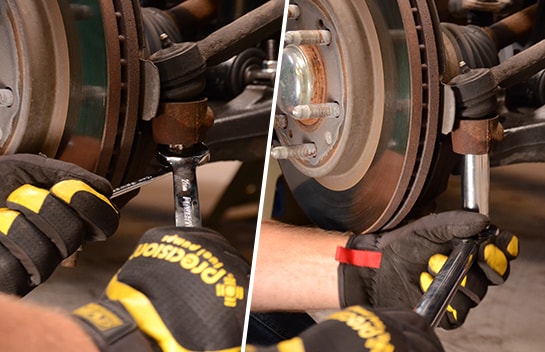
Step 7: Remove the Tie Rod End Nut
While the penetrant soaks in, we’ll remove the tie rod end nut using an 18mm socket wrench. Often these can be removed simply using a 21mm socket.
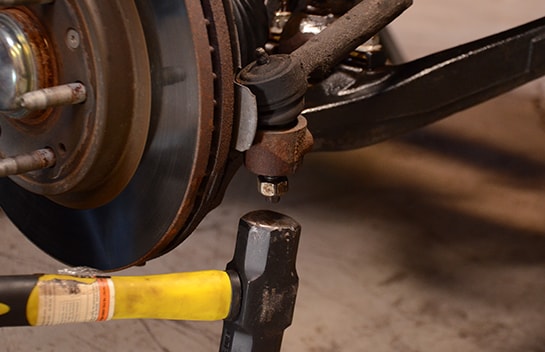
Step 8: Tap the Nut Loose before Removal
Leave the nut at the end of the stud to protect it and tap it loose before removing the nut and sliding the stud through.
|
Do It Right: This may require a tie rod puller or additional tapping with your hammer if the tie rod stud is stuck. |
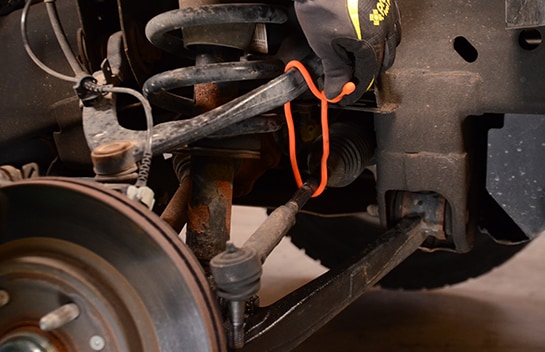
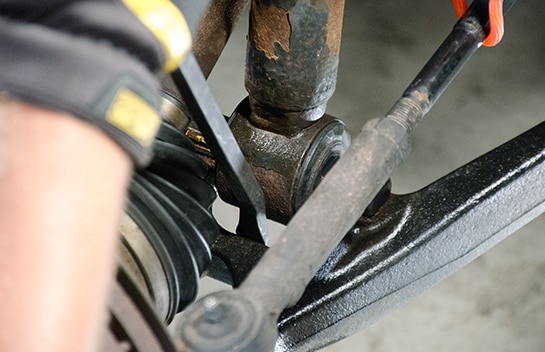
Step 9: Remove the Stud and Prop the Tie Rod End
After you have removed the stud – lift, move, and prop up the tie rod end.
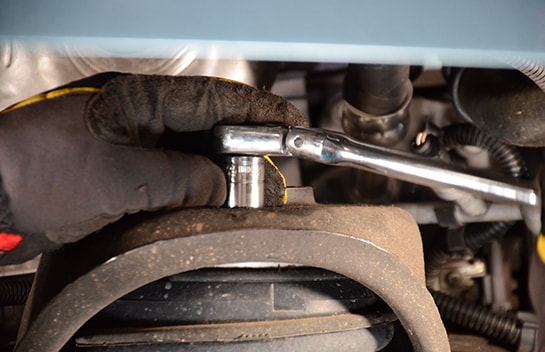
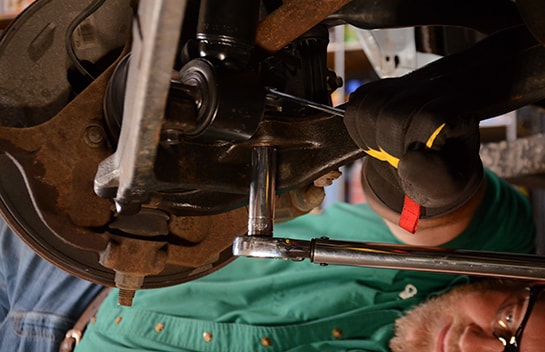
Step 10: Remove the Two Strut Bolts
Using an 18mm wrench and 15mm socket, remove the two strut bolts from the lower control arm.
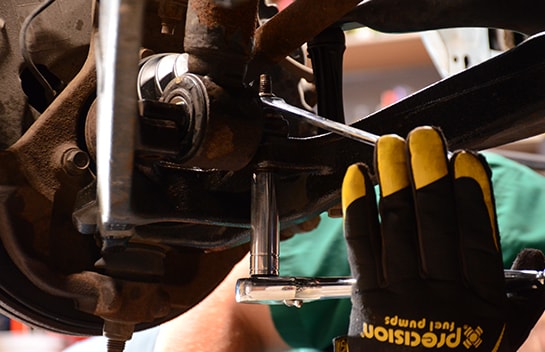
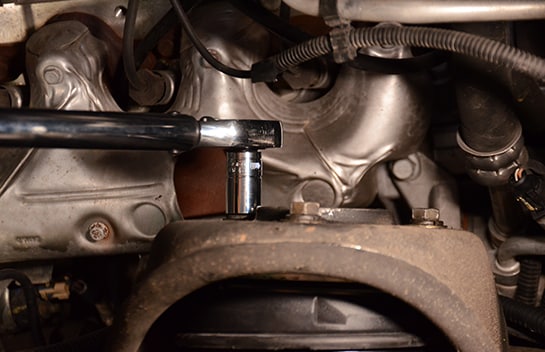
Step 11: Remove the Three Upper Nuts
Use a 16mm socket wrench and ratchet to remove the three upper nuts. An extension may be helpful here to allow you to reach deeper into the engine compartment.
|
Do It Right: A flathead screwdriver may also be necessary to remove any wire retainers connected near the nuts. Do not remove the center nut. It is designed for the strut itself, and will cause the strut to come apart. Because the strut is under pressure, this can cause injury and damage to your vehicle. |
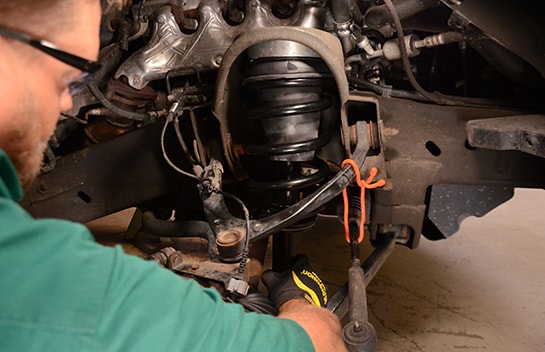
Step 12: Remove the Old Strut Assembly
You may need a pry bar to get the bottom of the strut assembly out and past the CV shaft boot. Now, your old strut assembly should slide down and out through the bottom of the lower control arm.
Step 13: Line the New Strut Up with the Housing
Line up the new strut assembly bolts to the three holes at the top of the strut tower and lift the assembly into place.
Step 14: Install the Upper Nuts on the Strut Tower
Once you have the bolts through the holes in the strut tower, put the three nuts on finger tight to prevent the assembly from slipping down. Don’t tighten these nuts until the strut is installed at the lower control arm.
Step 15: Install Strut into the Lower Control Arms
Now, move the strut assembly past the CV shaft boot, using a pry bar if needed. Once the assembly is in, you may need to use a hammer to lightly tap the new strut into its final position. Reinstall the two 15mm bolts into the lower control arm and torque them to 129-foot pounds.
Step 16: Raise the Truck and Reposition the Jack Stand
Now use your floor jack to raise the truck and reposition the jack stand to support the lower control arm.
Step 17: Tighten the Upper Strut Mounting Nuts
Tighten the three upper strut mounting nuts to 37-foot pounds. After this is finished, lower the jack from under the control arm.
Step 18: Put the Tie Rod End Back into Place
Put your tie rod end back into place and secure the stud with a nut. Then, use 10mm and 21mm wrenches to secure it. Once the bolt is tight, use a 21mm socket to tighten the nut to 70-foot pounds.
Step 19: Reinstall the Wheel
Put the wheel back into place and finger-tighten the lug nuts so that it’s secure.
|
Do It Right: You may have to reposition your jack and jack stand again if the jack stand under the lower control arm does not allow you to reinstall the wheel. |
Step 20: Lower the Truck and Tighten the Lug Nuts
Once both sides are done, it’s safe to lower the truck. Tighten your lug nuts in a star pattern to 140-foot pounds and close the hood.
|
Do It Right: It’s worth mentioning that any time you work with your suspension, an alignment may be necessary. |