
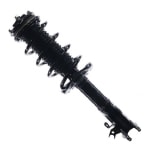
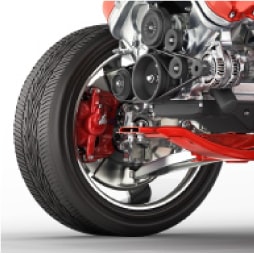
 Strut Assemblies
 Safety Glasses
 Gloves
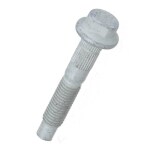 Strut Mounting Bolts
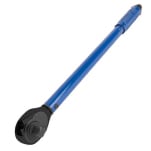
 Breaker Bar
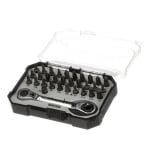
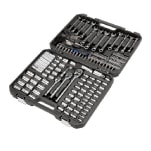 Ratchet & Sockets
 Floor Jack
 Jack Stands
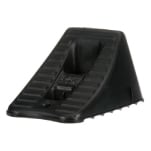 Wheel Chocks
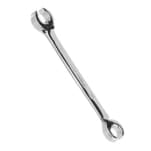 Wrenches
 Torx Bits
 Rust Penetrant
 Torque Angle Meter
 Torque Wrench
 Hammer
 Pry Bar
This procedure will apply to most 2011, 2012, 2013, 2014 and 2015 Chevy Cruze models, but be sure to know the specifics for your Cruze before getting started. If you’re not completely comfortable changing the front strut assemblies on your Cruze yourself, we’d be happy to recommend a professional technician in your area. Strut assemblies should always be replaced in pairs, since they both wear at the same rate.

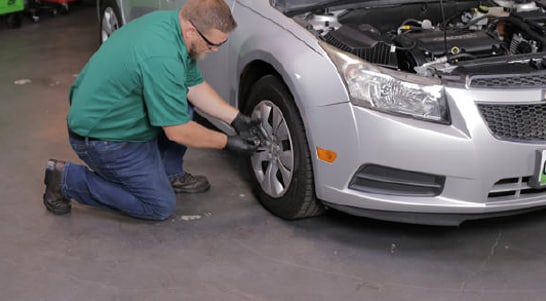
Step 1: Prepare Your Cruze
Park on a level surface and open the hood. If your front wheels have wheel covers, remove them, then loosen the lug nuts with a lug wrench or 19mm socket and breaker bar. Chock the rear wheels, then use a jack and jack stands to lift and support the front end. Remove the wheels.

Step 2: Apply Penetrating Oil
Spray down the fasteners securing the strut assembly to the steering knuckle and sway bar link with rust penetrant.

Step 3: Support the Lower Control Arm
Use a jack to support the lower control arm on the side where you’ll be working first.

Step 4: Remove the Mounting Plate
In the engine bay, find the top of the strut tower and remove the plastic cap from the nut. Use a 24mm wrench and T50 bit to remove the nut from the mounting plate and remove the mounting plate.

Step 5: Remove the Brake Hose from its Bracket
Back in the wheel well, detach the brake hose from its bracket toward the bottom of the strut assembly.

Step 6: Detach the Sway Bar Link
Use an 18mm wrench and T35 bit to loosen the nut and detach the sway bar link from the strut.

Step 7: Remove the Strut Mounting Nuts
Now use an 18mm wrench and an 18mm socket and ratchet or breaker bar to loosen and remove the nuts from the bottom two bolts securing the strut assembly.
|
Do It Right: You may need to adjust your jack to allow the bolts to loosen and be removed. |

Step 8: Remove the Strut Mounting Bolts
Once those nuts are removed, you should be able to take out the bolts, using a hammer to carefully tap them through if needed.

Step 9: Remove the Strut Assembly
With the fasteners removed, you can use a pry bar at the bottom of the strut assembly if needed to dislodge it, then carefully remove the assembly from the wheel well.

Step 10: Compare Your Old Strut with Your New Strut
Compare the old strut assembly with your new one to make sure you have the right replacement part.
|
Do It Right: The nuts and bolts securing the strut to the knuckle and the nut securing the sway bar link to the strut need to be replaced. Failure to do this can lead to the potential of loosening over time, premature wear, and strange noises from the suspension. |

Step 11: Install Your New Strut Assembly
Lift your new strut assembly into the wheel well and reinstall the mounting plate you removed earlier from the top of the strut tower. Thread the top mounting nut into place by hand to keep the strut assembly secure while you reinstall the fasteners below.

Step 12: Reinstall the Sway Bar Link
Align the stud on the sway bar link with its opening on the strut, and reinstall it. This may not be possible once the strut is in place. You can wait to reinstall the sway bar nut if you choose.

Step 13: Install the Strut Mounting Bolts
Align the knuckle with the base of the strut, and install the two bolts. Tap them in gently with a hammer if needed.

Step 14: Secure the Strut Mounting Nuts & Bolts
Install the nuts, then use your 18mm wrench, ratchet and socket to tighten the fasteners. Use a wrench and a torque wrench to tighten those fasteners to 66 foot-pounds on a first pass. Once they’re torqued, tighten the nuts another 60 to 70 degrees.

Step 15: Reinstall the Brake Hose
Reinstall the brake hose in its bracket.

Step 16: Reinstall the Sway Bar Link Nut
Thread your new nut onto the sway bar stud. Secure the stud with your 18mm wrench and tighten the nut until it’s snug. Use your torque wrench to tighten the nut to 48 foot-pounds.

Step 17: Secure the Top Strut Mounting Nut
Back in the engine bay, tighten the top strut mounting nut to 48 foot-pounds, and reinstall the cap.

Step 18: Remove Control Arm Support
Remove the jack from under the lower control arm.

Step 19: Reinstall the Wheel
Reinstall the wheel and tighten the lug nuts until the wheel is secure.
|
Do It Right: Strut assemblies should always be changed in pairs, so repeat these steps on the other side. |

Step 20: Lower the Front End
Lower the front end and remove the wheel chocks.
Step 21: Secure Your Wheels
Use your torque wrench and 19mm socket to tighten the lug nuts in a star pattern to 100 foot-pounds. If you removed wheel covers, you can reinstall them now.
Schedule an Alignment
Once you’ve changed your front strut assemblies, it’s likely that you’ll need an alignment in order to drive comfortably and prevent abnormal tire wear. Our parts professionals can recommend a trusted local shop that specializes in alignments.


The automotive repair work depicted in this series is performed under the direction of the manufacturer of the product featured. Prior to undertaking any of the demonstrated repairs on your vehicle, we suggest you consult with a certified mechanic or another professional who can adequately advise you of the proper repair or remedy required. O’Reilly Automotive Stores, Inc. and its affiliates (“O’Reilly”) disclaims any responsibility for injury or damage resulting from a viewer’s attempt to recreate the repairs shown in this series.