
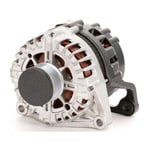
 Alternator
 Eye Protection
 Nitrile Gloves
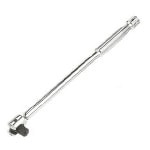 Breaker Bar
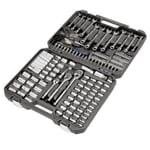 Ratchet & Sockets
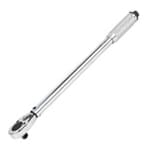 Torque Wrench
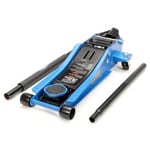 Floor Jack
 Jack Stands
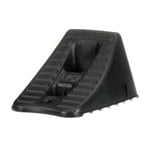 Wheel Chocks
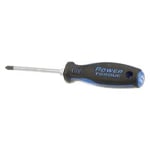 Flathead Screwdriver

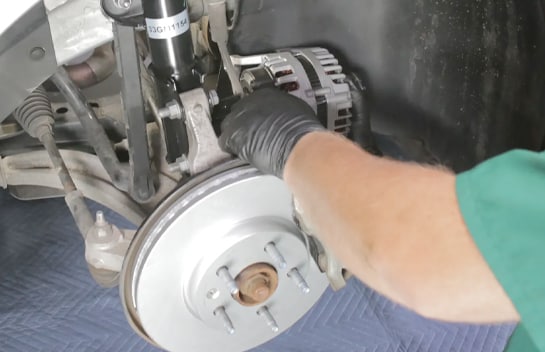
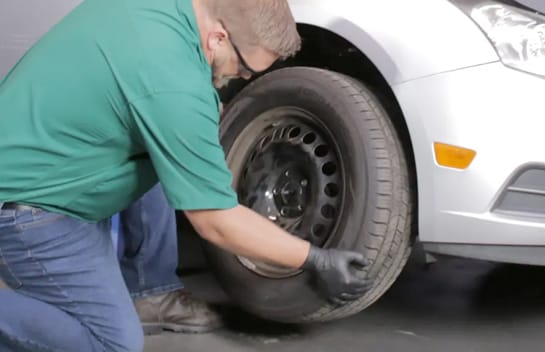
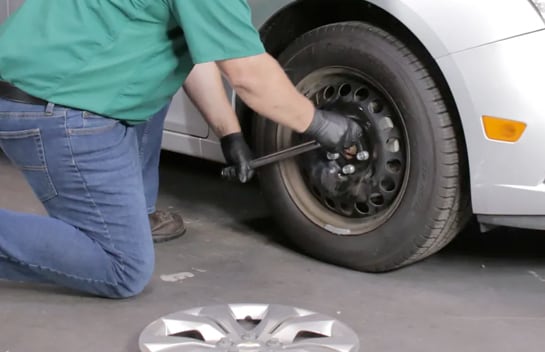
Step 1: Prepare Your Cruze
Park on a level surface and open the hood. Use a lug wrench or breaker bar and 19mm socket to loosen the lug nuts on the front passenger-side wheel. Chock your rear wheels, then use a jack and jack stands to lift and support the front end. Remove the front passenger-side wheel.

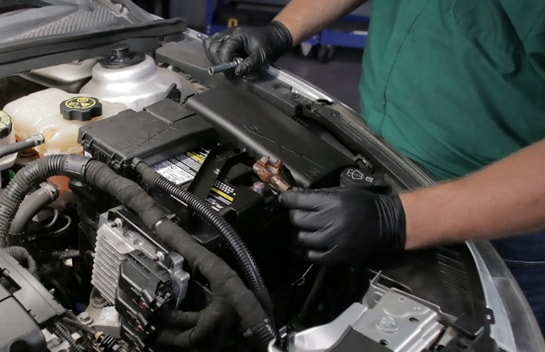
Step 2: Disconnect the Battery
Lift the battery terminal cover out of the way if there is one, and use a ratchet and 10mm socket to disconnect the negative battery cable.
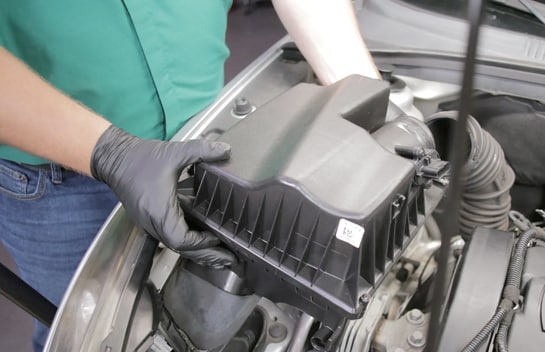
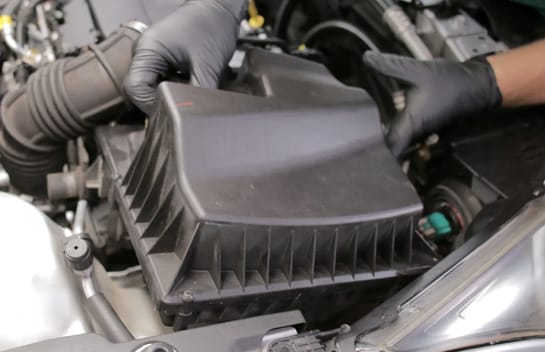
Step 3: Remove the Air Box
Use a flathead screwdriver or 7mm socket to loosen the hose clamp at the back of the air box, then remove the air box from the engine bay.
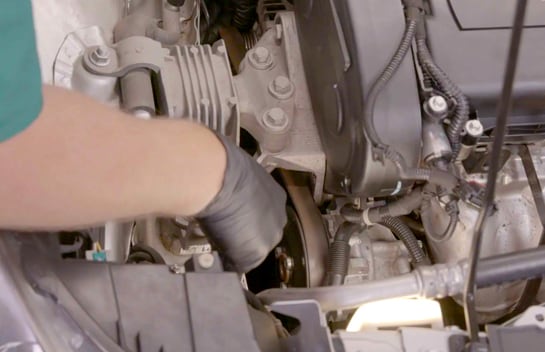
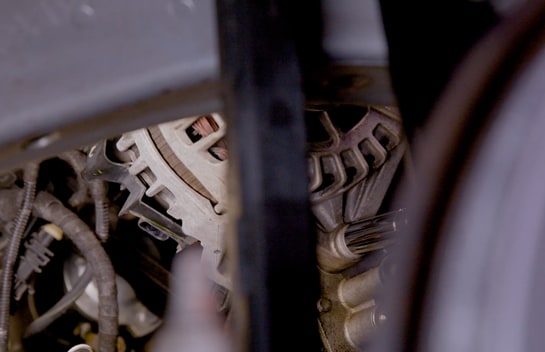
Step 4: Slip the Belt Off the Alternator
Use a 13mm socket and ratchet or breaker bar to rotate the tensioner enough to slip the belt off the alternator.
Step 5: Detach the Positive Alternator Cable
Remove the positive cable nut using a 13mm socket, then detach the positive cable. If equipped, disconnect the alternator wiring harness plug.
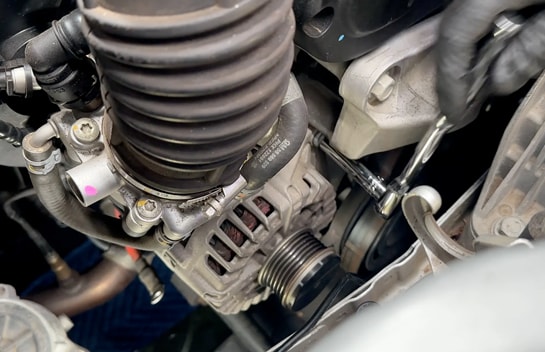
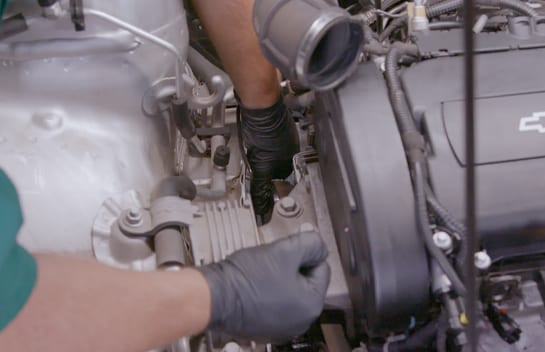
Step 6: Loosen the Mounting Bolts
Lastly, use your 11mm socket or E14 inverted Torx socket and ratchet to loosen the two mounting bolts.
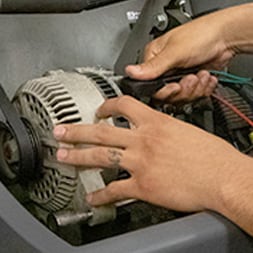
Step 7: Remove the Alternator
Once the mounting bolts are loose, remove them by hand, then carefully lower the alternator out of the vehicle.

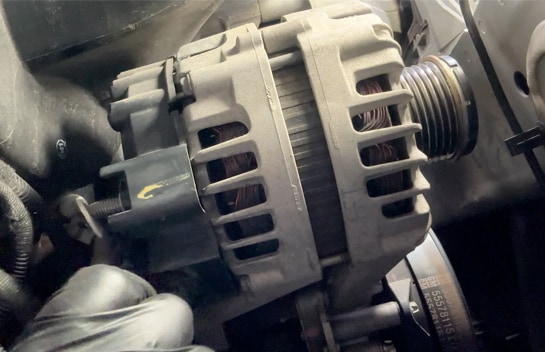
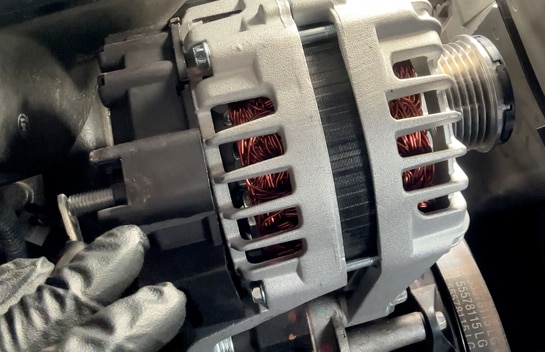
Step 8: Compare the Old Alternator with the New One
Compare the old alternator with your new one to make sure you have the right replacement part.
Step 9: Install the New Alternator
Lift your new alternator into place and thread the mounting bolts by hand. Use your ratchet and socket to secure them, then use your torque wrench to tighten them to 26 foot-pounds.
Step 10: Reconnect the Wiring Harness and Cable
Reconnect the wiring harness. Reinstall the positive cable and nut, then tighten the nut to 111 inch-pounds.
Step 11: Reinstall the Belt
Use your ratchet or breaker bar to rotate the tensioner, and slip the belt back onto the alternator pulley. Make sure the belt is properly seated on all the pulleys.
Step 12: Reinstall the Air Box
Put the air box back in place, then use your flathead screwdriver to secure the hose and clamp at the back.
Step 13: Reattach the Battery Cable
Reattach the negative battery cable, and snap the cover back into place.
Step 14: Reinstall the Front Wheel
Reinstall the front wheel and tighten the lug nuts until the wheel is secure against the rotor.

Step 15: Lower the Front End
Lower the front end, and remove the wheel chocks.
Step 16: Secure the Wheels
Use your torque wrench and 19mm socket to tighten the lug nuts in a star pattern to 100 foot-pounds. Close the hood.


The automotive repair work depicted in this series is performed under the direction of the manufacturer of the product featured. Prior to undertaking any of the demonstrated repairs on your vehicle, we suggest you consult with a certified mechanic or another professional who can adequately advise you of the proper repair or remedy required. O’Reilly Automotive Stores, Inc. and its affiliates (“O’Reilly”) disclaims any responsibility for injury or damage resulting from a viewer’s attempt to recreate the repairs shown in this series.