
 Eye Protection
 Nitrile Gloves
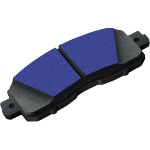 Brake Pads
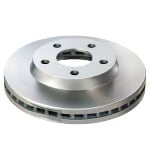 Brake Rotors
 Jack
Jack
 Jack Stands
 Wheel Chocks
 Ratchet
 Sockets
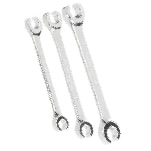
 Torque Wrench
 Breaker Bar
 Caliper Hanger
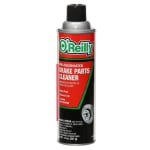 Brake Cleaner
 Shop Towels
 Wire Brush
 Silicone Grease
 Bleeder Tool
 Brake Line Wrench
 Caliper Compressor Tool
 Hammer
Removing and replacing automotive brake pads and rotors is a routine maintenance task that you can do yourself with the right supplies and instructions. It’s always a good idea to replace pads and rotors on both sides of your vehicle, since they wear at the same rate. These detailed steps will show you how to change the front brake pads and brake rotors on 2006, 2007, 2008, 2009, 2010 and 2011 Toyota Camry models, but be sure to know the specifics for your Camry before getting started.

Step 1: Loosen the Front Lug Nuts
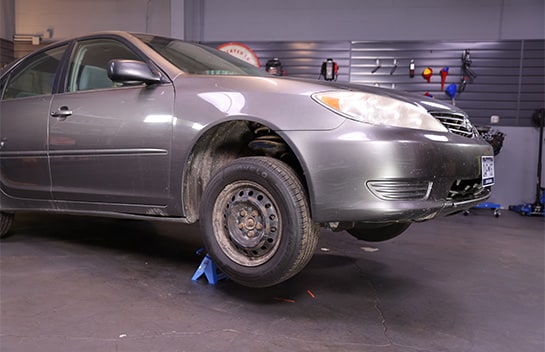
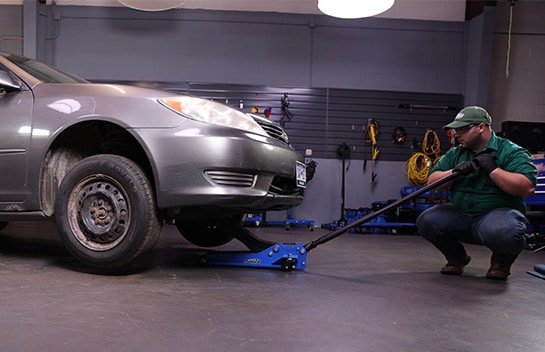
Step 2: Lift & Support the Front End
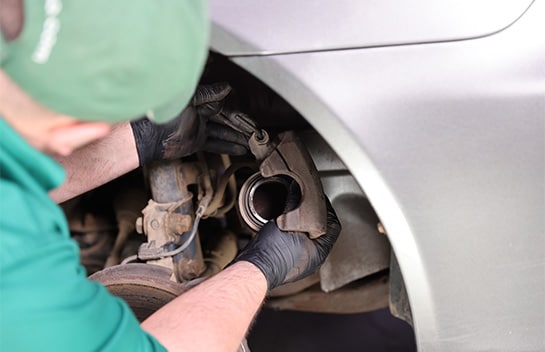
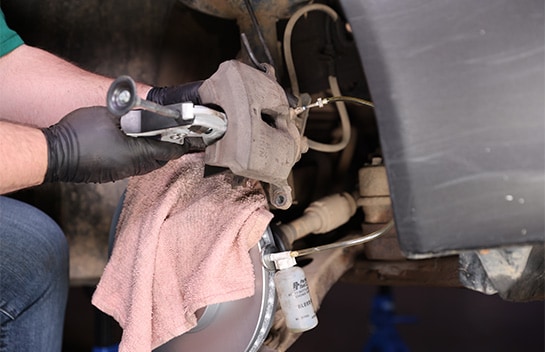
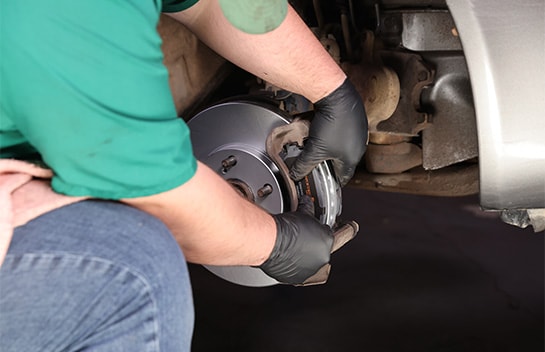
Step 3: Remove the Caliper
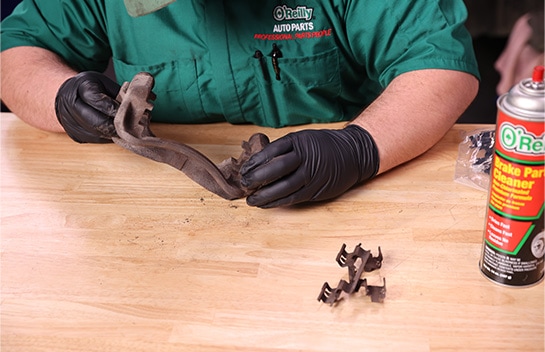
Step 4: Remove the Old Brake Pads from the Caliper Bracket
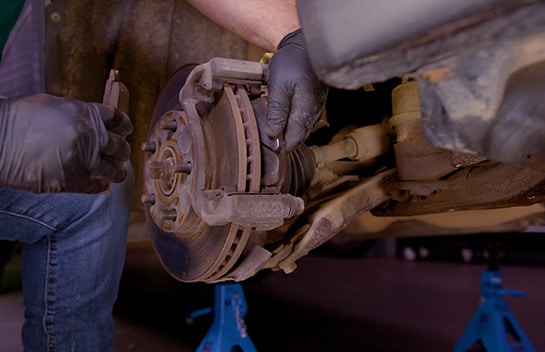
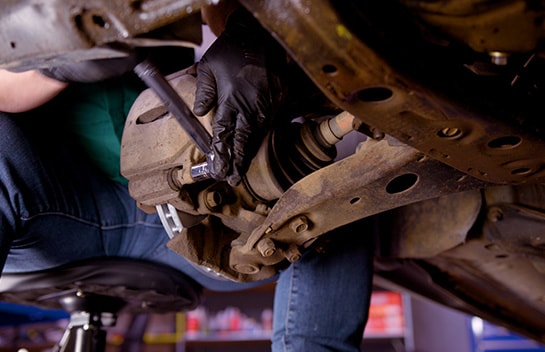
Step 5: Remove the Caliper Bracket

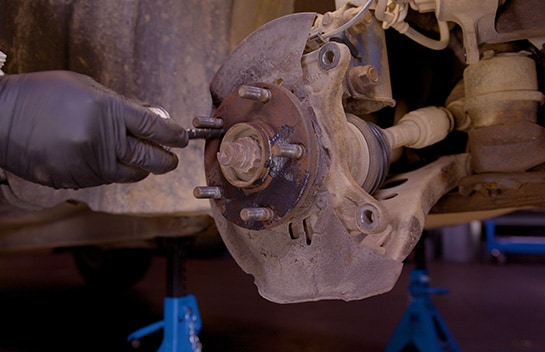
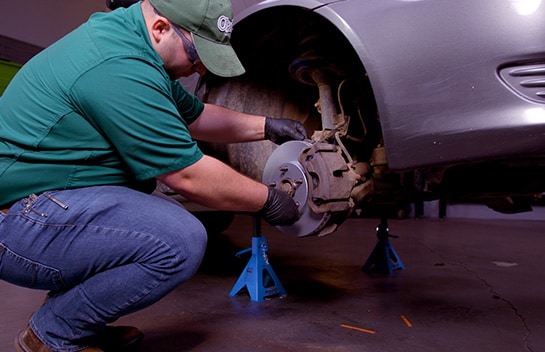
Step 6: Remove the Old Rotor
|
Do It Right: If you're reusing your old brake rotors, resurfacing is necessary to ensure a smooth contact surface. Learn more about brake rotor resurfacing services at O'Reilly Auto Parts. |
Step 7: Clean & Grease the Hub
Step 8: Clean the New Rotor
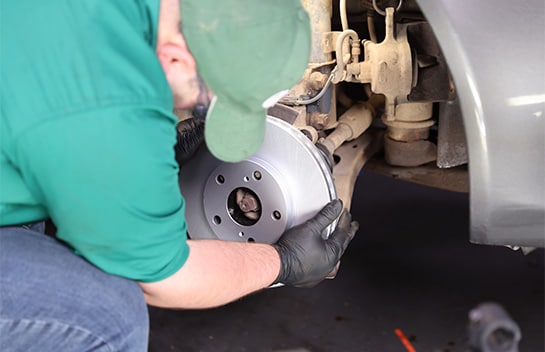
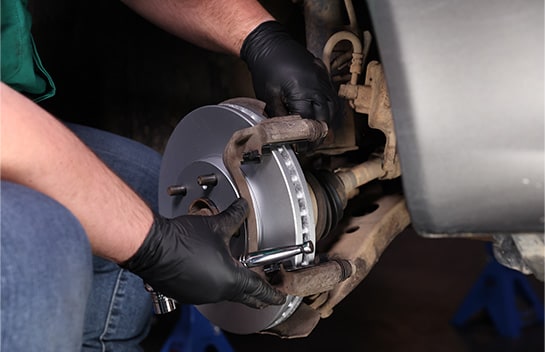
Step 9: Install the New Rotor
Step 10: Clean & Inspect the Caliper Piston
Step 11: Compress the Piston
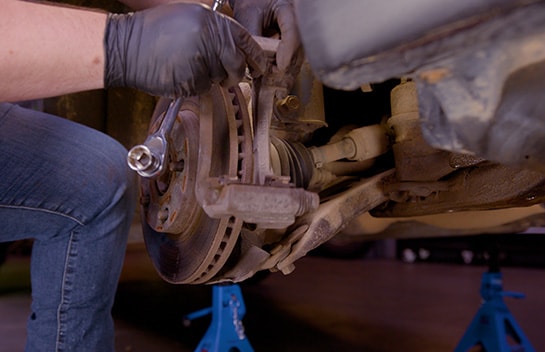
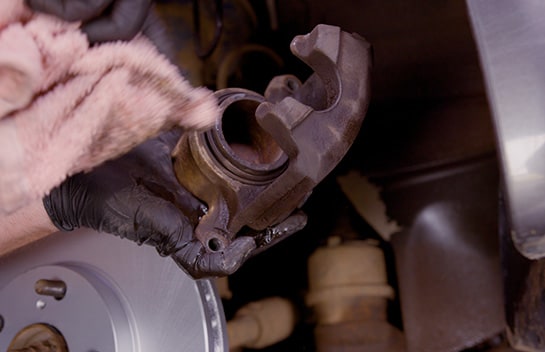
Step 12: Inspect the Caliper Bracket & Slide Pins

Step 13: Clean the Bracket & Slide Pins

Step 14: Install New Hardware
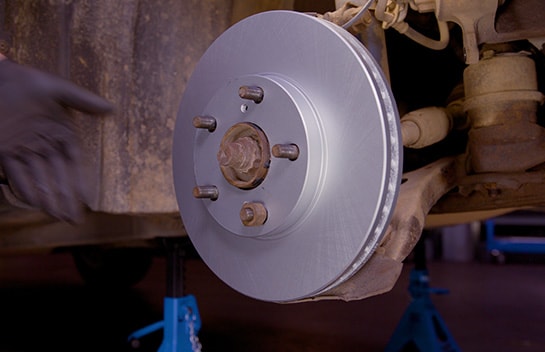
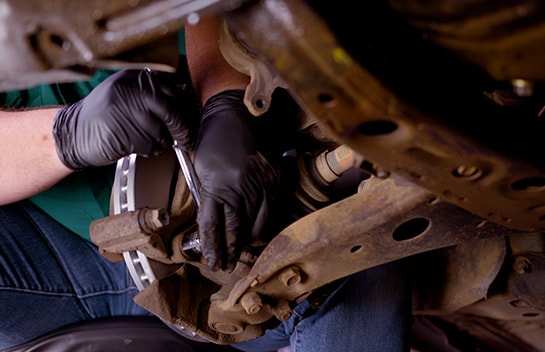
Step 15: Reinstall the Caliper Bracket
Step 16: Tighten & Torque the Bracket Bolts
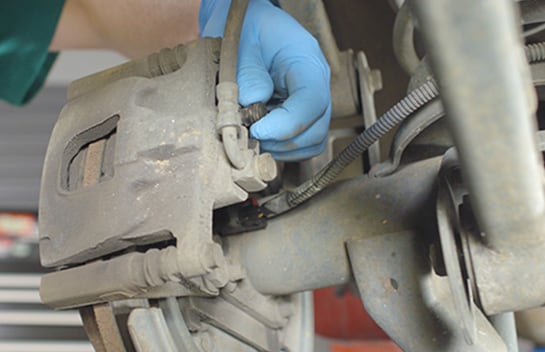
Step 17: Reinstall the Caliper
Step 18: Secure the Caliper
Step 19: Remove the Lug Nut & Caliper Hanger
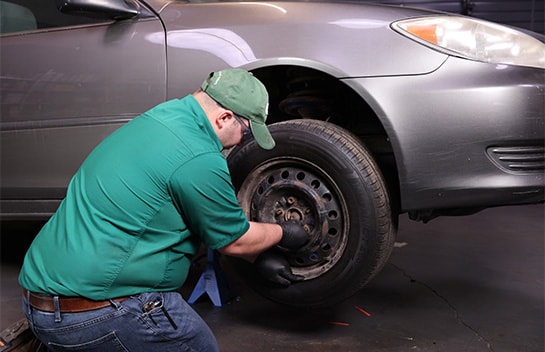
Step 20: Reinstall the Wheel
|
Do It Right: It’s always a good idea to change brake pads and rotors in pairs, so repeat these steps on the other side. |
Step 21: Lower the Front End & Secure the Wheels
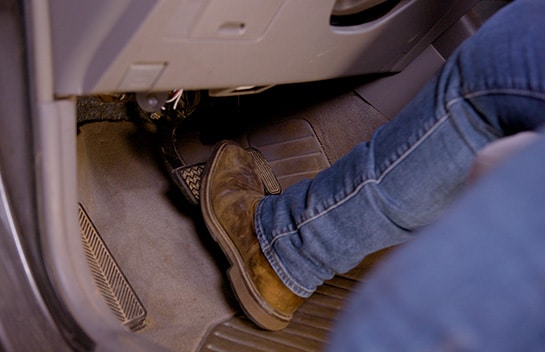
Step 22: Step On Your Brake Pedal
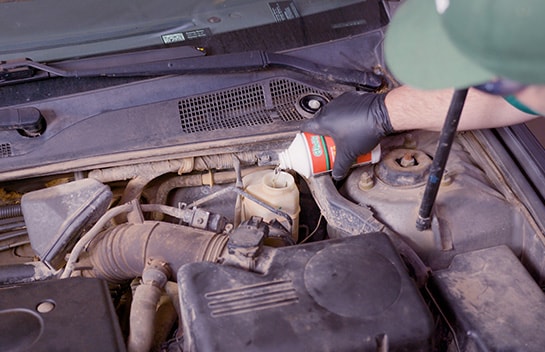
Step 23: Check Your Brake Fluid
Step 24: Bleed Your Brakes If Needed
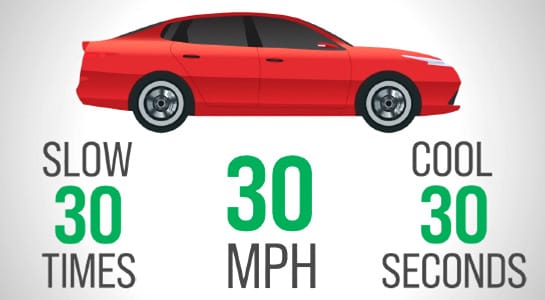
Step 25: Break In Your New Pads & Rotors
Try to avoid aggressive stops during this break-in process. Your brakes will probably smell after you’ve done this, and that’s okay. If the odor persists past five hundred miles or so, or if you have excessive dust on a wheel, you may have a stuck caliper.


The automotive repair work depicted in this series is performed under the direction of the manufacturer of the product featured. Prior to undertaking any of the demonstrated repairs on your vehicle, we suggest you consult with a certified mechanic or another professional who can adequately advise you of the proper repair or remedy required. O’Reilly Automotive Stores, Inc. and its affiliates (“O’Reilly”) disclaims any responsibility for injury or damage resulting from a viewer’s attempt to recreate the repairs shown in this series.