Safety Glasses
 Gloves
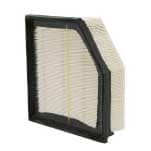 Air filter
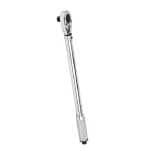 Ratchet
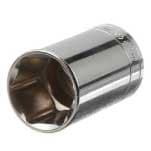 Socket & extension
 Shop towels
These detailed instructions and step-by-step video will help simplify the process of replacing your Camry’s engine air filter. Be sure to know the specifics for your vehicle before getting started. If you’re not completely comfortable doing the job yourself, we’d be happy to recommend professional technicians in your area.
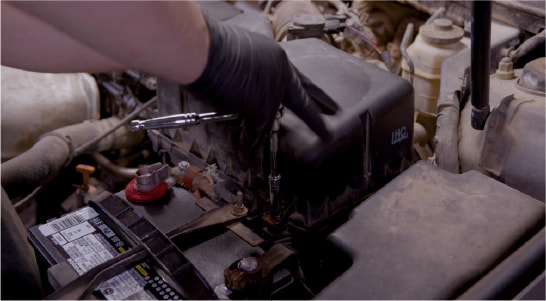
Step 1: Open the Air Box
Park on a level surface and open the hood. Locate your air box, which is next to the battery, and use your ratchet with a 10mm socket and extension to loosen the two bolts securing the lid.
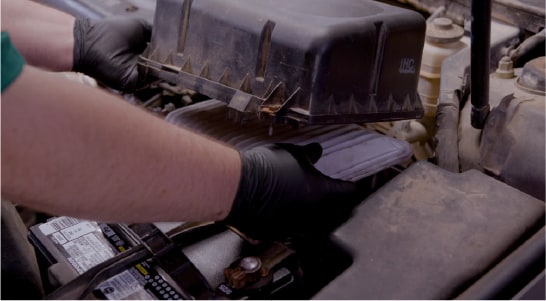
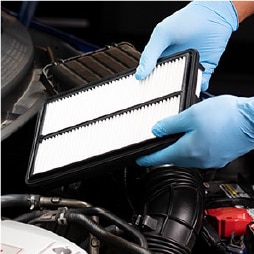
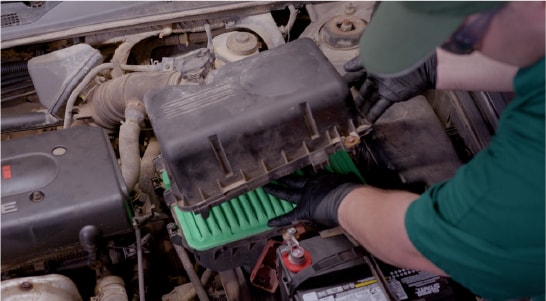
Step 2: Remove the Old Filter
Once the bolts are disengaged from the bottom half of the air box, lift the lid and remove the old filter.
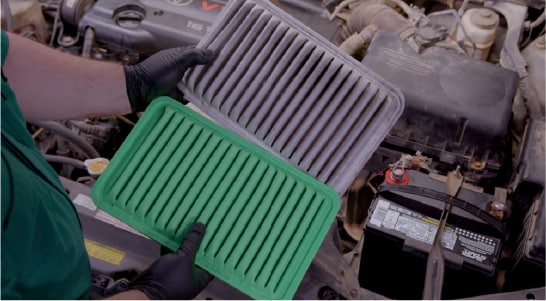
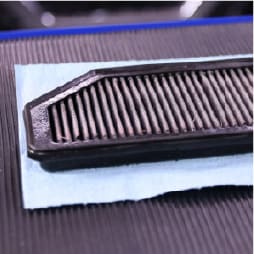
Step 3: Clean & Compare
Check your air box and clean out any debris before installing the new filter. Compare the old filter with the new one to make sure you have the right replacement for your Camry.
Step 4: Install the New Filter
With the air box clean, place the new filter in the same orientation as the old filter, and make sure its edges are seated all the way around. Be sure the two hinge tabs on the lid are engaged as you lower the lid, before you tighten the fasteners. Use your 10mm socket with extension to tighten those bolts, then make sure the lid is securely in place. Close the hood.