Safety Glasses
 Safety Gloves
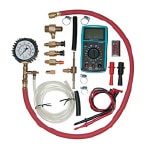 EverTough Fuel Pressure Test Kit
A fuel pressure testing kit can help diagnose fuel system issues on your vehicle, and allow you to better understand the performance of your fuel pump, fuel pressure regulator, and more. O’Reilly Auto Parts offers a fuel pressure tester as part of our Loaner Tool program, which allows you to pick up the tool with a refundable deposit and receive the full amount back when the tool is returned. The fuel pressure test kit and Loaner Tool program can help save you money on your car repairs and borrow tools that you may only need once.

Step 1: Locate Your Schrader Valve
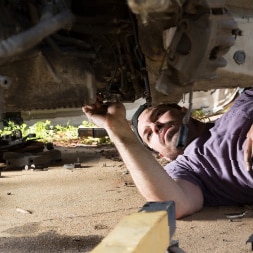
Park in a well-ventilated area and wait for your engine to cool. Open the hood and find the Schrader valve on the fuel rail. Remove the valve cap, if equipped.
|
Do It Right: Check your vehicle's service manual or other resources to find the ideal fuel pressure for your vehicle. |

Step 2: Connect Your Fuel Pressure Tester
Find the fitting that allows the fuel pressure tester to connect securely to the valve, and thread it into place.
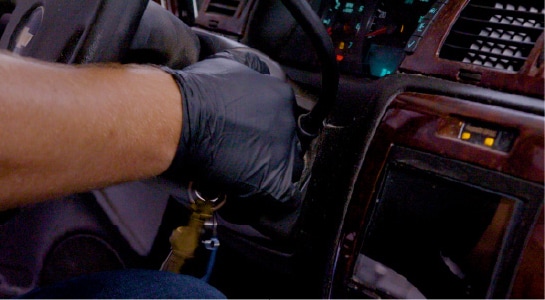
Step 3: Turn On Your Ignition Switch
Turn the ignition switch to the “run” position, but don’t start the engine.

Step 4: Check Pressure Reading
Check the pressure reading on the gauge and wait five to ten minutes with the ignition in that position to make sure the fuel pressure holds steady

Step 5: Turn Your Engine On
If the fuel pressure is appropriate to pass this test, and your vehicle can still be started, start your engine and let it idle. The pressure should remain constant within a few psi of your vehicle’s recommended pressure.

Step 6: Pump the Gas Pedal
Once your engine has warmed up, slowly give it more gas. You should see the fuel pressure rise as the RPMs increase.

Step 7: Turn Off Your Engine
Shut off your engine and wait for it to cool.

Step 8: Disconnect the Fuel Tester
Once your engine has cooled, disconnect the tester and put the cap back on the valve. Close the hood.