
 Safety glasses
 Nitrile Gloves
 Starter
Maintain your vehicle’s performance with the parts, tools, and shop equipment your repairs require at O’Reilly Auto Parts.
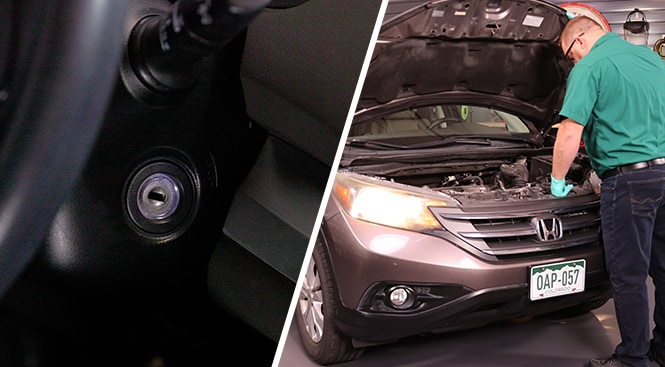
Step 1: Prepare Your Vehicle
Park on a level surface, and make sure the ignition switch is in the LOCK position.
Pop the hood.
Pop the hood.
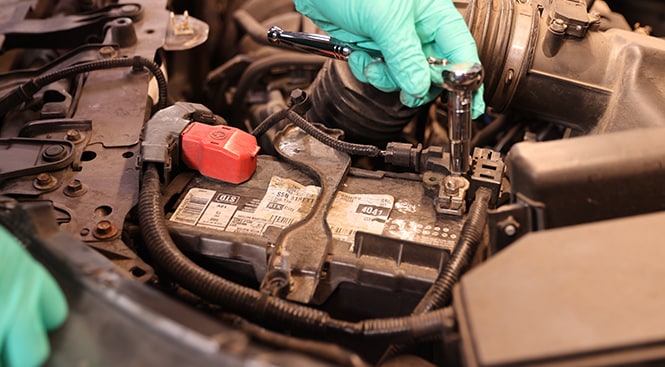
Step 2: Disconnect Your Battery
Use a ratchet and 10mm socket to disconnect and isolate the negative battery cable then disconnect the positive battery cable.
Step 3: Remove the Intake Manifold Bolts
Use a ratchet and 12mm socket to remove the six bolts securing the intake manifold. Your CR-V may also have a bracket connecting the bottom of the intake to the front of the engine accessible from beneath the vehicle.

Step 4: Remove the Intake Manifold
You may choose to remove the intake entirely or tilt the intake toward the front of the engine bay and secure it to the radiator support using a hanger or bungee cords.
To remove the intake entirely, you’ll also need to remove the manifold sensor connector, the air inlet, and the throttle body hoses, then you can completely remove the intake from the engine bay.
To remove the intake entirely, you’ll also need to remove the manifold sensor connector, the air inlet, and the throttle body hoses, then you can completely remove the intake from the engine bay.

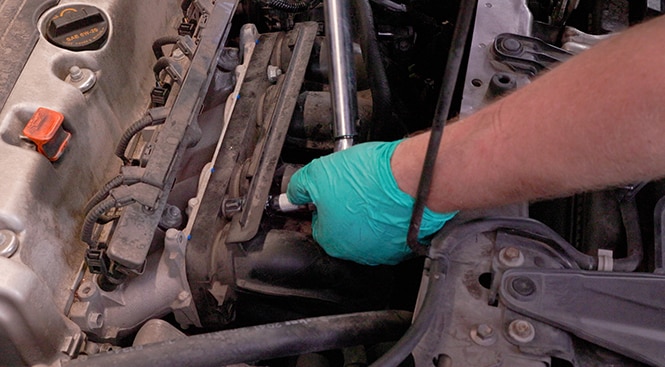
Step 5: Remove the Old Starter
Use your ratchet and 14mm and 17mm sockets to loosen the bolts securing the starter and remove them. Disconnect the battery cable with your ratchet and a 12mm socket and press down on the tab to remove the solenoid connector.

Step 6: Compare the Old and New Starters
Compare the old starter with the new one to make sure the design, connections, and dimensions are the same.

Step 7: Install Your New Starter
Move your new starter into place then reconnect and tighten the battery cable using your 12mm socket making sure the crimped side of the ring terminal faces away from the starter when installed. Then reinstall the solenoid connector by pressing it into place until it latches.

Step 8: Secure the Starter
Thread the starter bolts into place then use a torque wrench to tighten the 14mm bolt to 33 foot-pounds and the 17mm bolt to 47 foot-pounds.

Step 9: Replace the Intake Manifold
Replace the intake manifold gaskets with new ones. Now you can set the intake manifold back in place, removing any bungees or retainers you may have used to hold it if it was not completely removed.

Step 10: Secure the Intake Manifold
Re-thread the manifold bolts by hand then torque them to 16 foot pounds with your 12mm socket and torque wrench. Be sure to also replace and torque the intake manifold bracket if needed.

If you disconnected throttle body hoses, the air inlet, or the manifold sensor connector, be sure to reinstall these components as well.

Step 11: Reconnect the Battery
Reconnect the battery cables, positive first, then negative, and tighten them with your 10mm socket and ratchet. Close the hood.
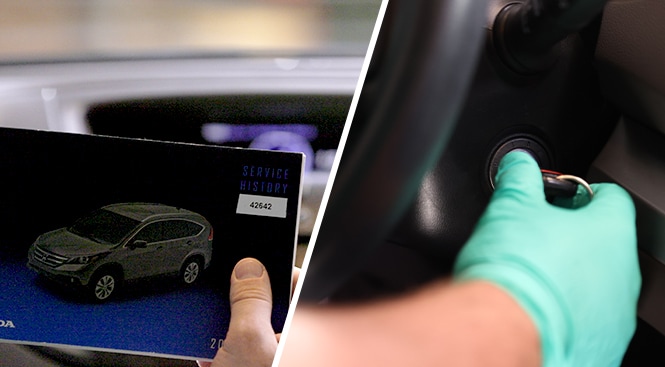
Step 12: Start Your Vehicle
When you start your vehicle after disconnecting the battery, your display may ask for a five-digit code to load your presets. You may find that code in your owner's manual, or it may be necessary to call your local Honda dealer and provide your VIN to receive the code. Write this down for the next time you have to disconnect the battery.


Our detailed instructions and video demonstrate the headlight bulb replacement procedures for a 2006 Honda Accord LX. Repair steps will be similar on 2003, 2004, 2005, and 2007 Honda Accord models. If you notice that your Accord’s headlights are dim, flickering, functioning poorly, or completely burned out, be sure to address this simple repair task promptly. Ensuring that your Accord abides by road laws and remains visible to others on the road is crucial to your and others’ safety. Find the replacement headlight bulbs, headlight assembly, tail light and turn signal bulbs, and more designed to fit your 2003 to 2007 Honda Accord at O’Reilly Auto Parts.
The automotive repair work depicted in this series is performed under the direction of the manufacturer of the product featured. Prior to undertaking any of the demonstrated repairs on your vehicle, we suggest you consult with a certified mechanic or another professional who can adequately advise you of the proper repair or remedy required. O’Reilly Automotive Stores, Inc. and its affiliates (“O’Reilly”) disclaims any responsibility for injury or damage resulting from a viewer’s attempt to recreate the repairs shown in this series.