Safety Glasses
 Nitrile Gloves
 Headlight Bulbs
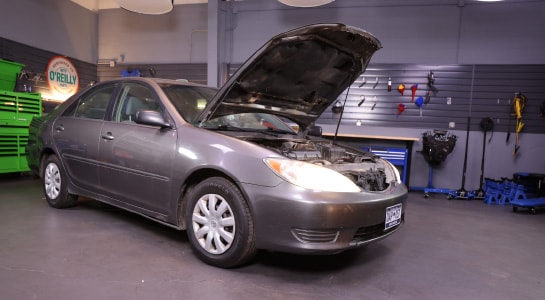
Complete a headlight bulb replacement on your 2006 to 2011 Toyota Camry to help you stay safe and see clearly with these step-by-step instructions to guide you through the process. Replacing both bulbs at the same time is always recommended, since they typically burn out at about the same rate.
Step 1: Locate the Bulb You Need to Change
Park on a level surface and open the hood. The bulbs toward the inside of each assembly are the running lights, the large bulbs in the middle are the main headlight bulbs, and the bulbs on the outside are turn signal bulbs. This procedure will be similar for any bulbs you need to change.
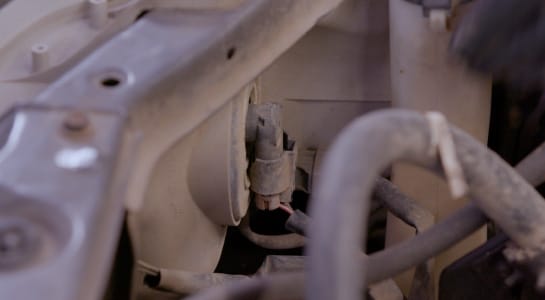
Step 2: Remove the Old Bulb
On the back of the bulb you need to change, press the tab on the wiring harness to disconnect it from the bulb itself. Turn the bulb counterclockwise to slip its tabs out of the assembly, then remove it from the assembly.
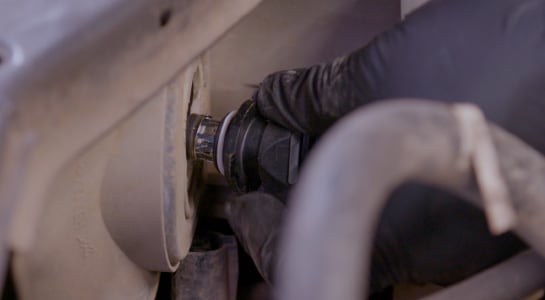
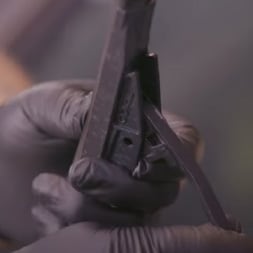
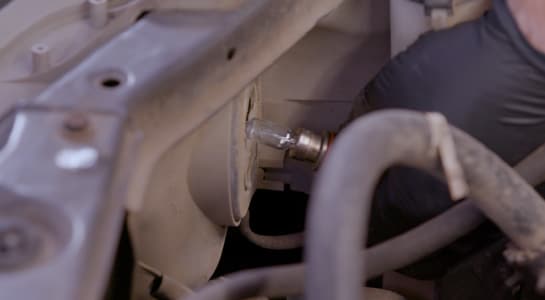
Step 3: Install the New Bulb
When you install the new bulb, be sure not to touch the glass of the bulb with your bare fingers. Finger oils or grease can create hot spots on the glass that can cause it to burn out prematurely. The new bulb will have tabs that slip into the assembly. Once the bulb is installed, turn it clockwise to secure it. Click the wiring harness back into place once the bulb is secure in the assembly.
Step 4: Test the New Bulbs
Whether you’ve replaced a headlight bulb or one of the others, it’s always recommended you change bulbs in pairs, so repeat these steps on the other side. Before closing the hood, turn on the headlights to make sure your new bulbs are working properly.