
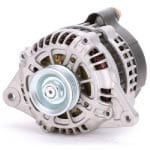
 Alternator
 Safety Glasses
 Gloves
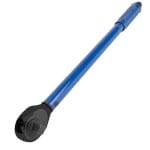 Torque wrench
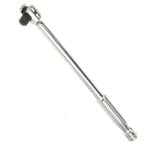
 Extension
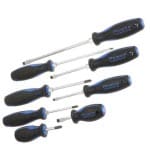 Small flathead screwdriver
 Breaker bar
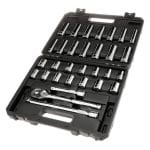 Ratchet & sockets
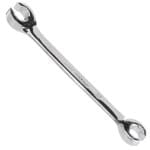 Ratcheting wrenches
If your Toyota Camry’s alternator is failing, you could notice dim or flickering lights, a dashboard warning light, electrical accessories that are slow or non-functional, or a battery that is dead or dies frequently. The following procedure will show you how to remove and replace the alternator in most 2006, 2007, 2008, 2009, 2010 and 2011 Toyota Camry models.
Step 1: Prepare Your Camry
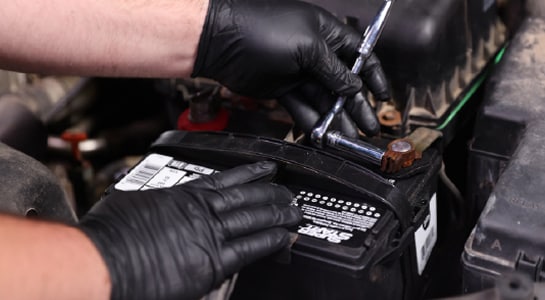
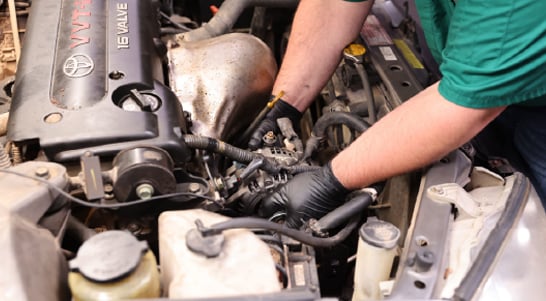
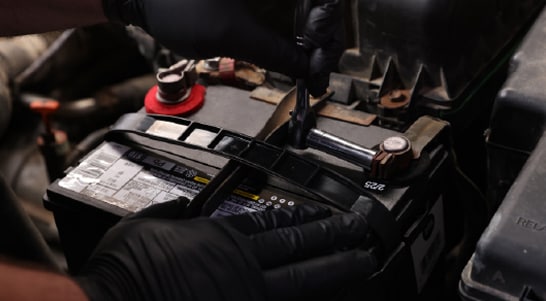
Park on a level surface and open the hood. Disconnect the negative battery cable with a 10mm socket and move it aside so that it isn’t touching metal.
Step 2: Slip the Belt Off the Alternator Pulley
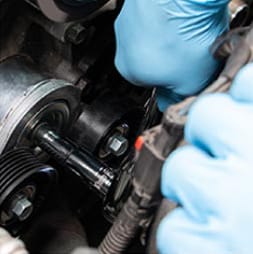
Locate the alternator on the passenger side of the engine bay and use a 19mm socket and ratchet or breaker bar to rotate the belt tensioner clockwise. With the tensioner rotated, slip the belt off the pulley.
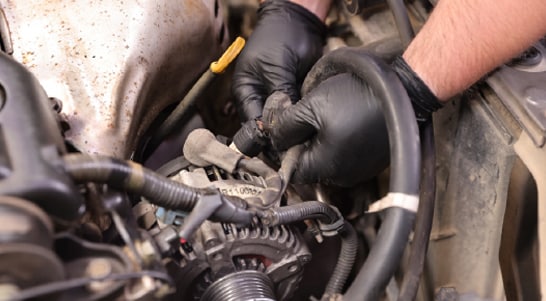
Step 3: Unplug the Electrical Connector
Unplug the electrical connector from the alternator by pushing in on the locking tab to disengage it.
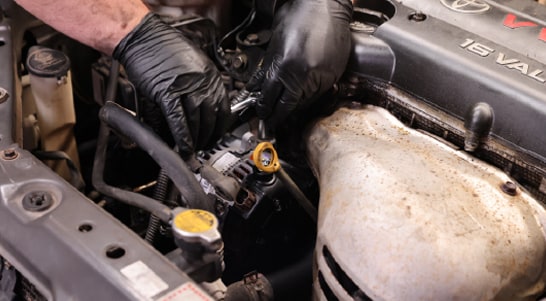
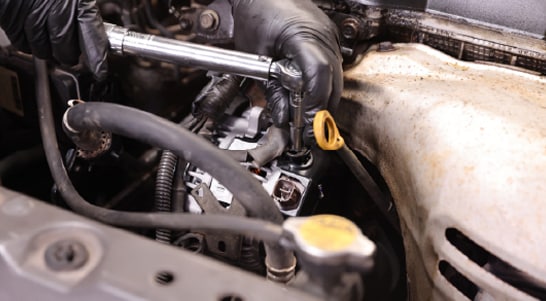
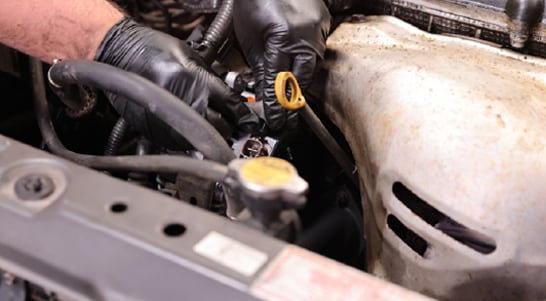
Step 4: Detach the Cable from the Top Stud
Remove the rubber cap from the top stud on the alternator and use a 10mm socket to loosen the nut securing the cable. Remove the nut and slip the cable off the stud. With the cable detached, thread the nut back onto the stud for the time being.
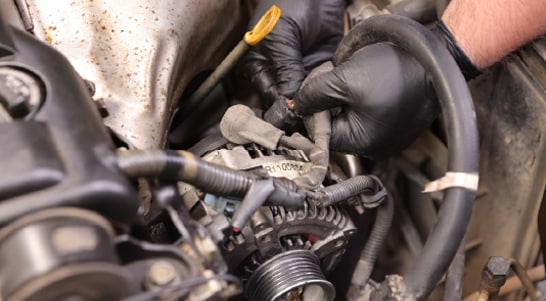
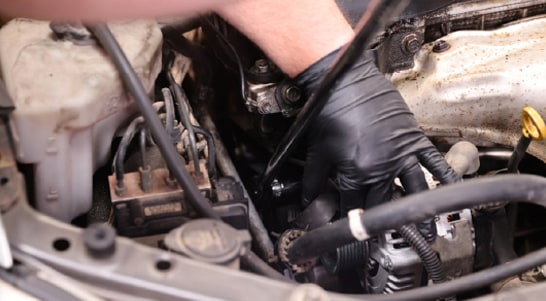
Step 5: Move the Wiring to the Side
Detach the wiring harness from the bracket on the alternator by using your 10mm socket to loosen and remove the bolt securing it. Once the harness is detached, set that bolt aside. There’s one final clip that will need to be opened with a small flathead screwdriver so that the wiring in the plastic sheath can be pulled loose. Once that’s done, move all the wires and harness to the side.
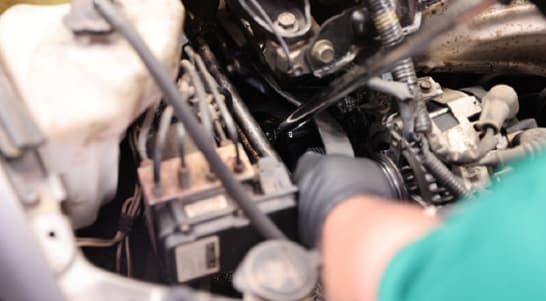
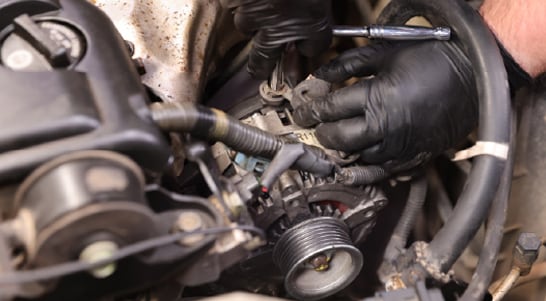
Step 6: Remove the Alternator Bolts
Now you should have enough room to loosen the bolts securing the alternator itself. Use a ratchet and 14mm socket with an extension to remove the top bolt. The bottom bolt is difficult to see, but it’s right above the A/C compressor. Use a ratchet and 12mm socket to loosen and remove that bolt.
Step 7: Remove the Old Alternator
Carefully work the old alternator away from the engine past the wires and out of the engine bay.
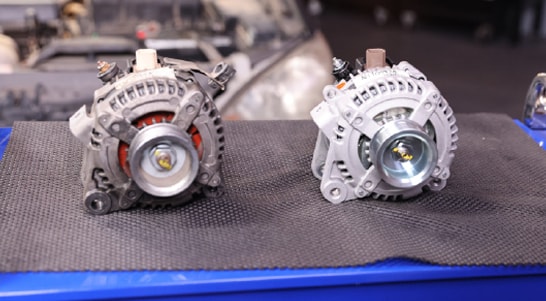
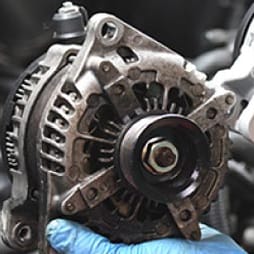
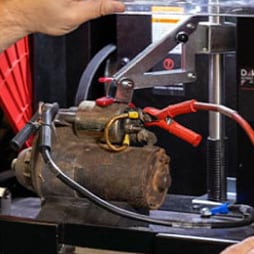
Step 8: Compare the Old Alternator with the New Alternator
Compare your replacement alternator to the old one to make sure you have the right part. You may also need to move the wiring harness bracket from your old alternator to the new one.
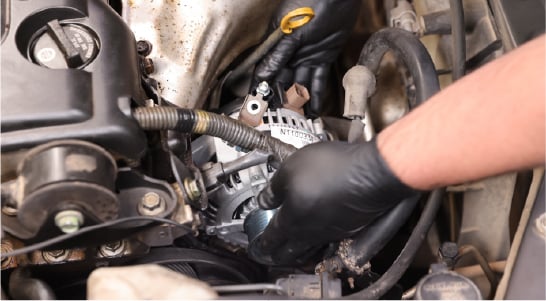
Step 9: Install Your New Alternator
Slide your new alternator into place on the engine and thread the top bolt. Use your 14mm socket and ratchet or ratcheting wrench to tighten the bolt, but leave it loose enough to align the holes for the bottom bolt. Adjust the position of the alternator until the bottom bolt can be threaded, then use your 12mm socket and ratchet or ratcheting wrench to tighten the bolt.
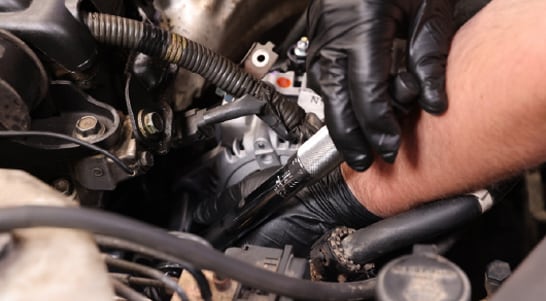
Step 10: Reinstall the Trim Piece
Once both those bolts are snug, use your torque wrench and 14mm socket to tighten the top bolt to 38 foot-pounds. The 12mm bottom bolt will need to be torqued to 16 foot-pounds.
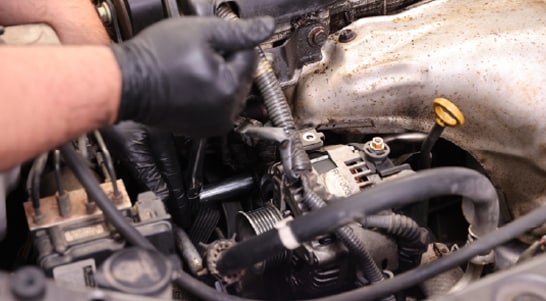
Step 11: Reattach the Wiring Harness
Use the 10mm bolt you removed earlier to secure the wiring harness to the top of the new alternator.
Step 12: Reattach the Main Power Cable
Reattach the main power cable to the stud at the top of the alternator, making sure the ears fit down into their slots. If your new alternator didn’t come with a nut, use the one from your old alternator to secure the cable on the stud. Tighten the nut to 87 inch-pounds and replace the rubber cap.
Step 13: Plug In the Electrical Connector
Plug in the electrical connector. You should hear the tab click into place.
Step 14: Secure the Plastic Sheath
Move the part of the harness in the plastic sheath back into place and secure it with the clip.
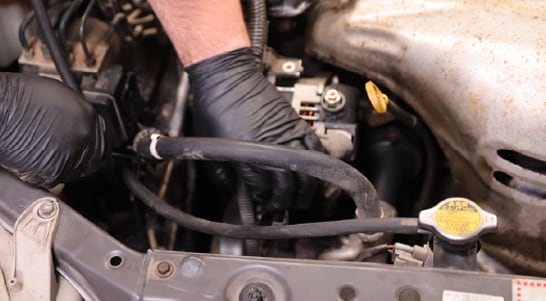
Step 15: Install the Serpentine Belt
Check to make sure the belt hasn’t slipped off any of the other pulleys. Use your 19mm socket and ratchet or breaker bar to rotate the tensioner and slip the belt back onto the alternator pulley. Slowly let the tensioner rotate back as you make sure the belt seats properly, then double-check the other pulleys to ensure the belt is properly seated all the way around.
Step 16: Check Your Work
Reattach your negative battery cable, then start the engine and let it run for 5 to 10 seconds. Turn it back off, then double-check the belt to make sure it’s still seated properly on all the pulleys. If everything looks good, close the hood.
The automotive repair work depicted in this series is performed under the direction of the manufacturer of the product featured. Prior to undertaking any of the demonstrated repairs on your vehicle, we suggest you consult with a certified mechanic or another professional who can adequately advise you of the proper repair or remedy required. O’Reilly Automotive Stores, Inc. and its affiliates (“O’Reilly”) disclaims any responsibility for injury or damage resulting from a viewer’s attempt to recreate the repairs shown in this series.